13. The Sandstorm
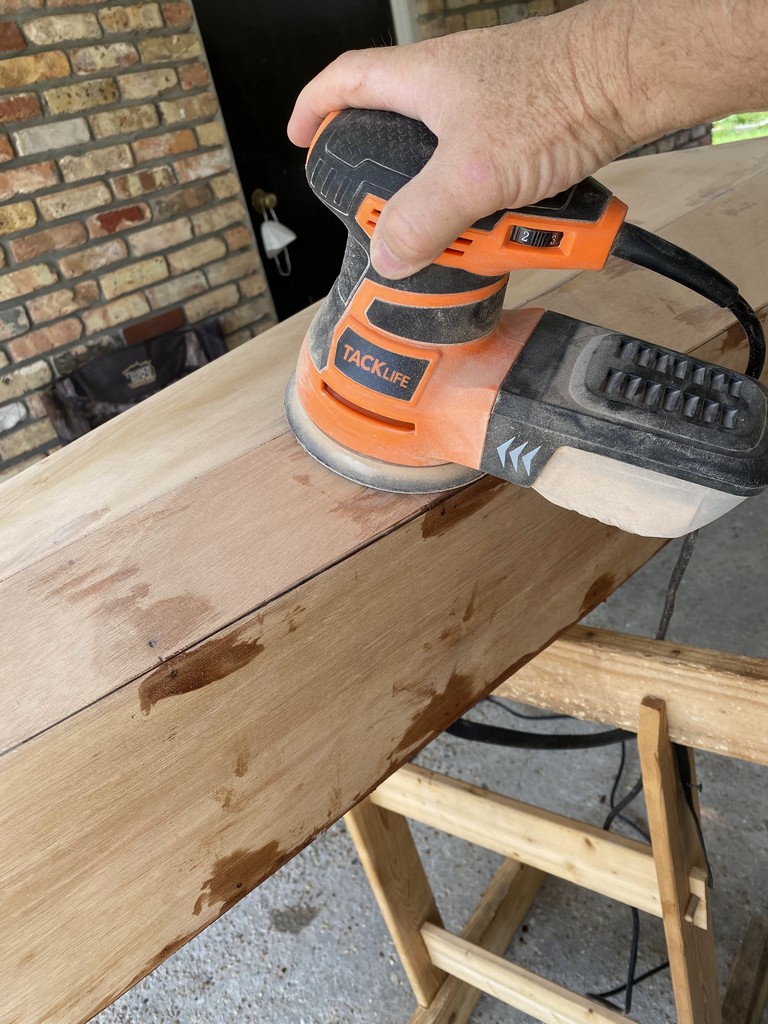
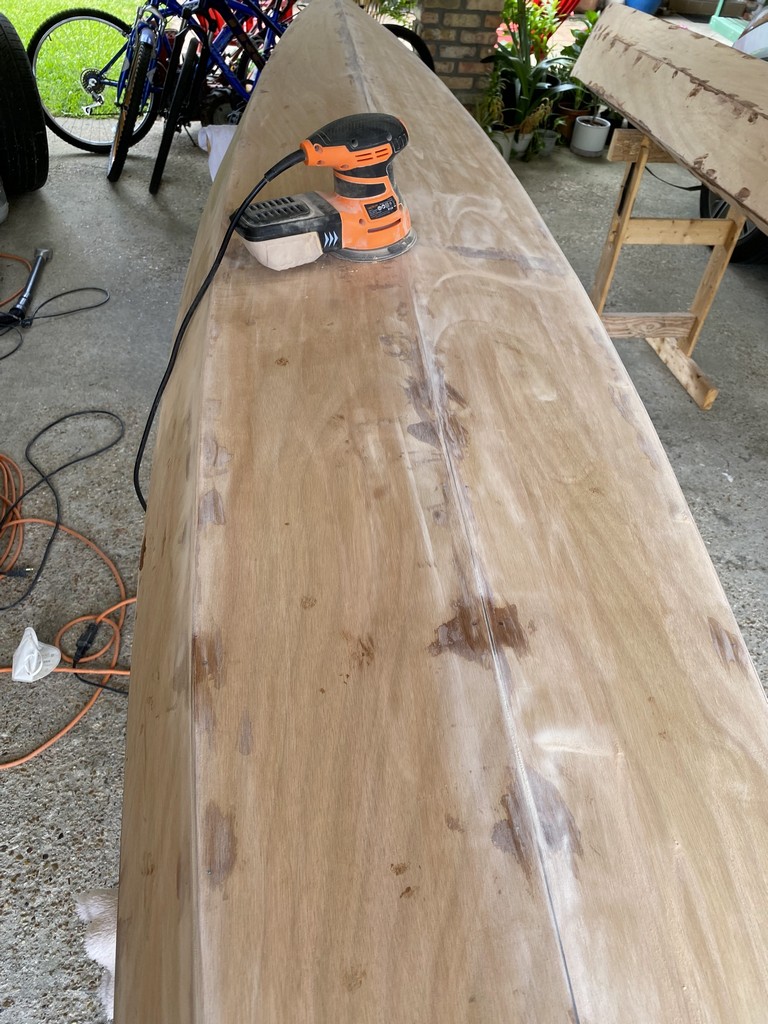
Exterior work is far easier than interior, but there is still an awful lot of sanding… Ensuring the plywood and joints are smooth before proceeding with epoxy and fiberglass sheathing is laborious
…and time consuming. For me, the estimated hours required for this step suggested in the build manual were underestimated.
Haste Makes Waste, and Problems
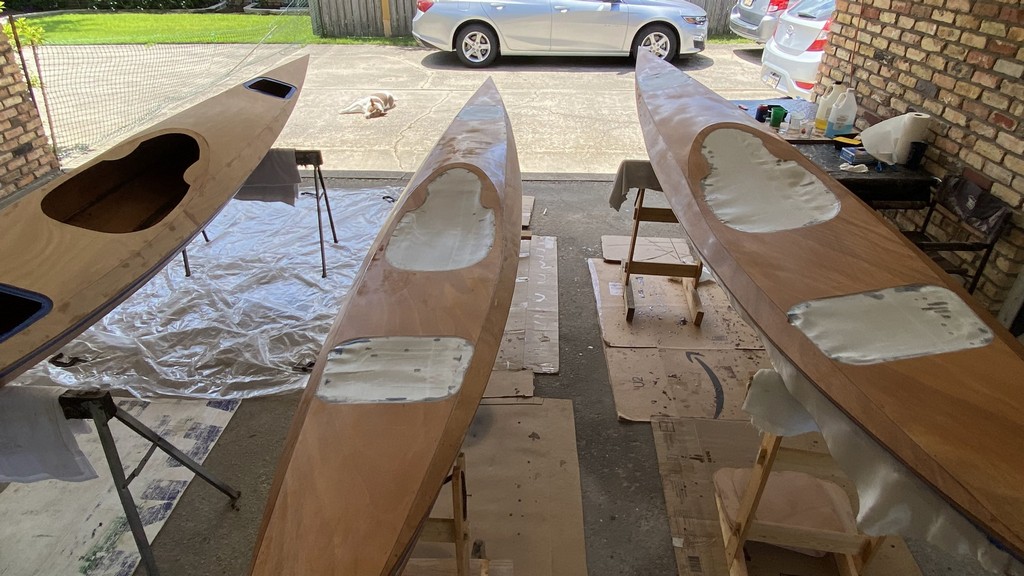
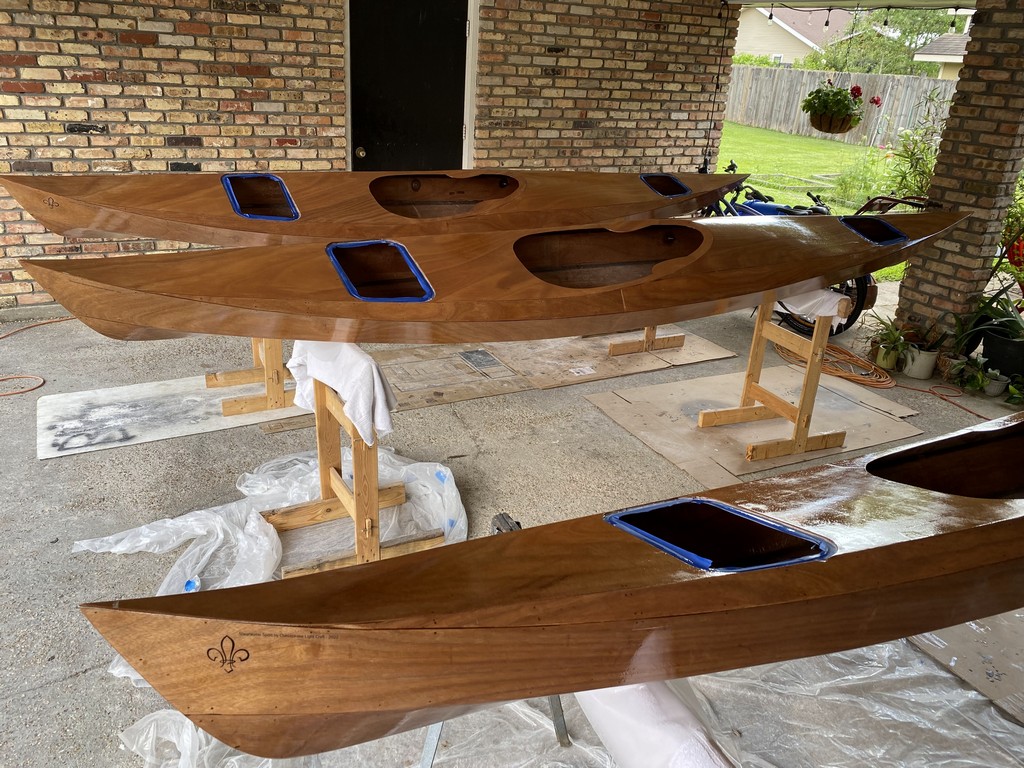
I caused part of the problem when bonding the decks to hulls with epoxy fillets and fiberglass strips. Trying to keep on track with my assembly line process of building three boats concurrently, I was usually in a rush. As a result, the finish of my epoxy joint work inside the boats was messy and rough. This was especially true in the fore and aft compartments which are accessible only through the hatch openings. That work wasn’t pleasant, and the sanding to clean up the surfaces afterward was no joy either. I am very happy to be finished with most of the interior work, as power tools can be used on exterior surfaces which makes the sanding go much more quickly. Remaining interior work includes sealing the tops of the bulkheads to the deck (the gap on mine is larger than what is suggested in the plans,) filling some gaps around hatch sills with thickened epoxy using a syringe, and installing the hip panels.
Hull Prep
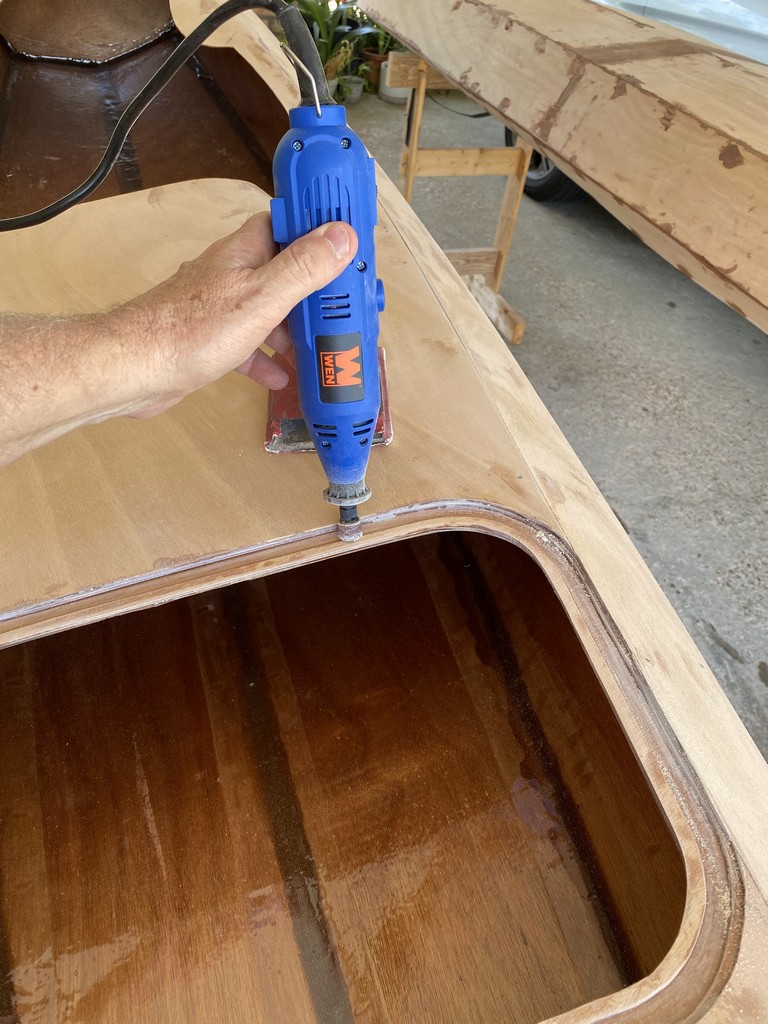
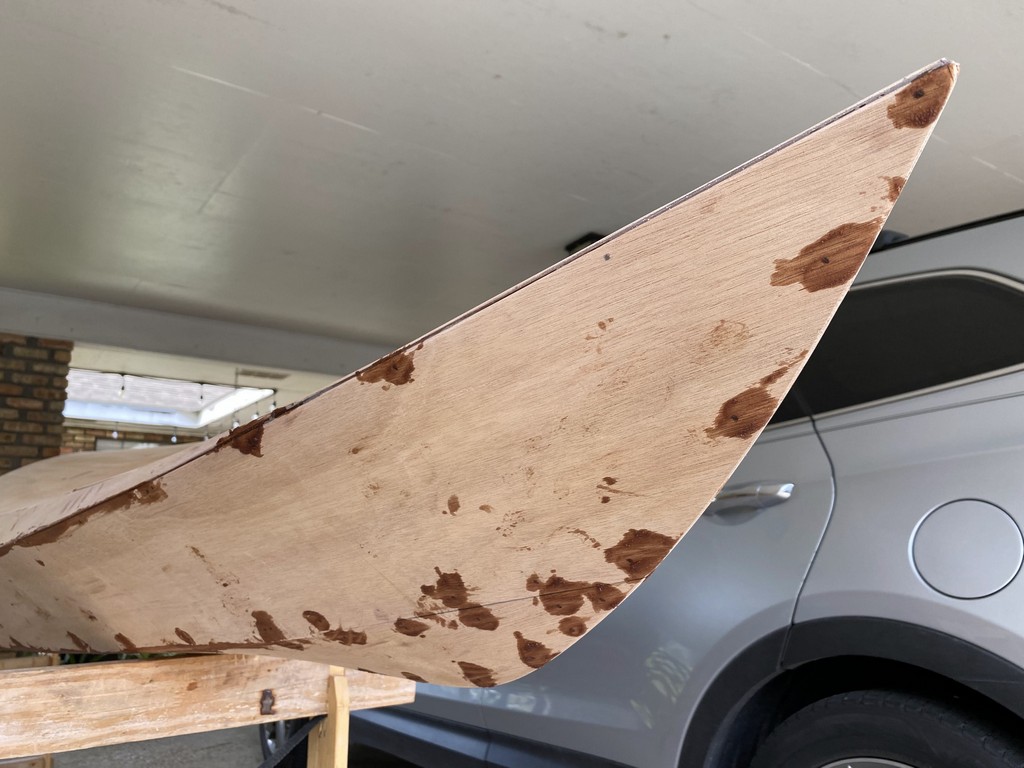
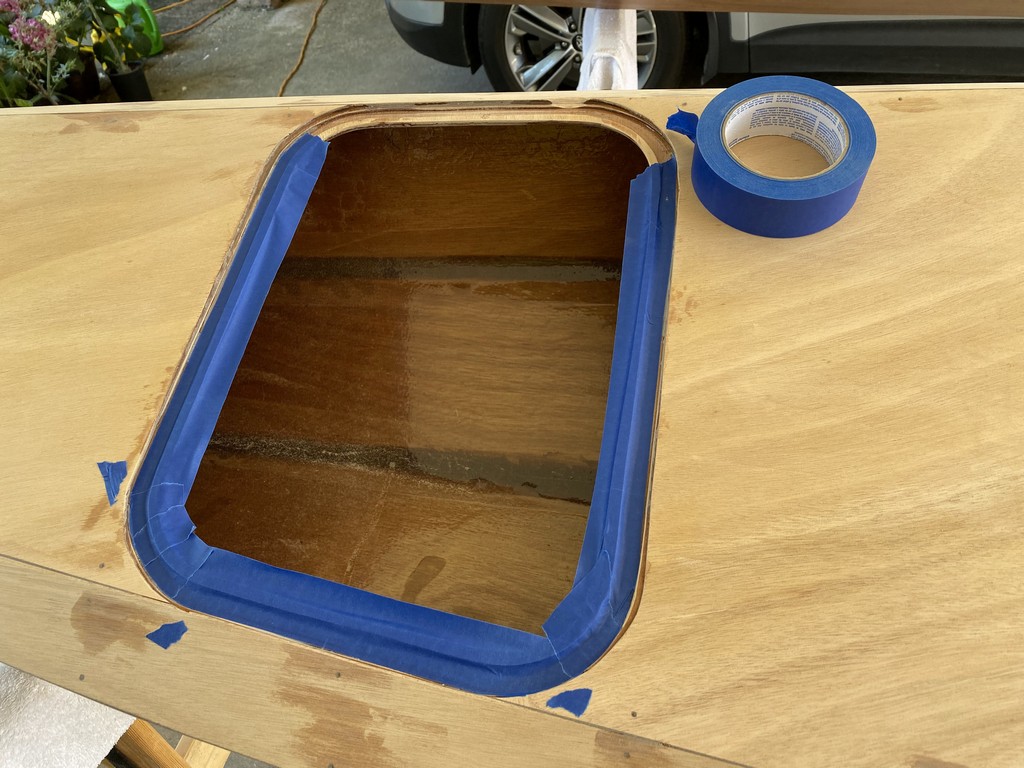
I broke down and bought an off-brand dremmel tool which was helpful in cleaning up epoxy runs and sags around the hatch rims. This ensured I have a uniform groove for the hatch seal weatherstriping to seat into. I also filled all wire stitching holes in the deck or hull with thickened epoxy before sanding the exterior. Some builders claim this step is unnecessary. I am hoping this will hide the holes as much as possible, although due to the dark color from wood flour this may have backfired on me. I again got in a hurry trying to plug the holes in all boats before my pot of epoxy got warm, resulting in some excess epoxy on the surface where I didn’t wipe off excess promptly. I should have mixed smaller batches of thickened epoxy. One can either spend the time mixing numerous small batches, or you can spend that time sanding off excess that you didn’t wipe in time.
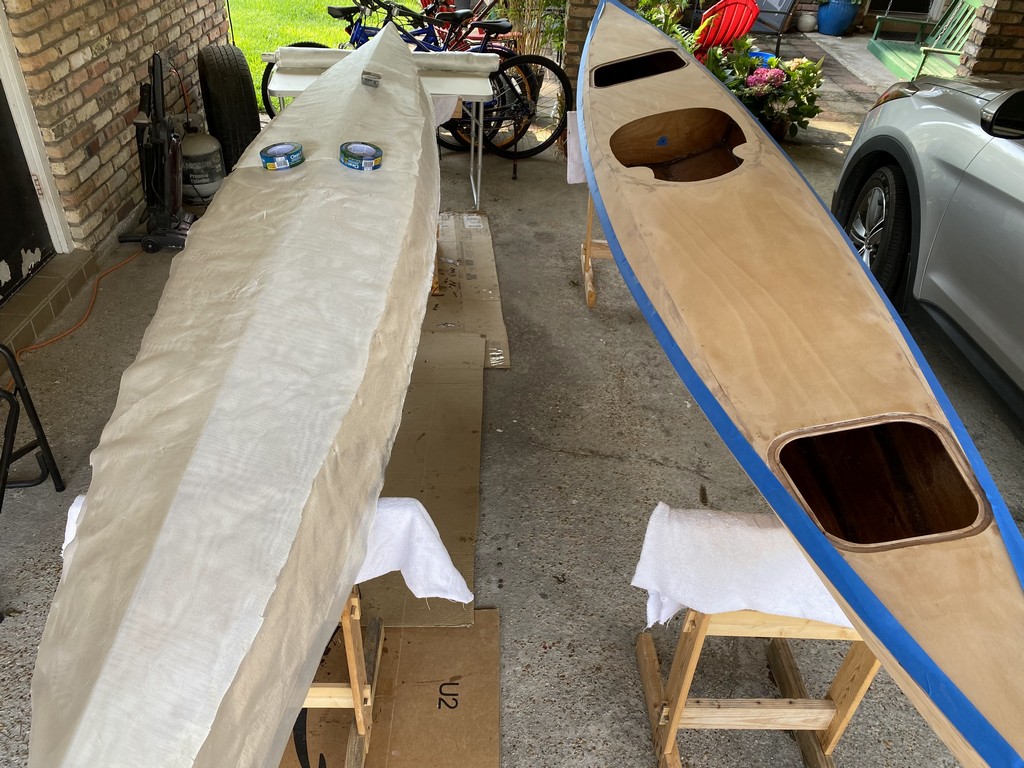
Naming the Boats
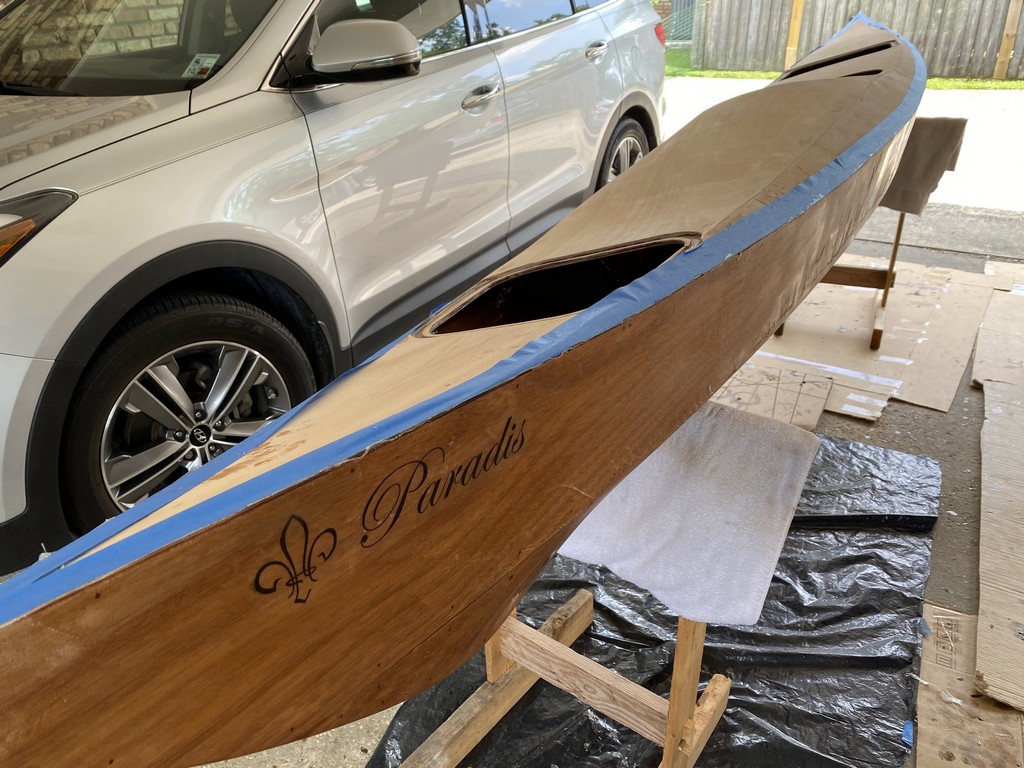
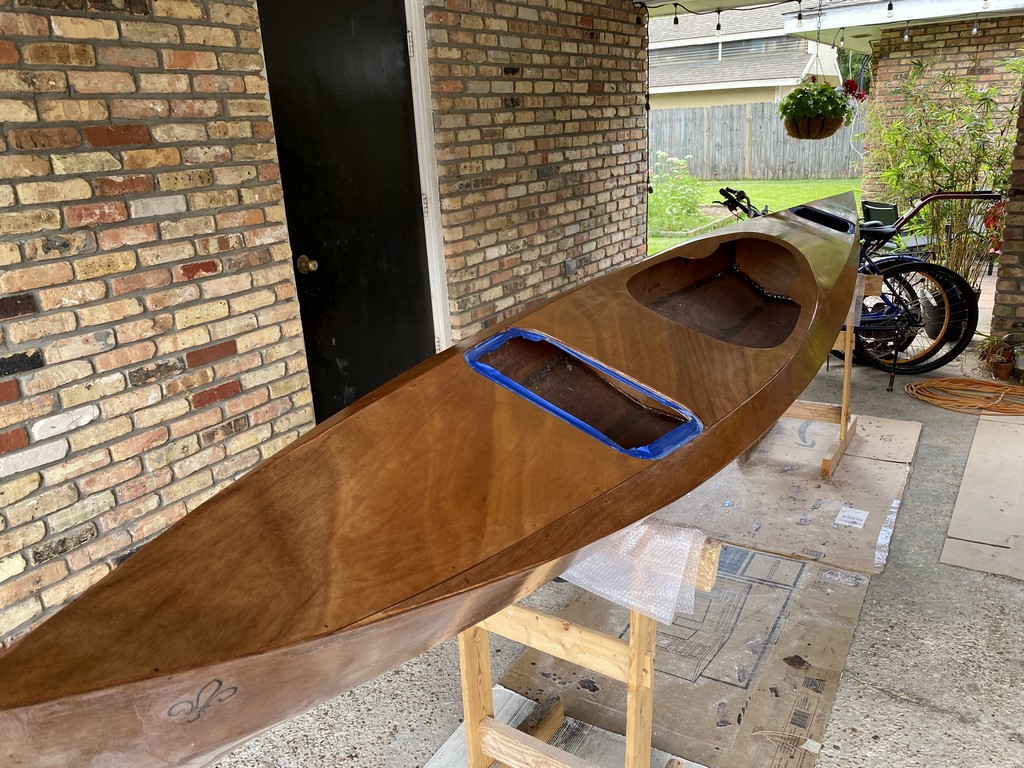
My sons and I went through a process of listing and selecting names for our kayaks. I like regionalism, so I proposed using names of local bayous or French terms used in south Louisiana. They agreed, made their choices, and I printed full-size tests using various script fonts. Once satisfied, I used our black toner laserprinter to print the names and some fleur-de-lis graphics onto rice paper. This I purchased at Hobby Lobby as a roll, cut sheets to size, and taped them at the corners to sheets of legal-size copy paper and ran this through the printer without incident.
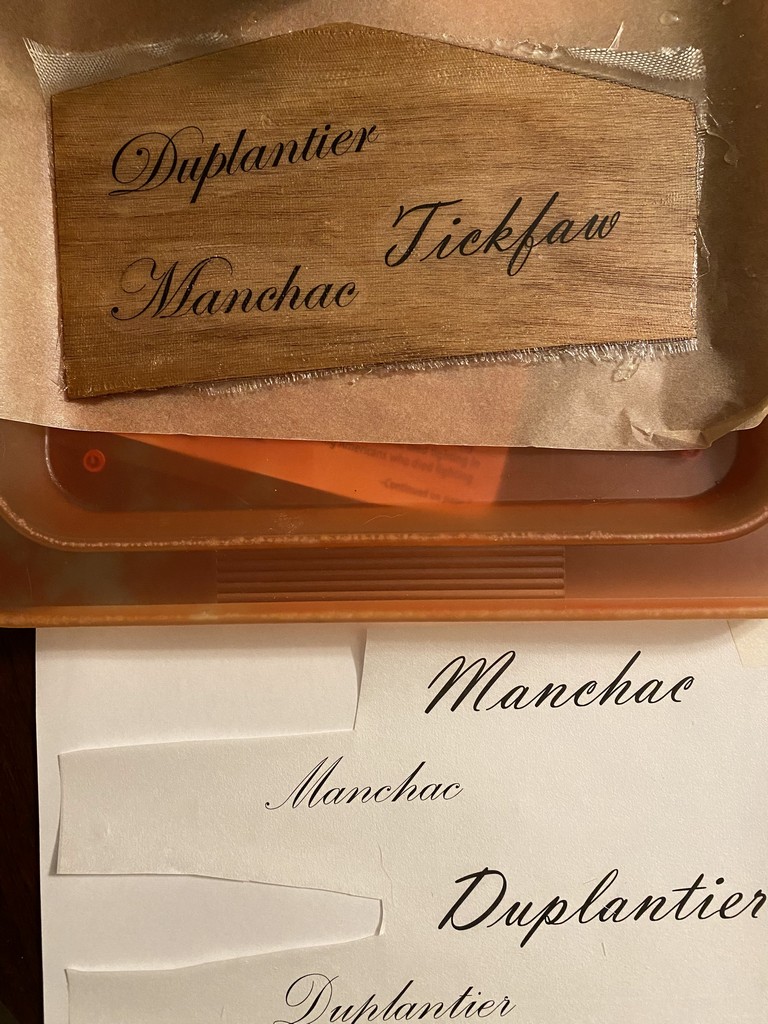

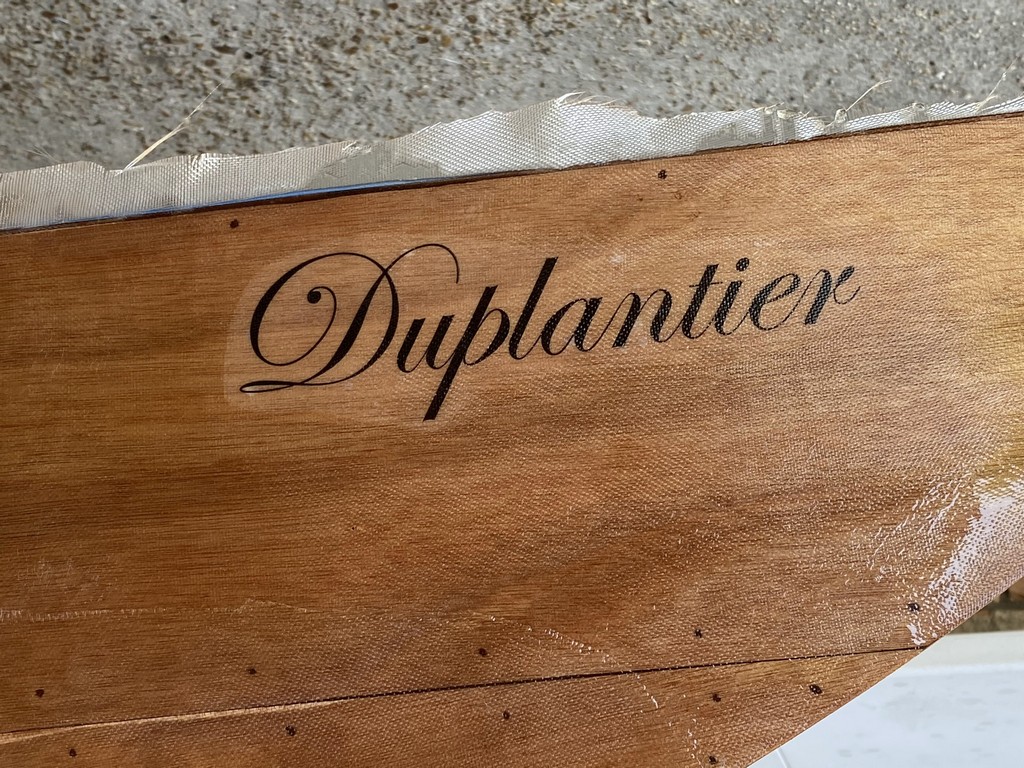
I cut out the names from the rice paper and applied these to the sanded kayak hulls beneath the fiberglass. When wet out with epoxy the rice paper nearly disappears.
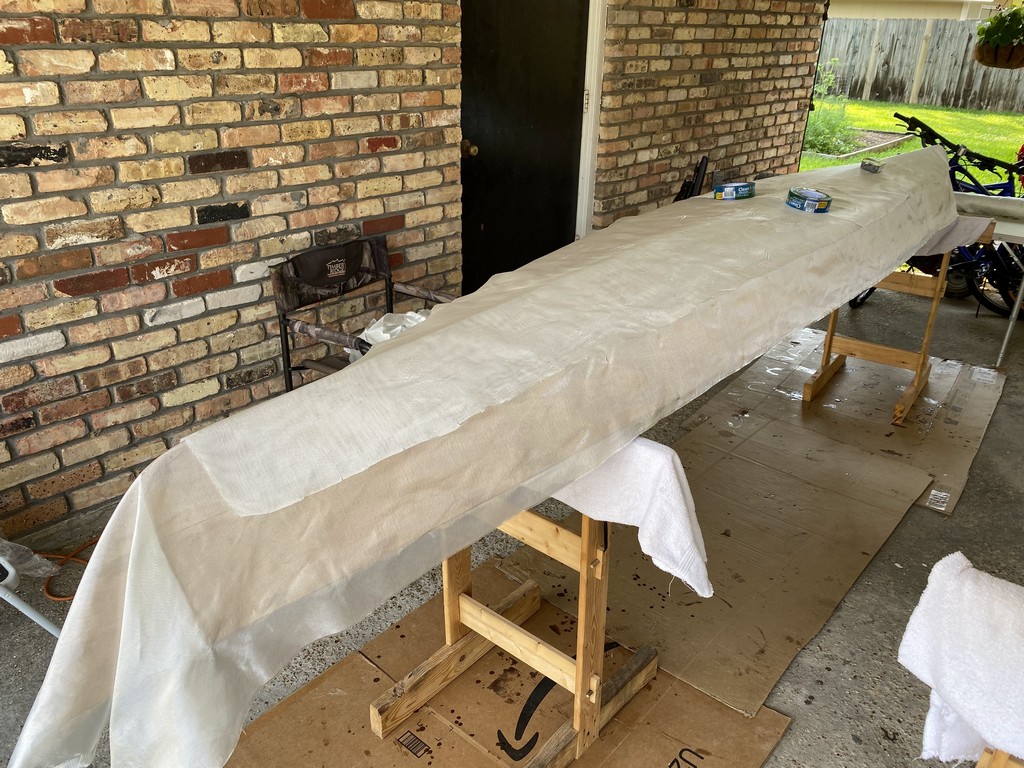
Fiberglassing
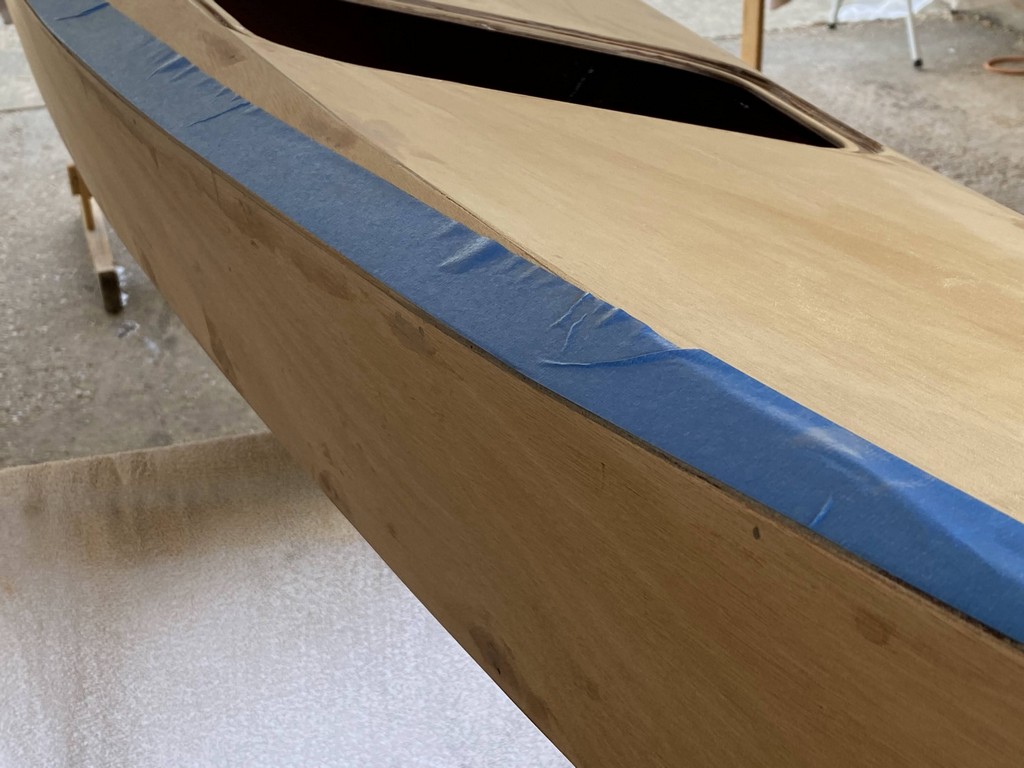
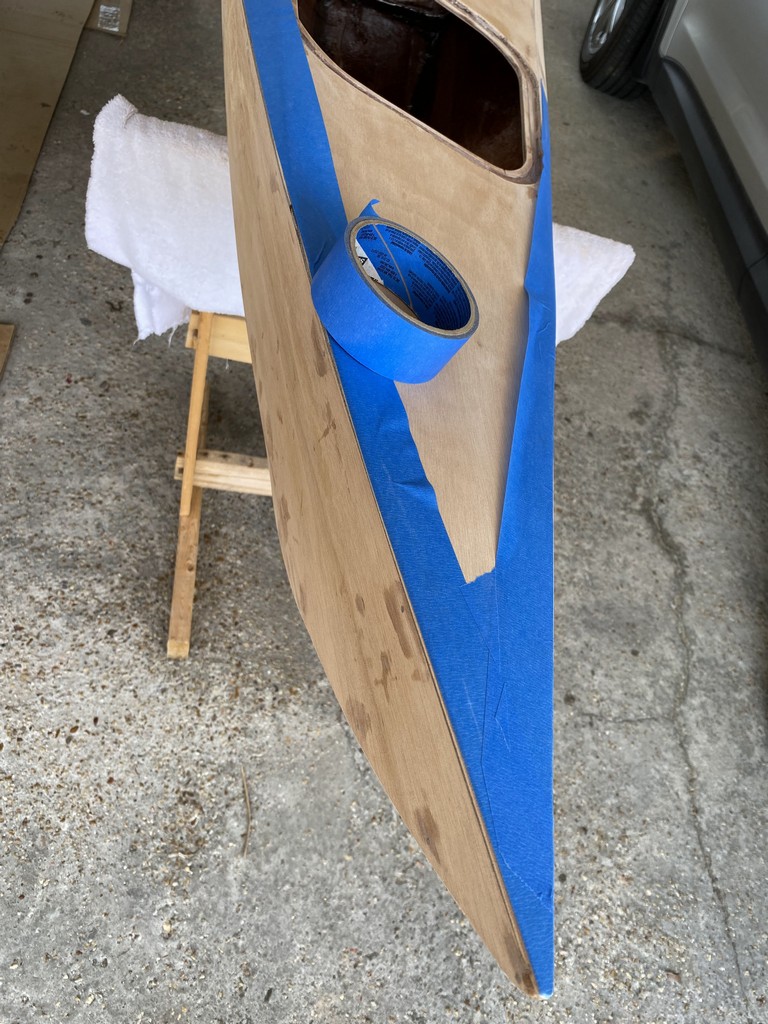
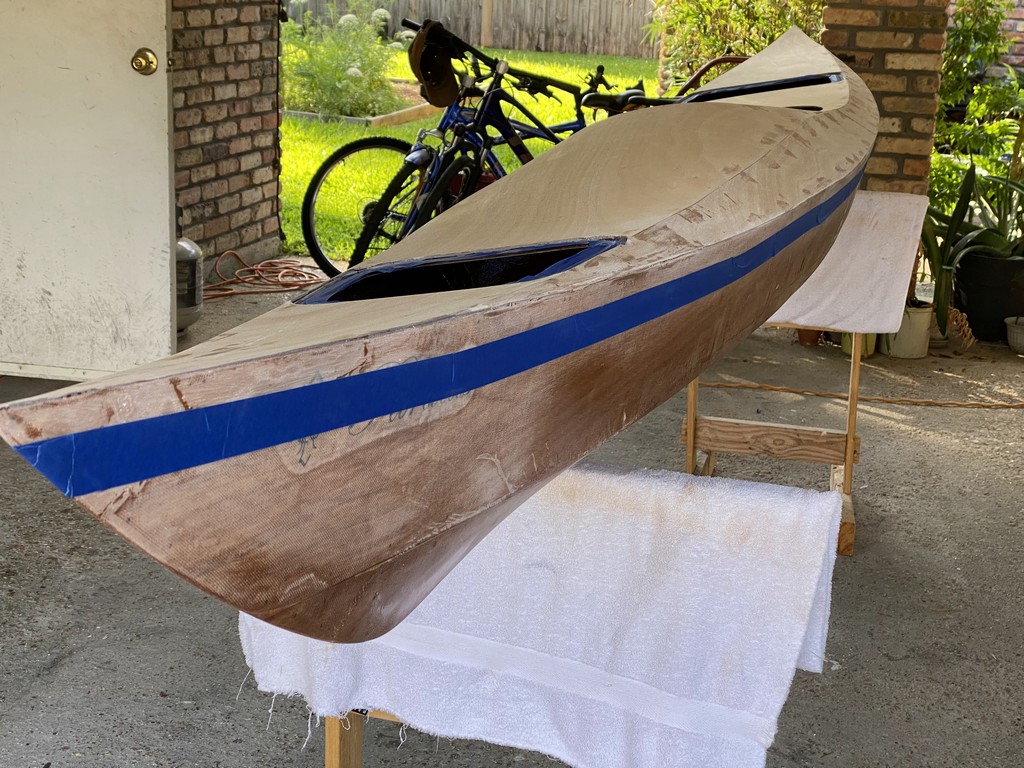
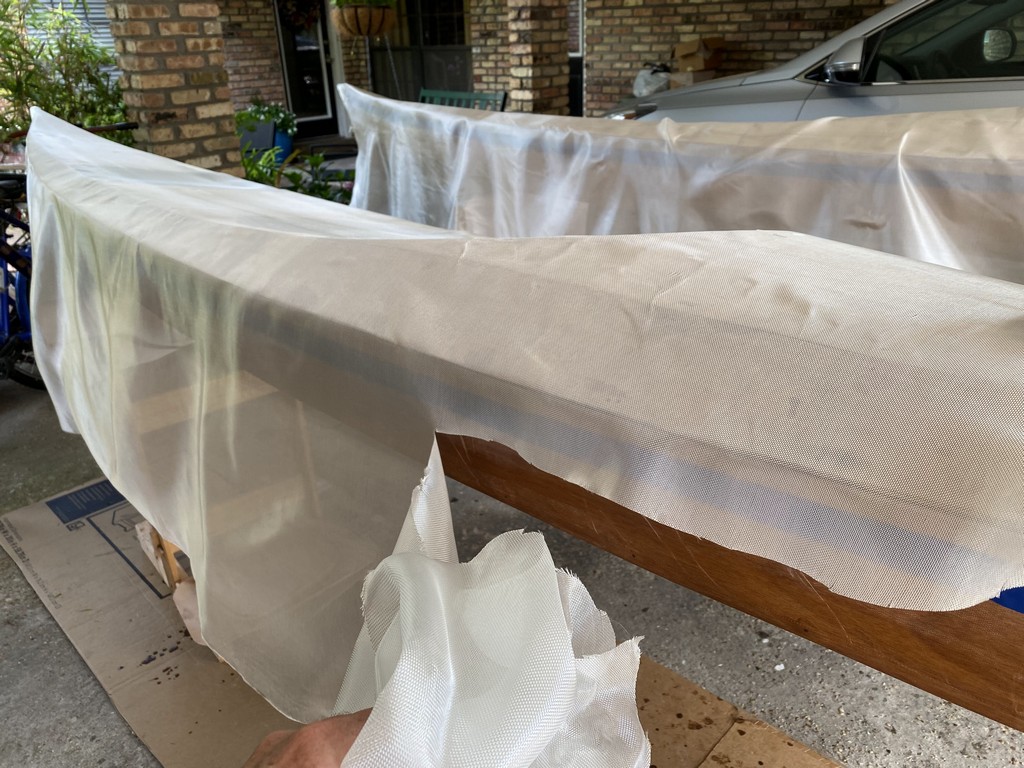
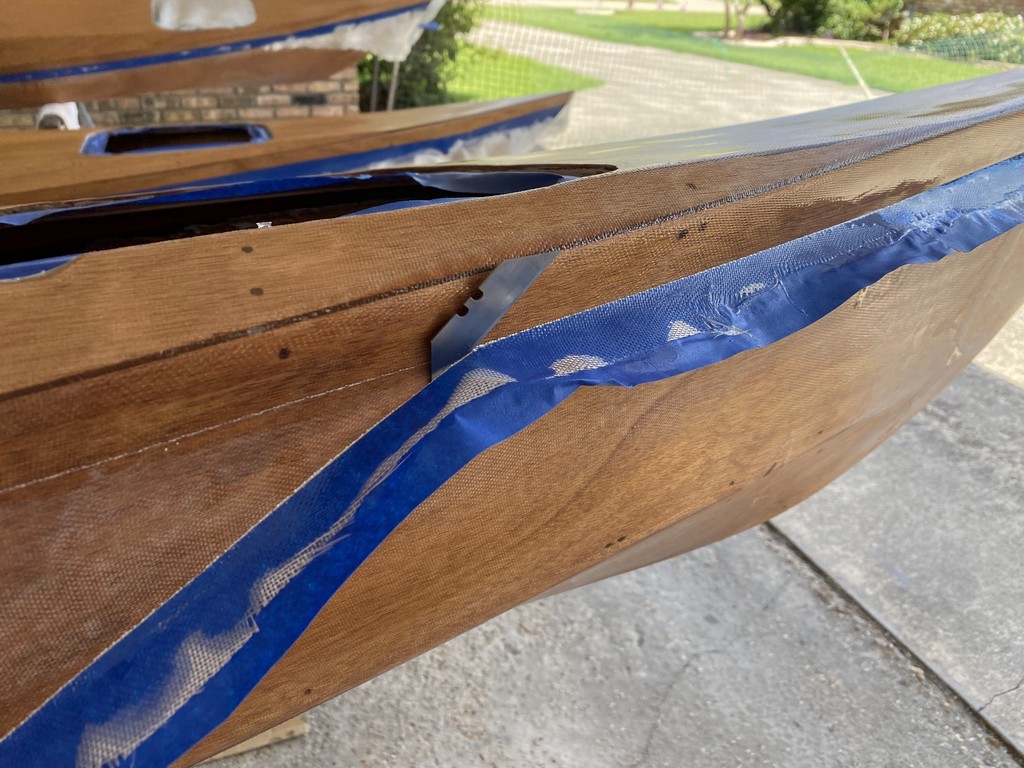
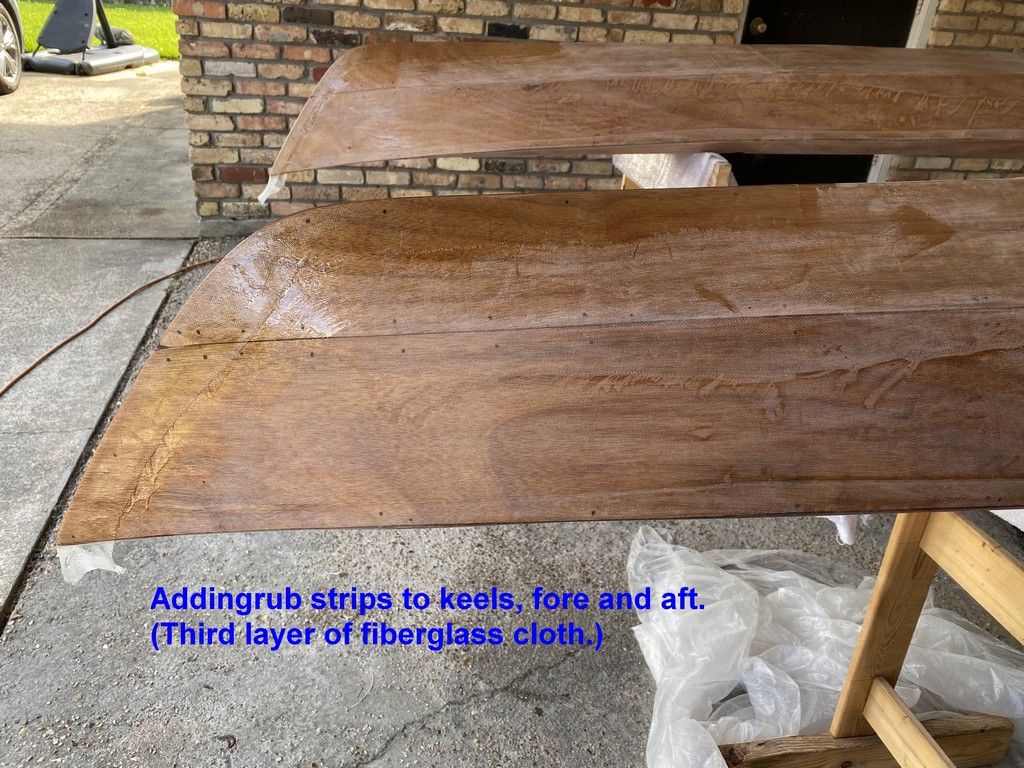
Finally, I was ready for the major step of glassing the hull. Blue painter’s tape was applied to the deck edges at the shearline joint to prevent epoxy from running down onto the deck. I laid out the 5 foot wide cloth from bow to stern, allowing a few extra inches to drape at the tips. The cloth was then pulled as far to one side as possible, leaving only an inch extra. The surplus was cut with sharp scissors, again leaving only an inch excess. When cut in half and switched order, this surplus was now sufficient to provide the 2nd layer of glass on the bottom of the hull. I overlapped it an inch in the middle of the boat, and trimmed it to fit with just an inch overlapping the shines from the hull bottom panels onto the sides. The glass was smoothed out by hand across the entire bottom of the boat, working out wrinkles. Plans call for the addition of a third layer - a 3" wide rub strip across the “V” of the hull at the bow and stern. I elected to wait and add this 3rd layer ribbon of bias-cut fabric later, after the initial application of epoxy dries. I’m glad I did, even if this takes more time, as I had difficulty enough saturating two layers of fabric with resin.

The Raka epoxy resin was applied with a 5" plastic squeegee, pouring a puddle of it from the cup and then spreading it to saturate the fabric. I used Raka’s UV inhibited resin and found it easy to work with and it cured just as clear as their 127 low viscosity resin. Generally, I worked from bottom of hull down to the shearline to remove excess resin, but I did work it fore and aft also.
My early error was mixing too much resin at once as I was unable to use it all before the pot grew warm and the resin began thickening. This made it difficult to saturate the fabric so I worked fast in a panic on areas with only a single layer of fabric. I should have just discarded the warm epoxy. On future batches I mixed smaller ammounts and had greater success wetting out the fabric layers easily.
At the bow and sterns of all boats I found I had to cut a dart and overlap the glass on one side of the hull to make it fit the curve of the keel. It overlaps only an inch or two and won’t be noticable after sanding and additional epoxy fill coats.
Fill Coats
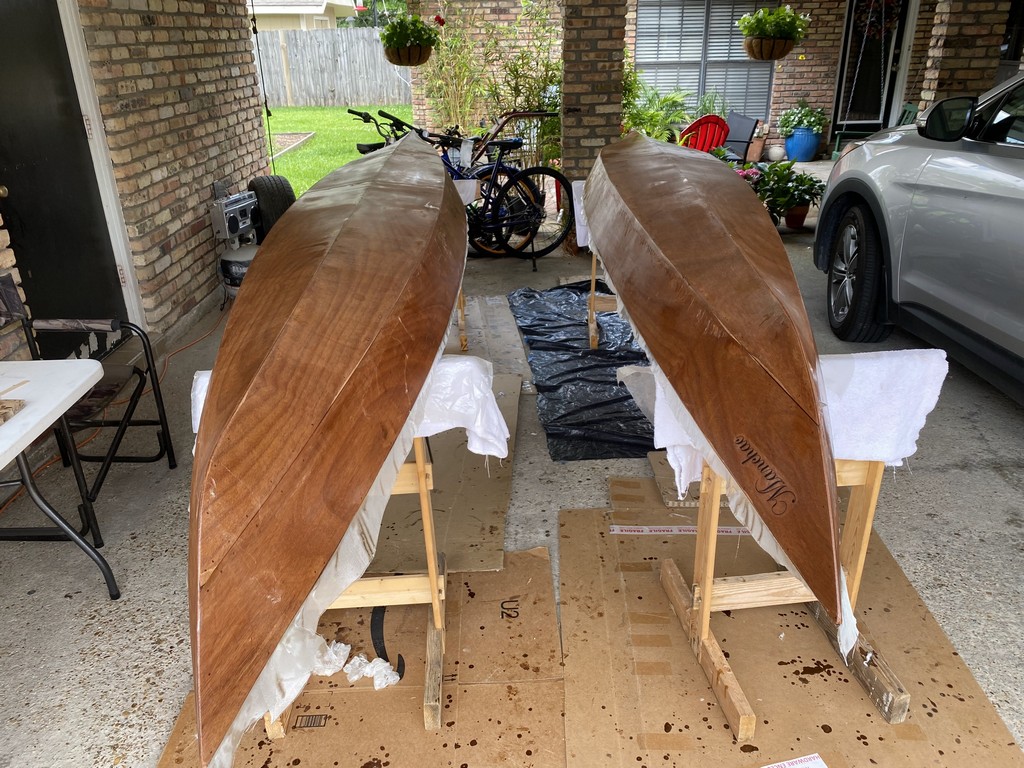
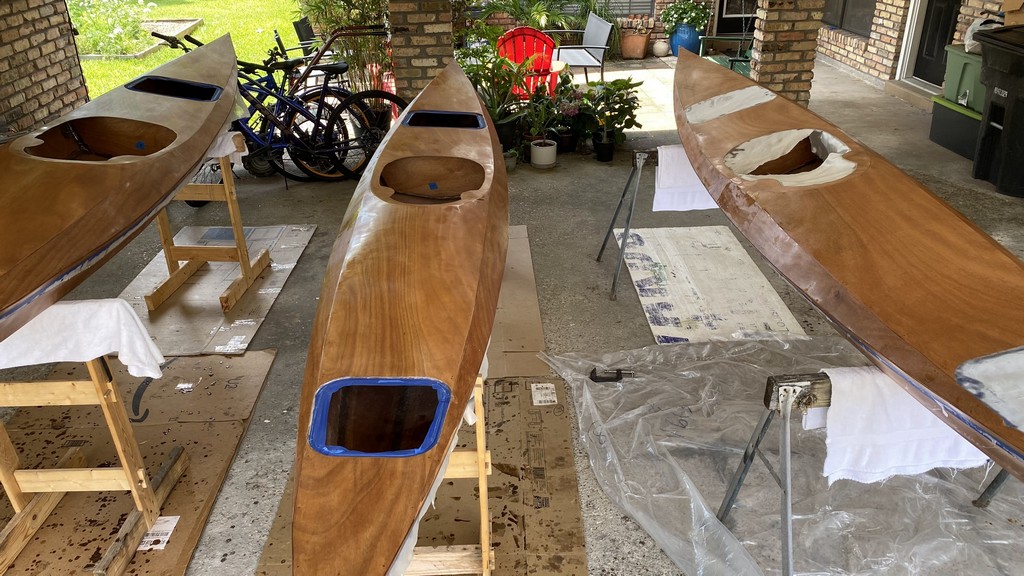
Omitted from the photos here is the intermediate step of - you guessed it - sanding! After the initial encasement of epoxy and fiberglass, the hull and deck is quite rough along the seams, overlaps, and miscellaneous runs I didn’t catch. It took nearly a full day to fully sand and prep the exterior of the three kayaks for their first fill coat of epoxy. The fill coat was applied with a 4" foam roller. I found I couldn’t get all three hulls done before I had to discard the foam nap. It got saturated with epoxy and of course began getting hot while working on the second hull, softening the foam and losing it’s ability to effectively spread the epoxy. The end even separated and fell off. I grabbed a fresh foam nap to finish boat #2 and then the third. Warming naps is less of a problem on the decks as there is less real estate to cover with epoxy so it goes faster, although I did also coat the tops of the hatches at this time.
Returning to the boats after the fill coat has cured was satisfying. The beauty of the wood shown through the clear epoxy coat and I can envision what the finished kayaks will look like. Still, there are quite a few steps to go beginning with another light sanding and rolled-on epoxy filler coat.