16. Paddles and Back Rests
Paddles and seat back rests are accessories commonly purchased as commercial products to complete one’s kayak. I decided to construct my own.
This decision served two purposes: first to control costs, as most of the materials were surplus scrap, and secondly, to maintain the consistent look of wood rather than adding plastic blades, aluminum or carbon shafts, and nylon fabric seats to the kayak “kit.” While the steps below were accomplished over several months, I have consolidated them into the page below for the convenience of those seeking to borrow ideas or mock my lame efforts. (whatever dude!)
Paddles
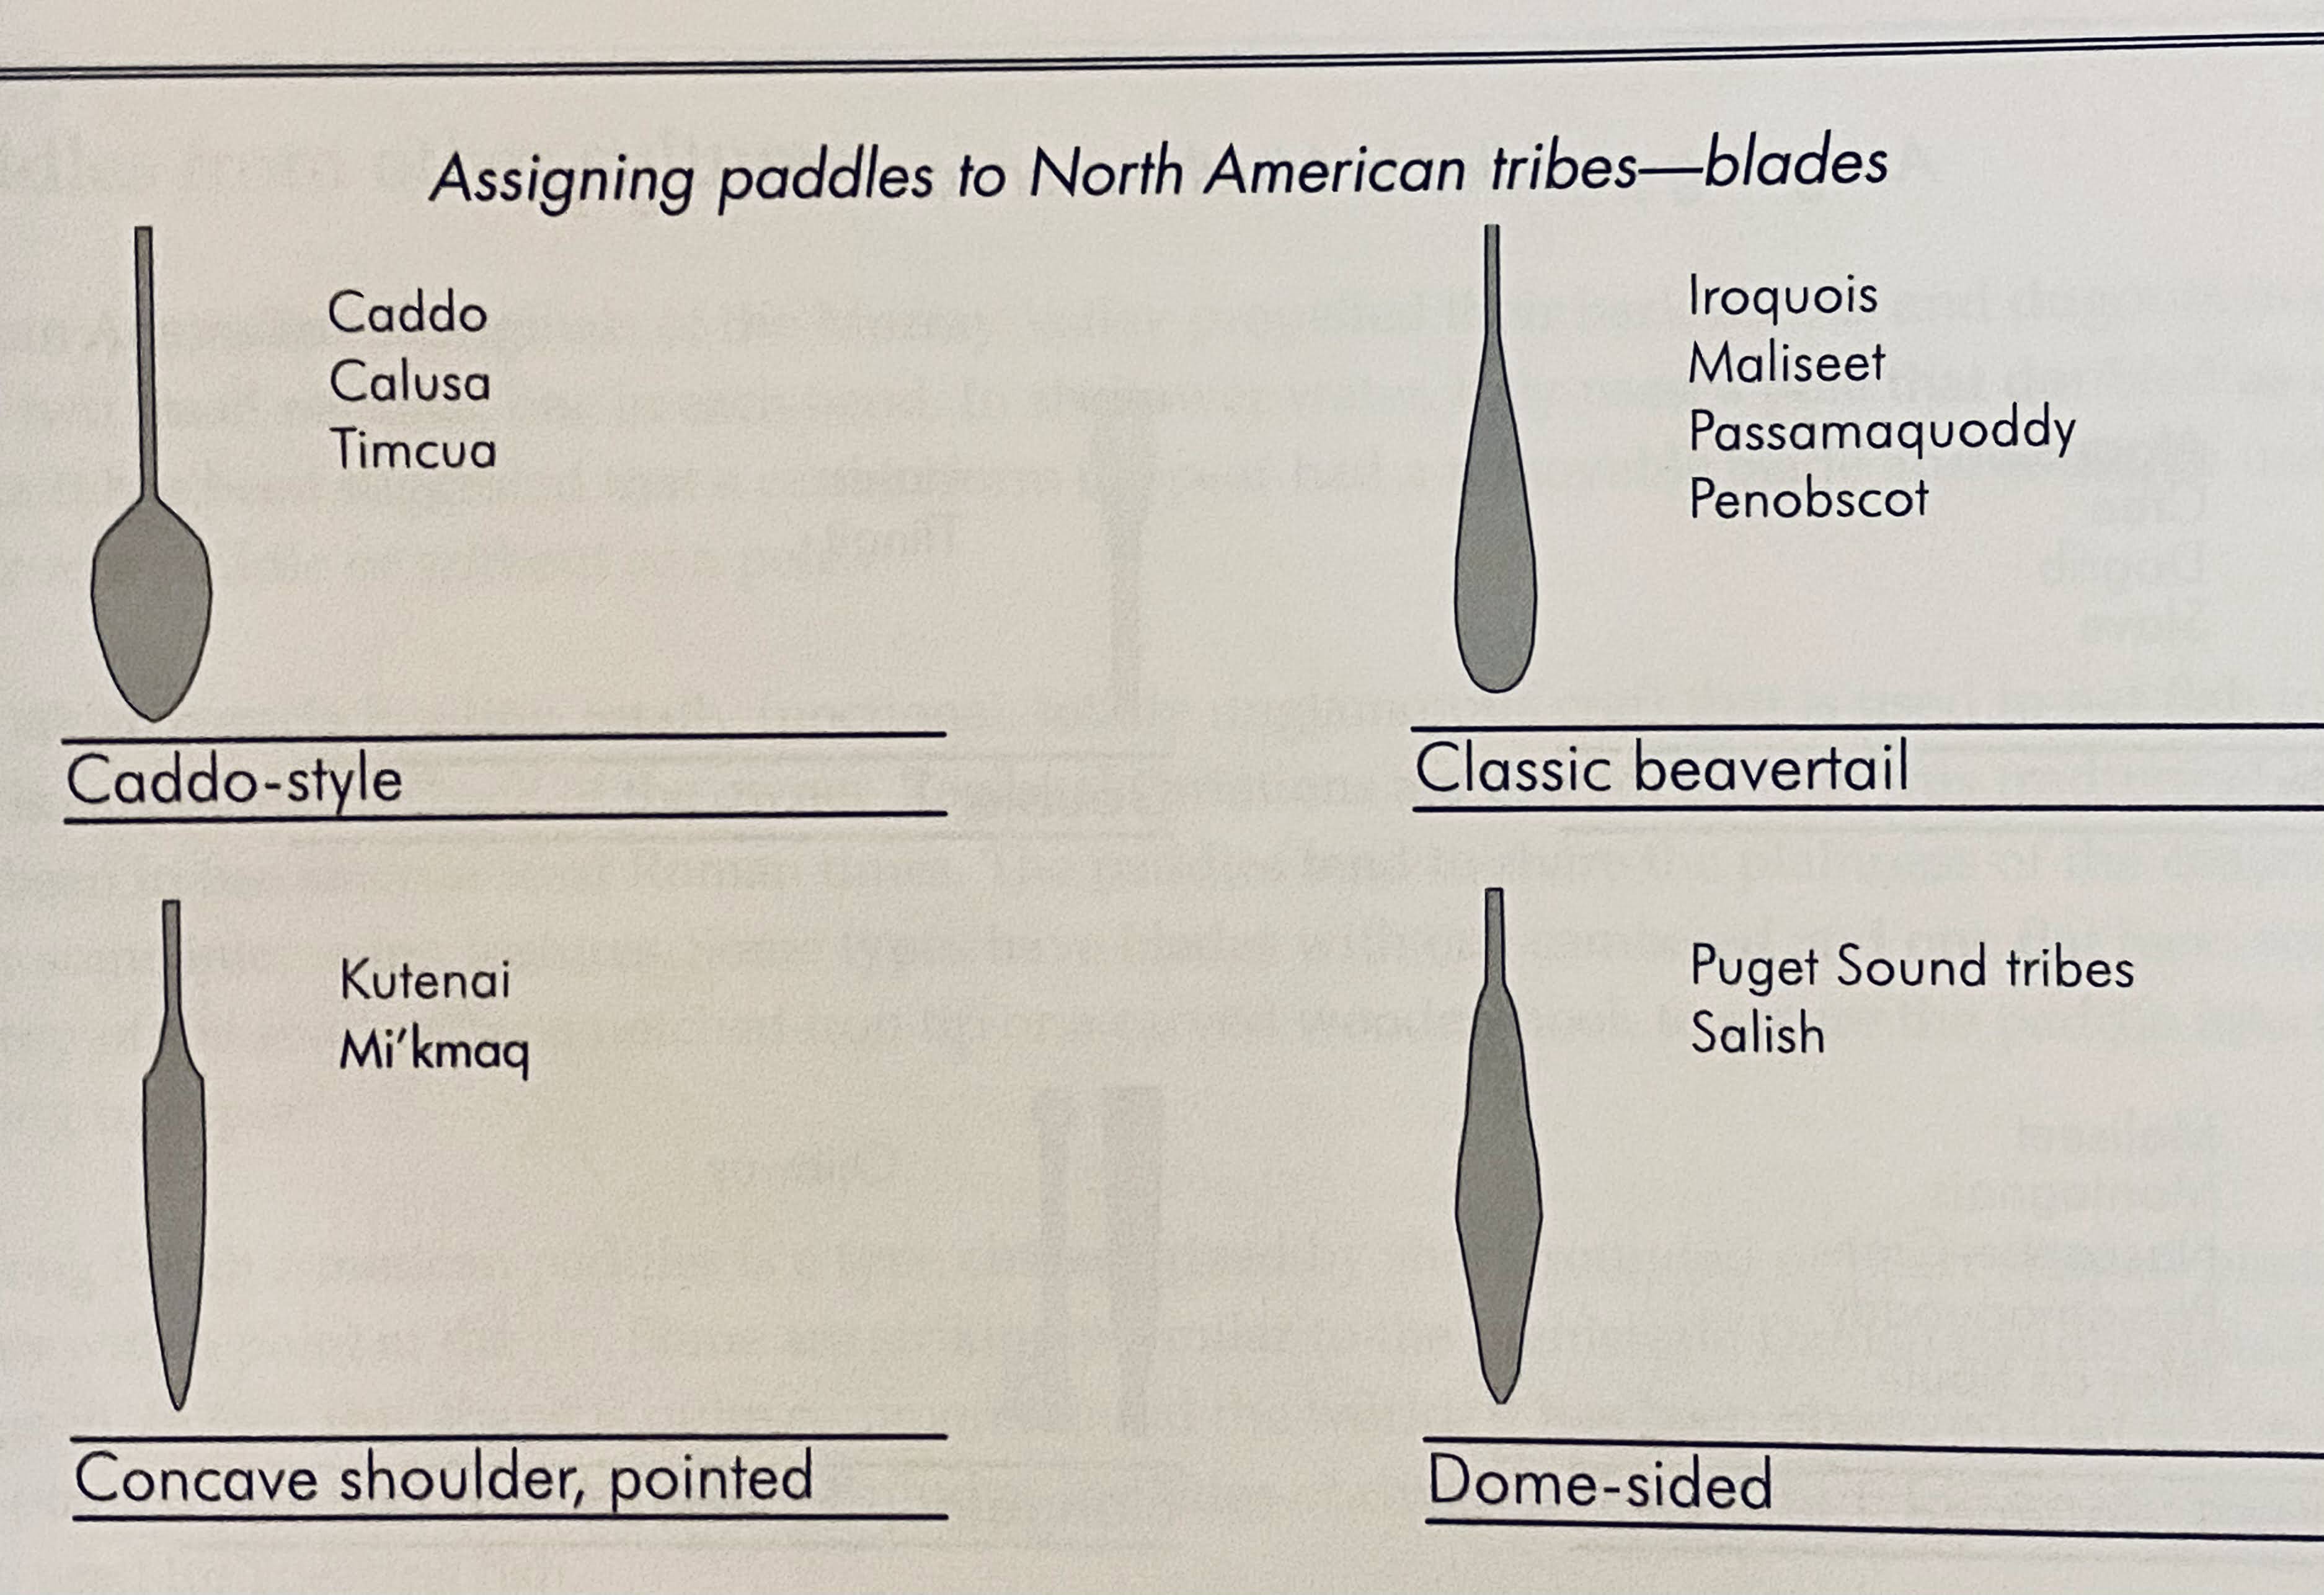
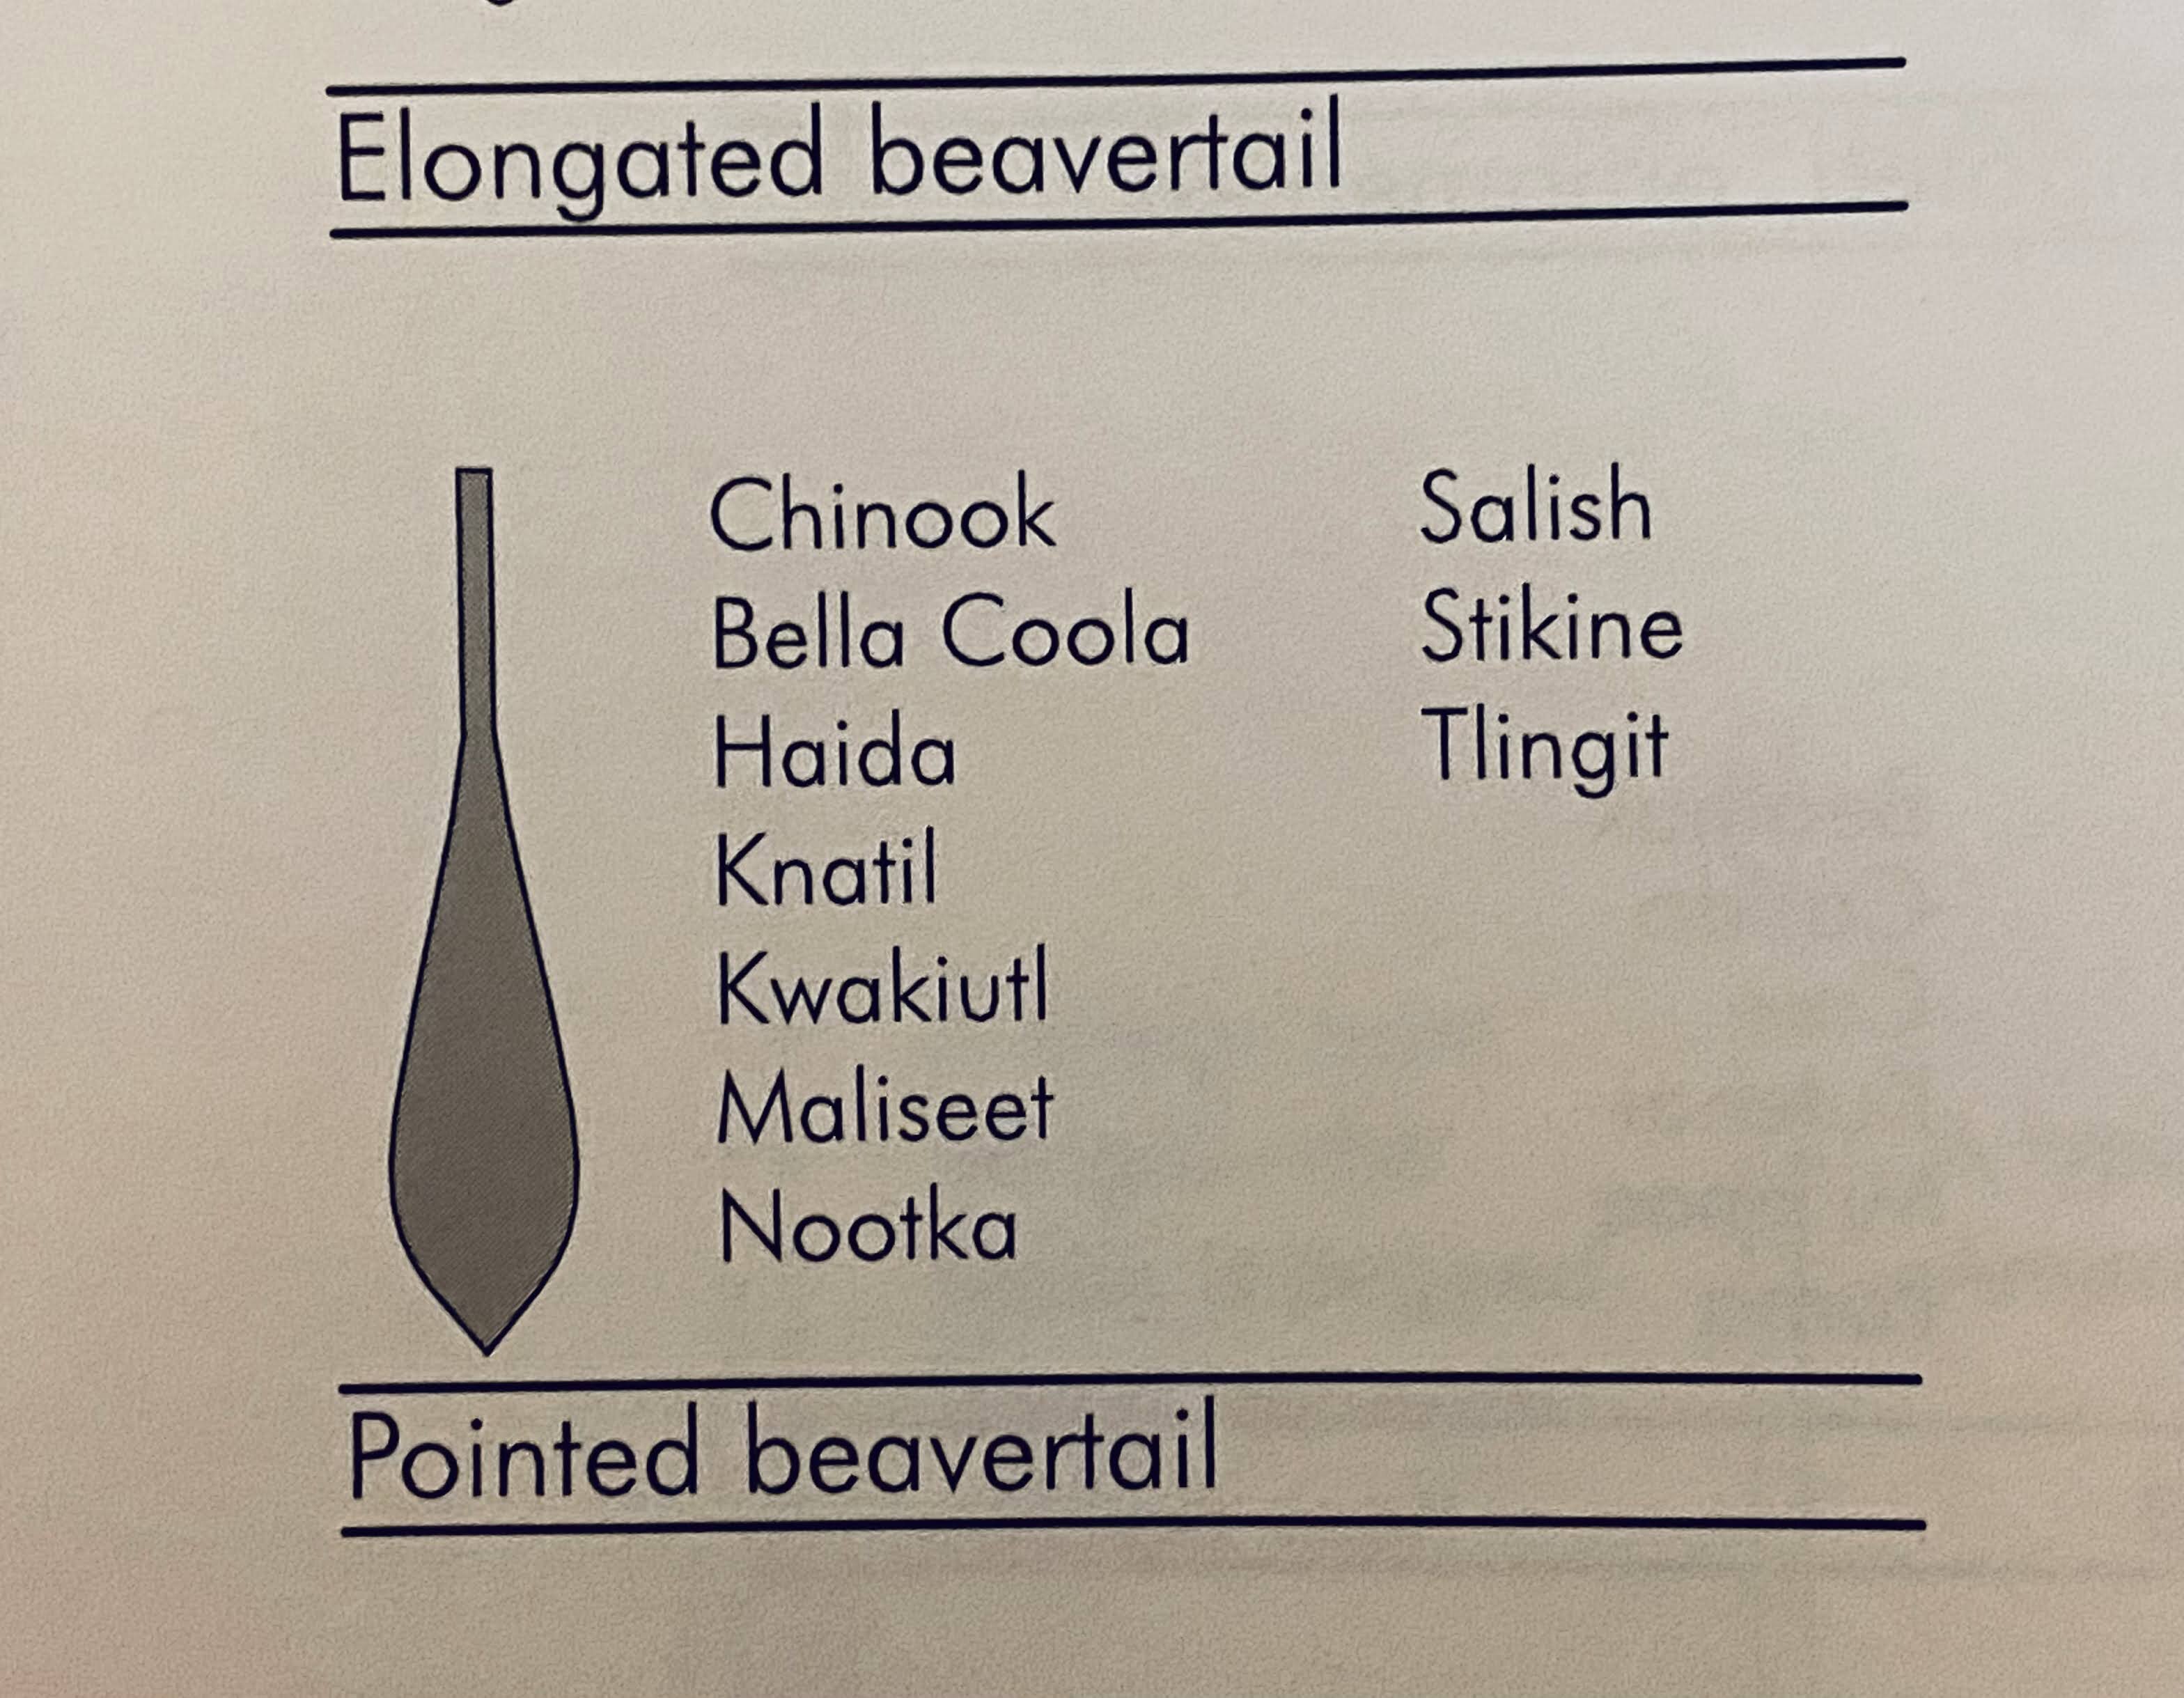
Research for design and fabrication of paddles began in early 2022. At my local library I found a book about wooden paddle and oar construction. The first couple of drawings below are from that book and compare the paddle shapes of indigenous peoples of North America. (Unfortunately, I can’t find the source to credit it.) It is interesting that the southerly tribes - Caddo, Calusa and Timcua - used a more spatulate shaped blade. Generally, that is what I’m aiming for as I’m a child of the south also.
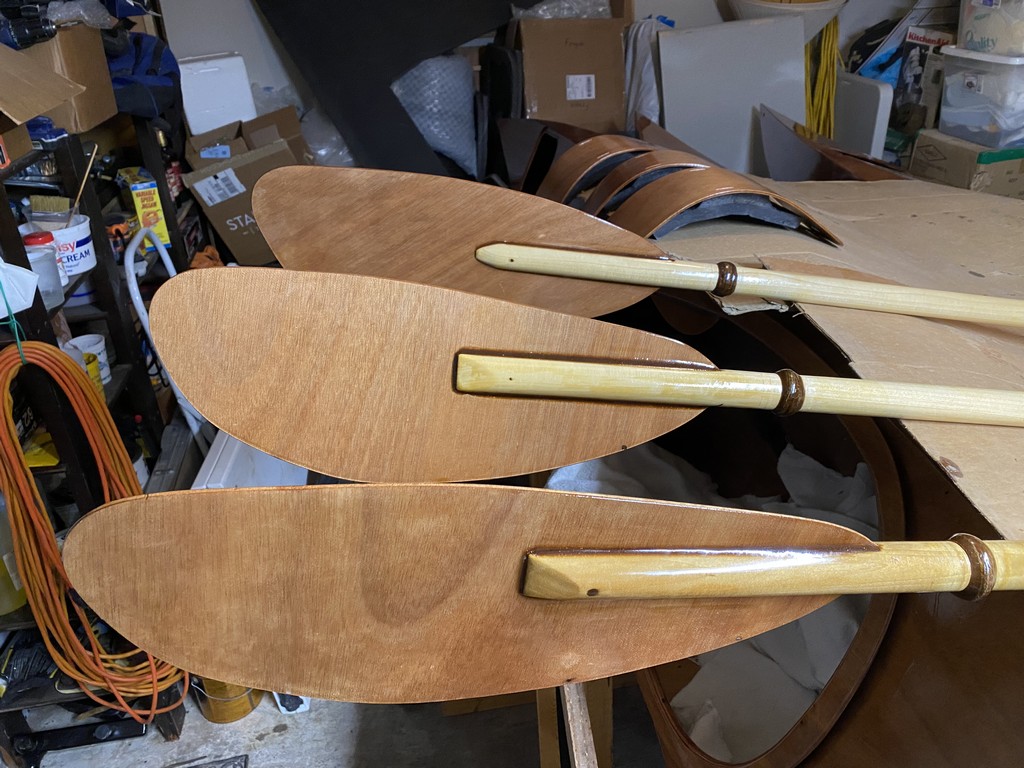
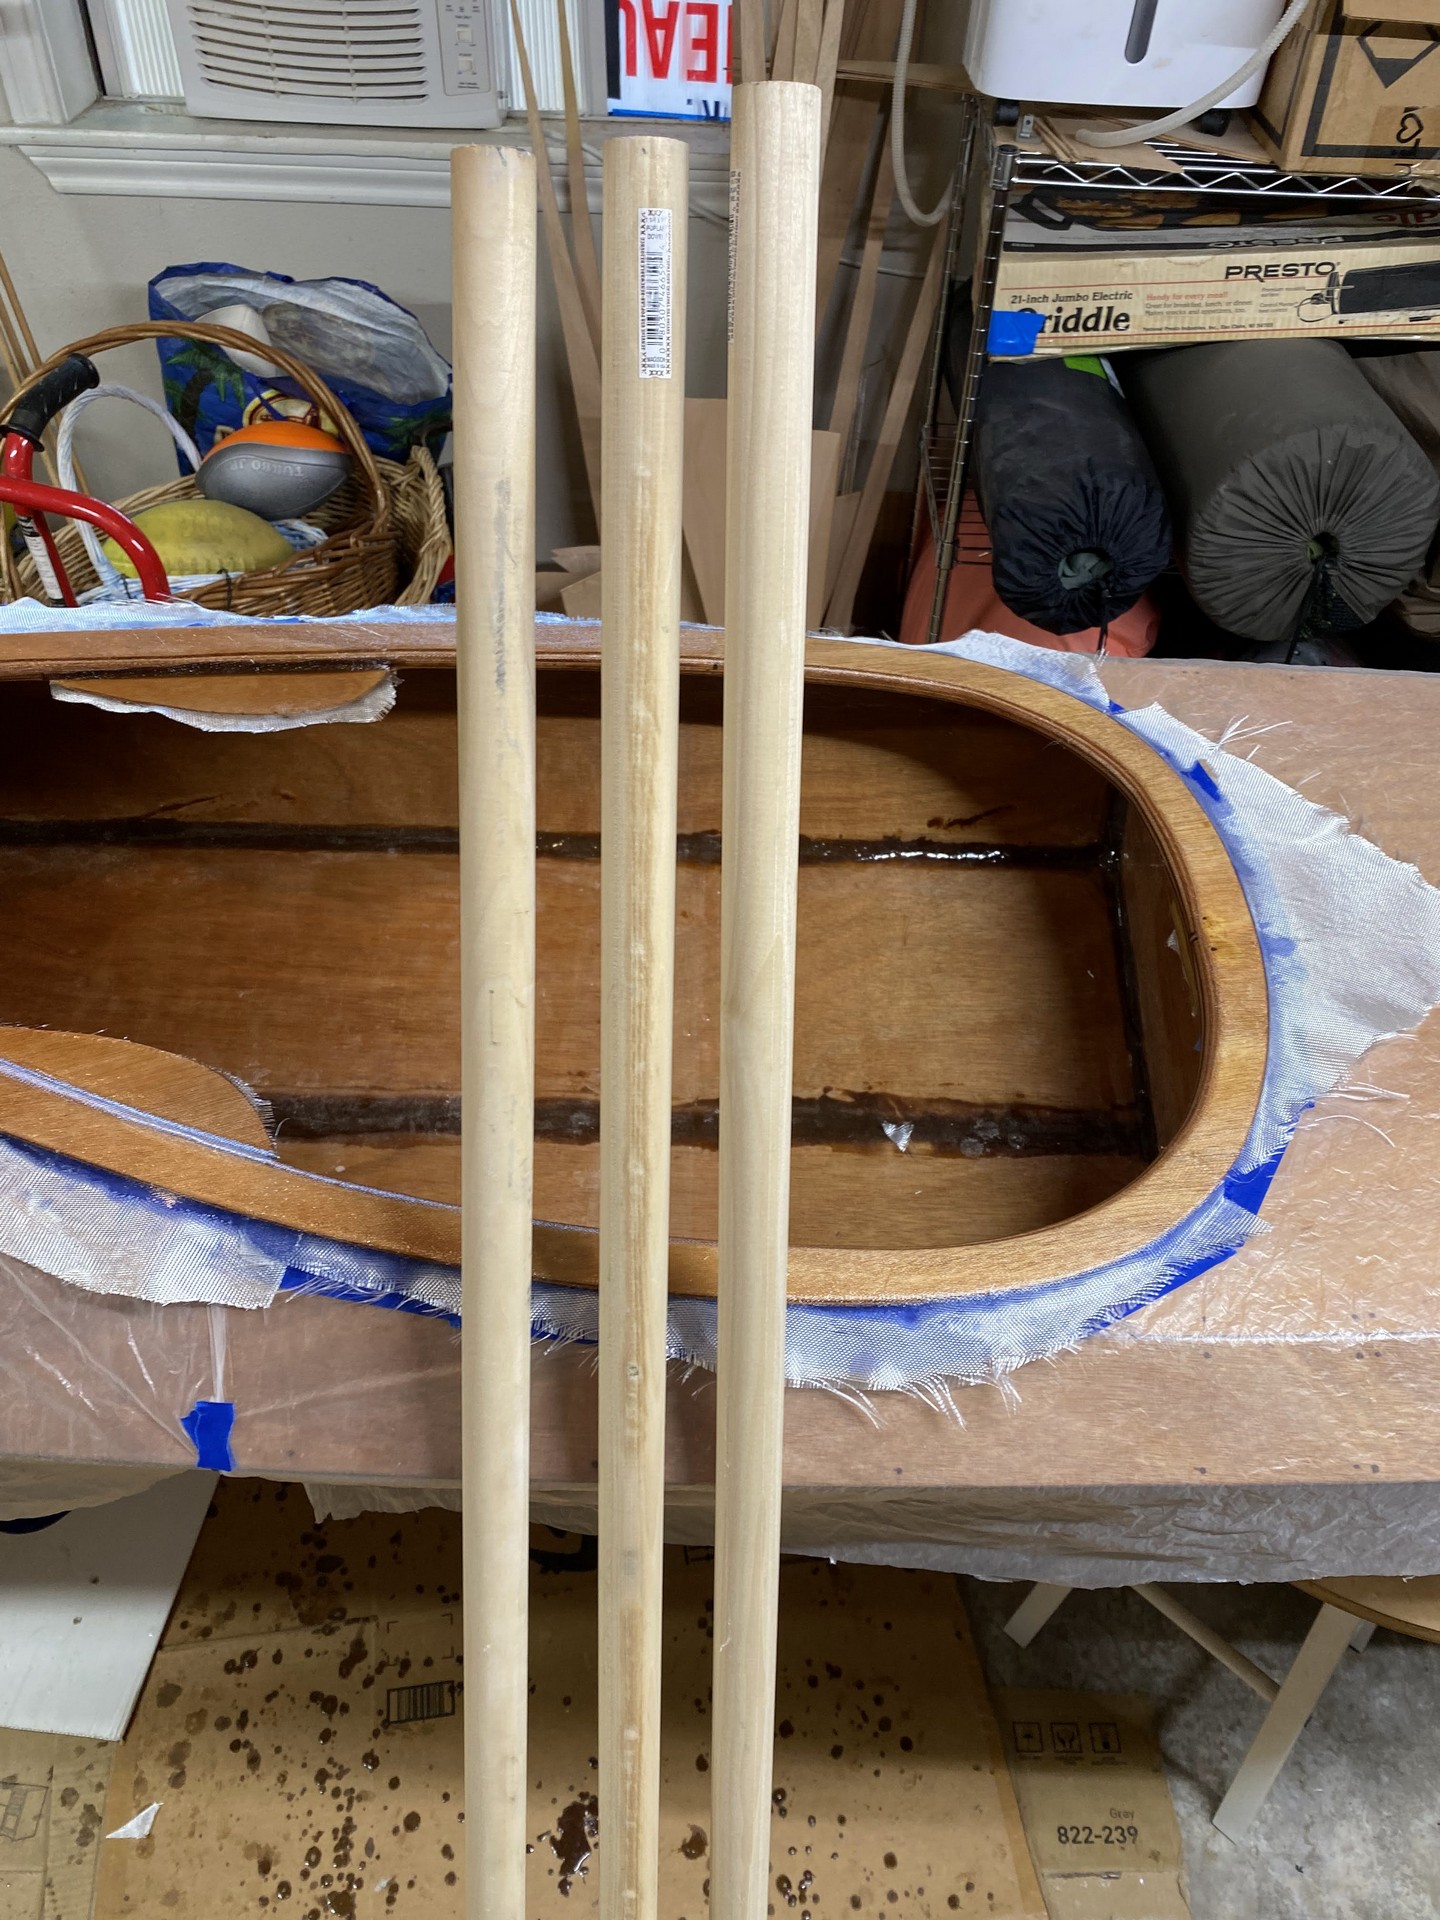
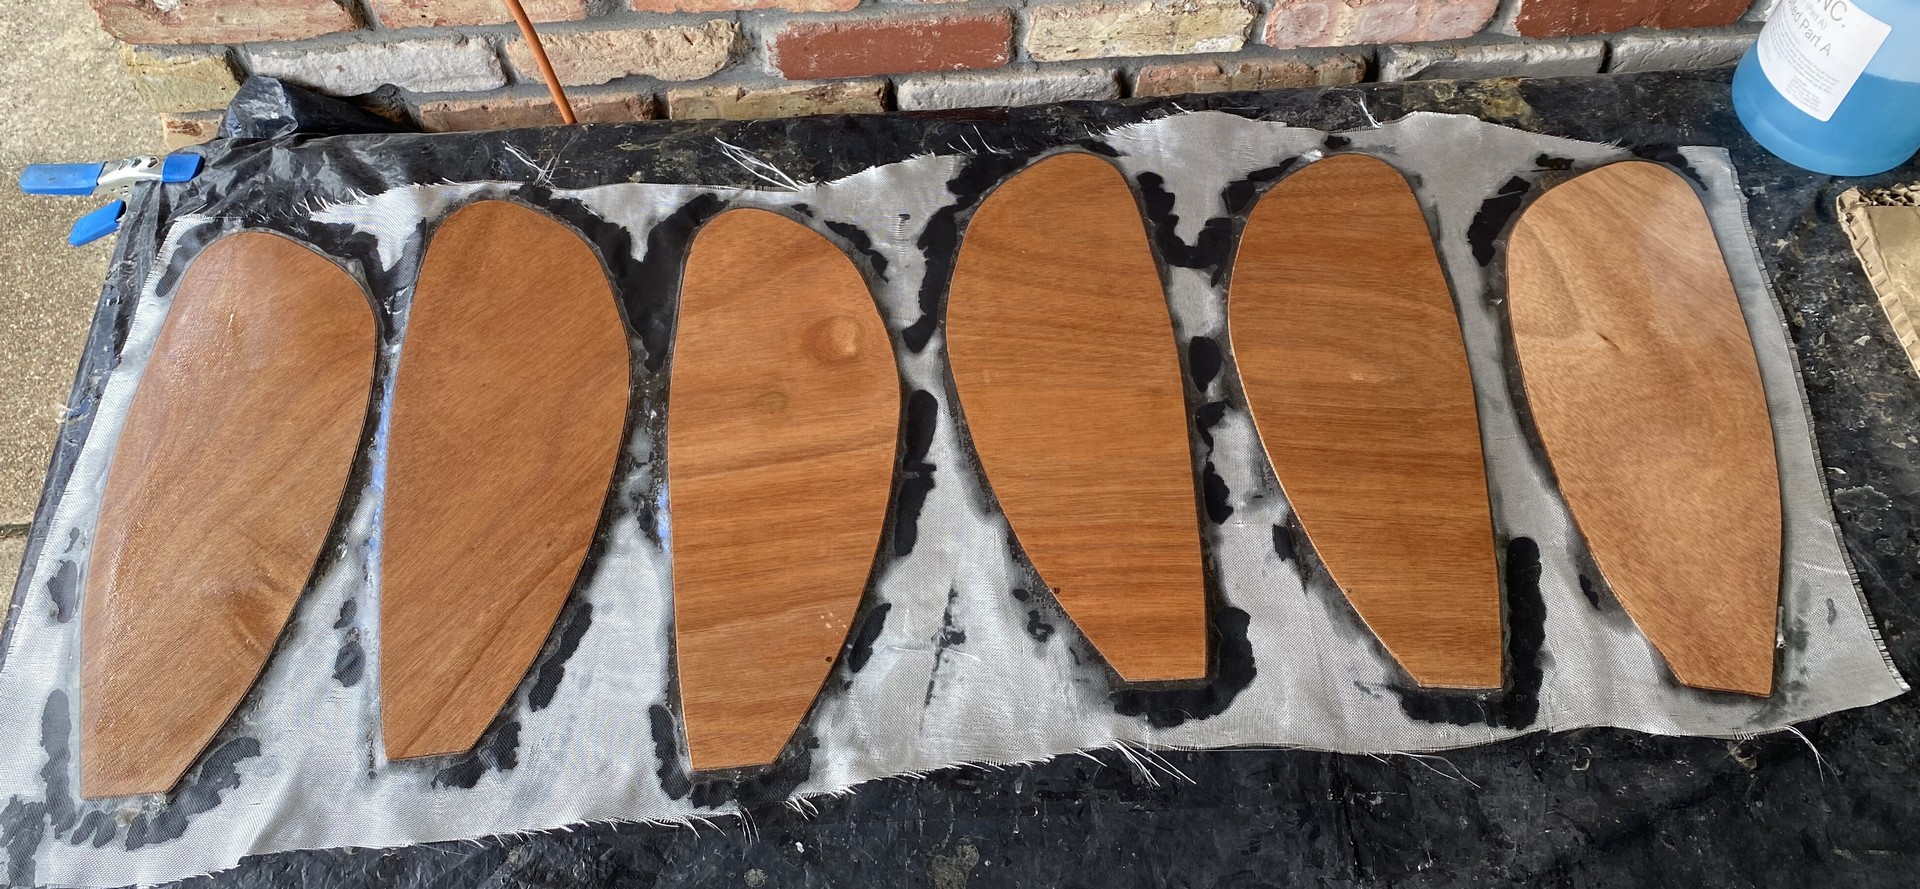
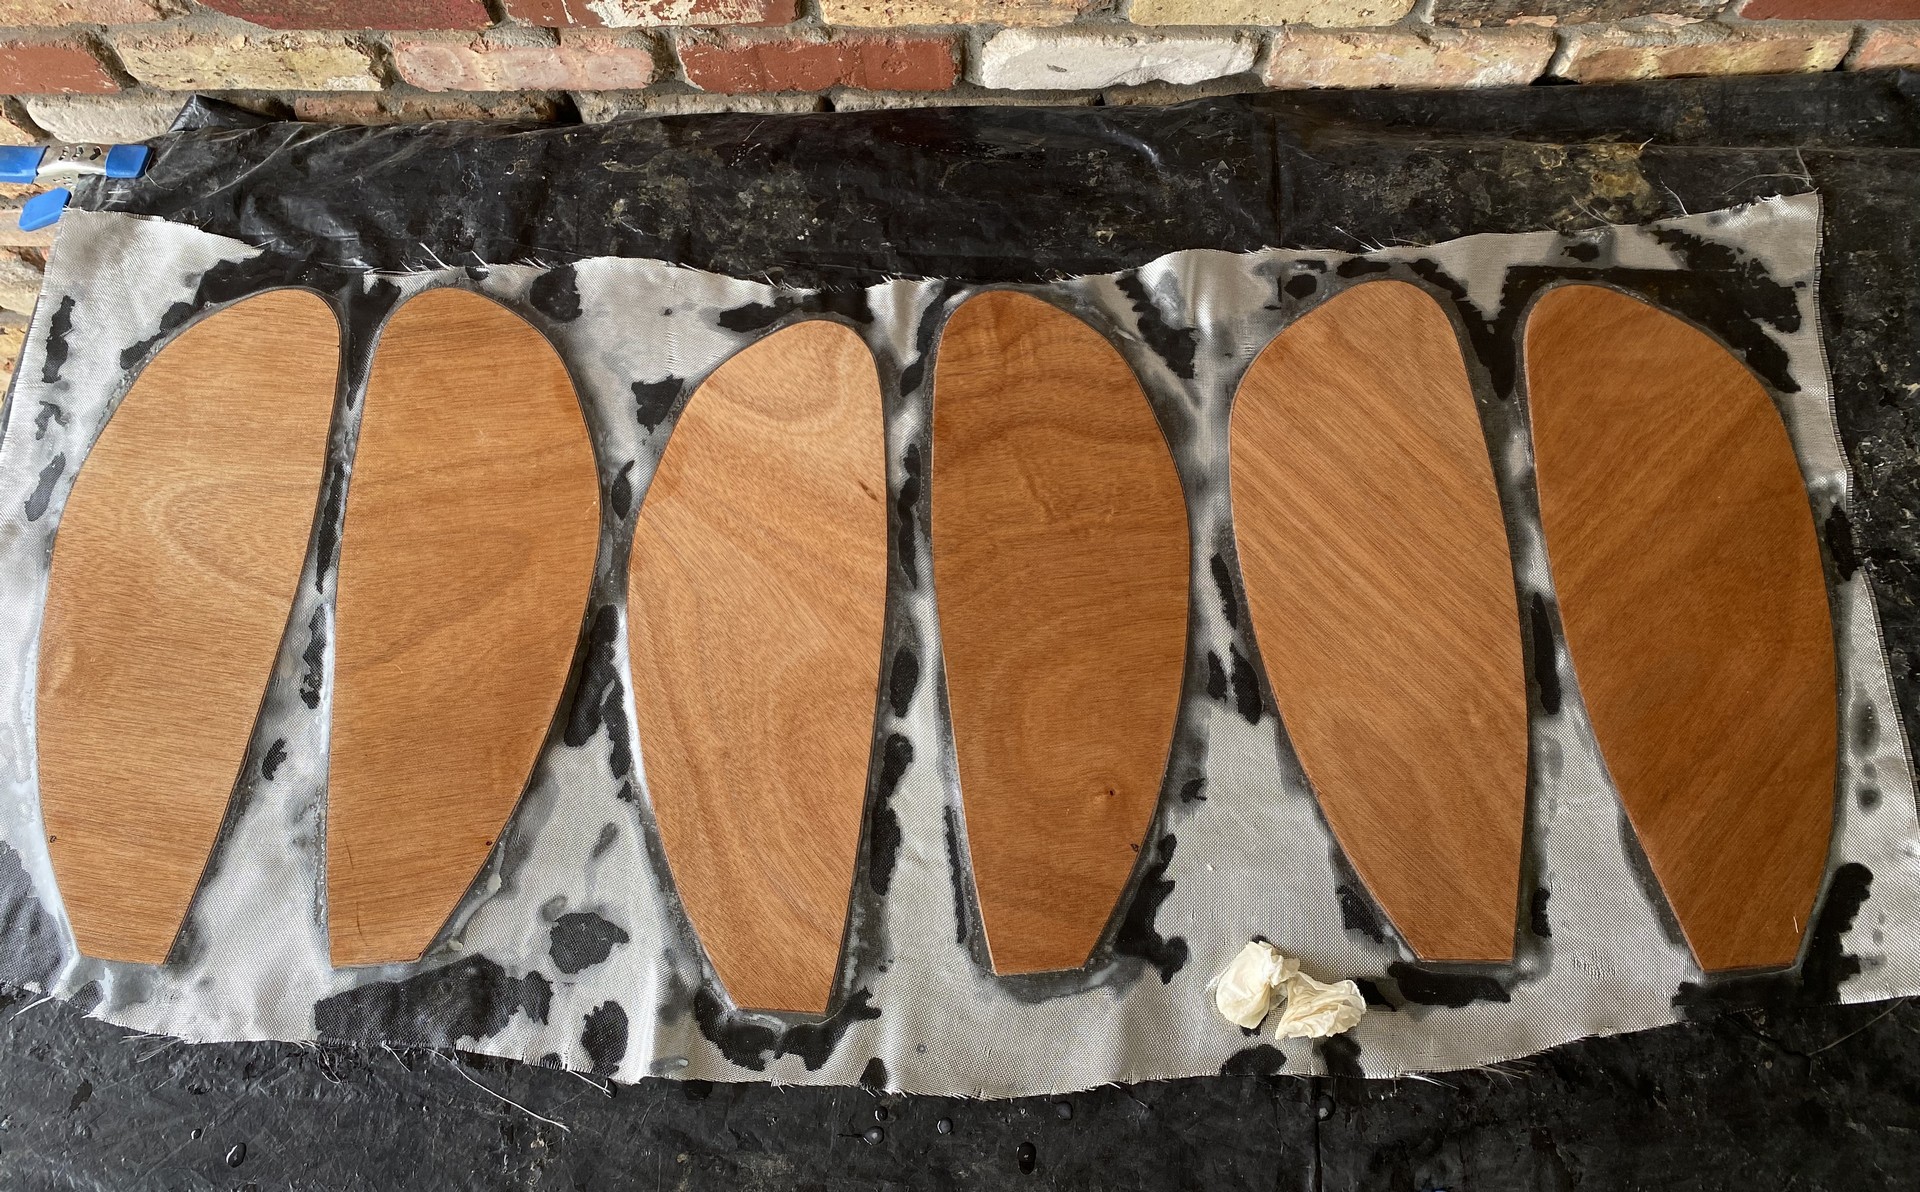
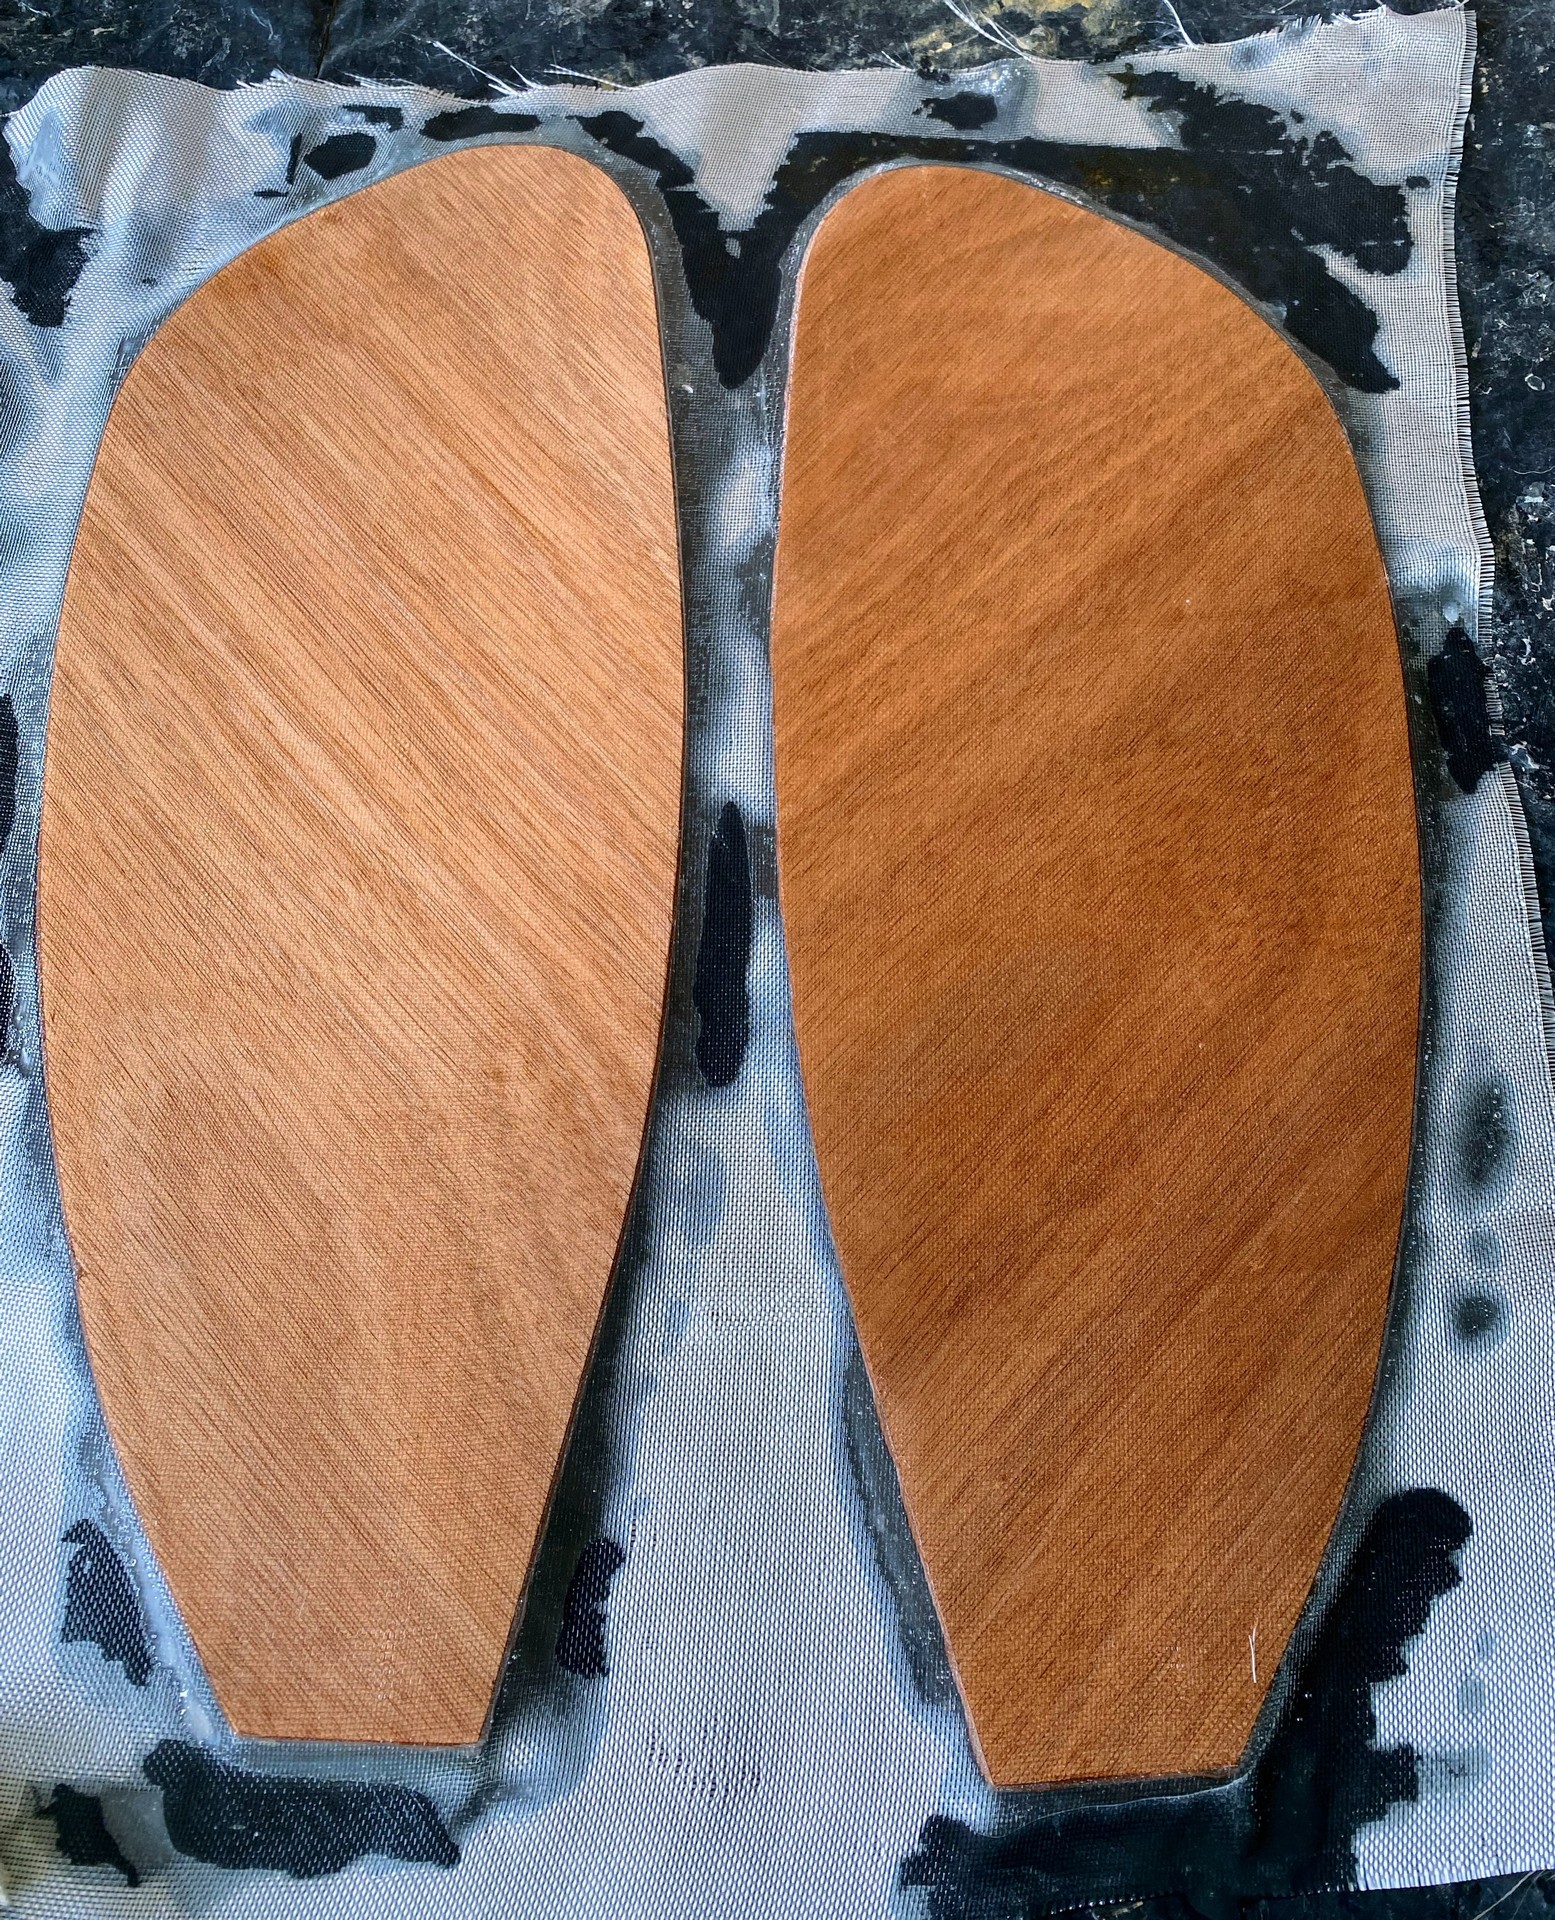
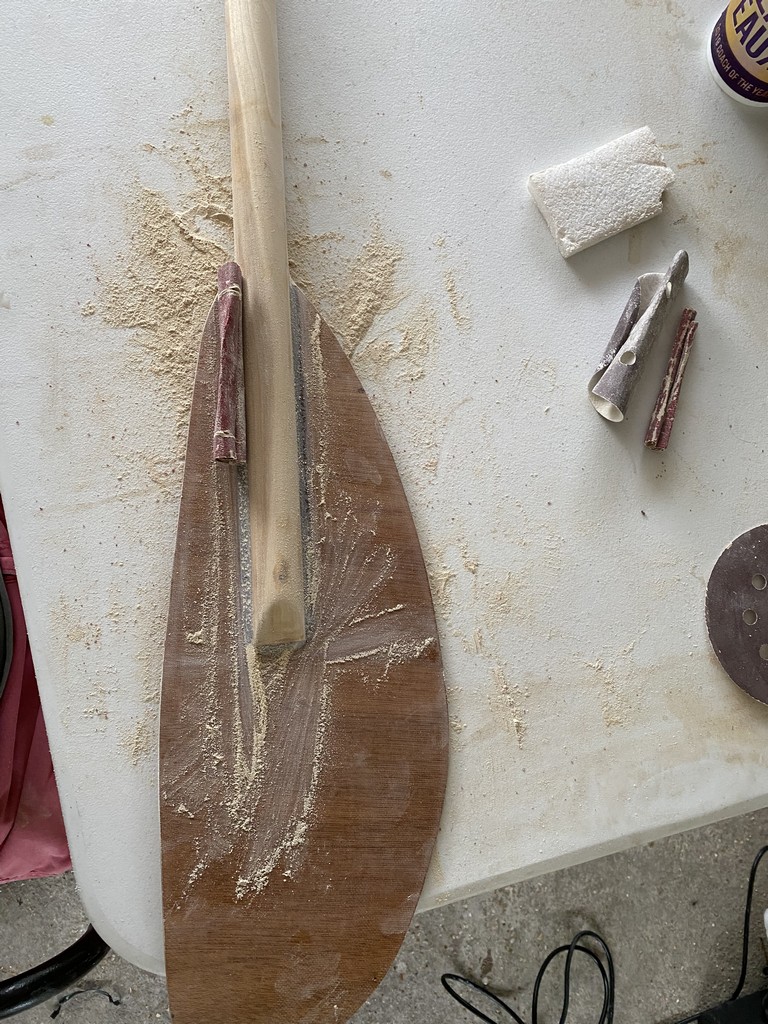
I cut out three pairs of blades for paddles from scraps of the 3mm Okoume plywood. The pattern was obtained by tracing the blade of a commercially available carbon fiber paddle. Next I purchased three 7’ wooden closet rods of 1-1/4 inch diameter poplar from the local builder’s supply. They were only $11 each, and all other materials needed for paddle construction I already possess, so this is the cheapest alternative to purchasing commercially-made paddles. I realize most paddle makers start with solid hardwood and square blanks, but I figured I can get away with something simpler.
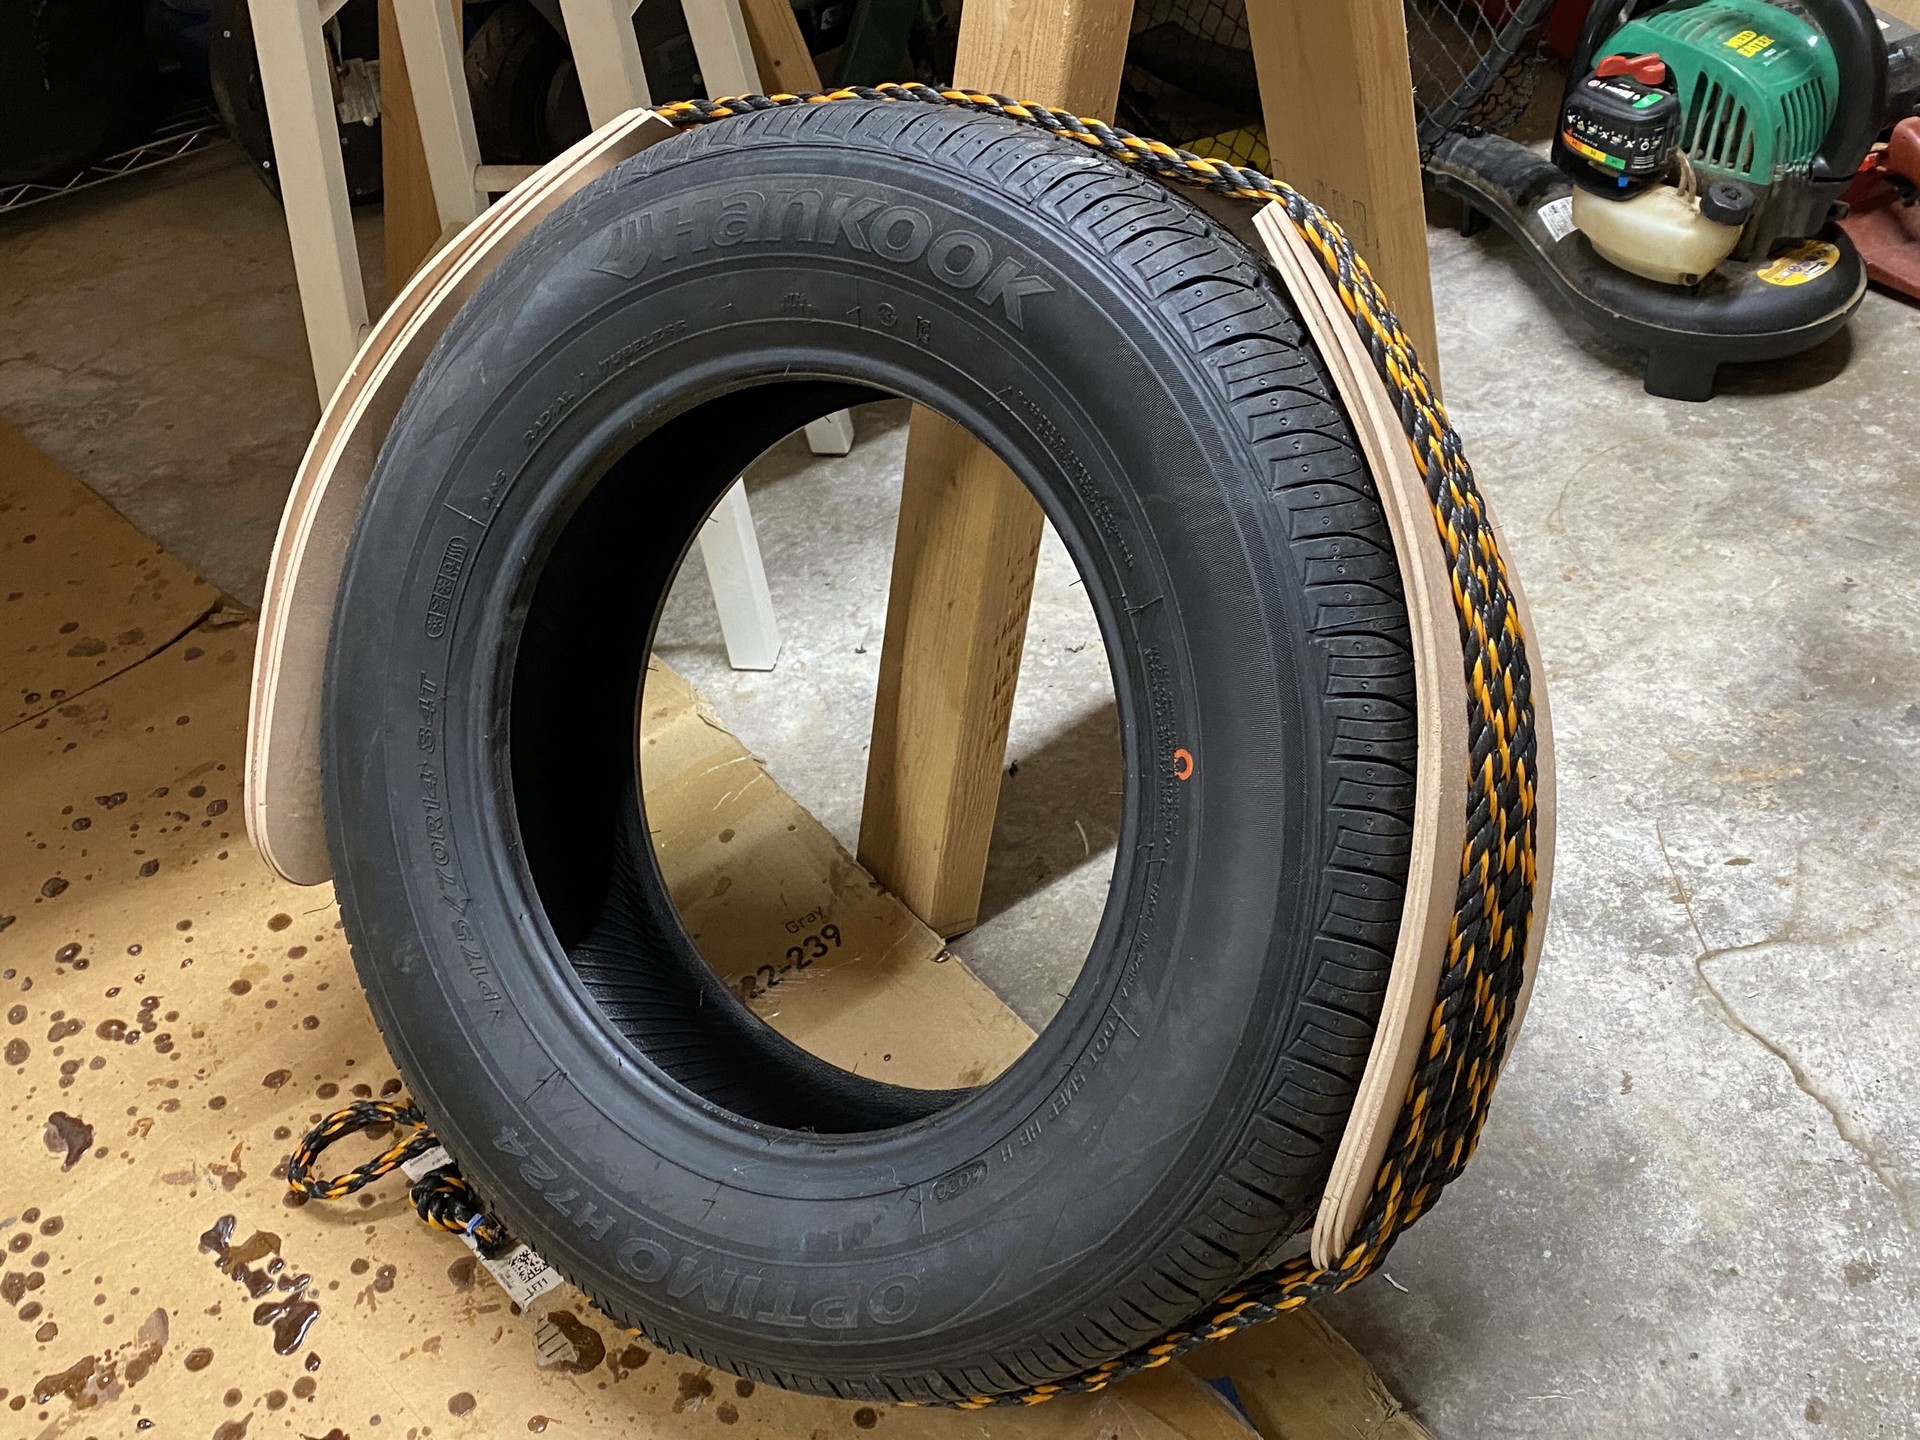
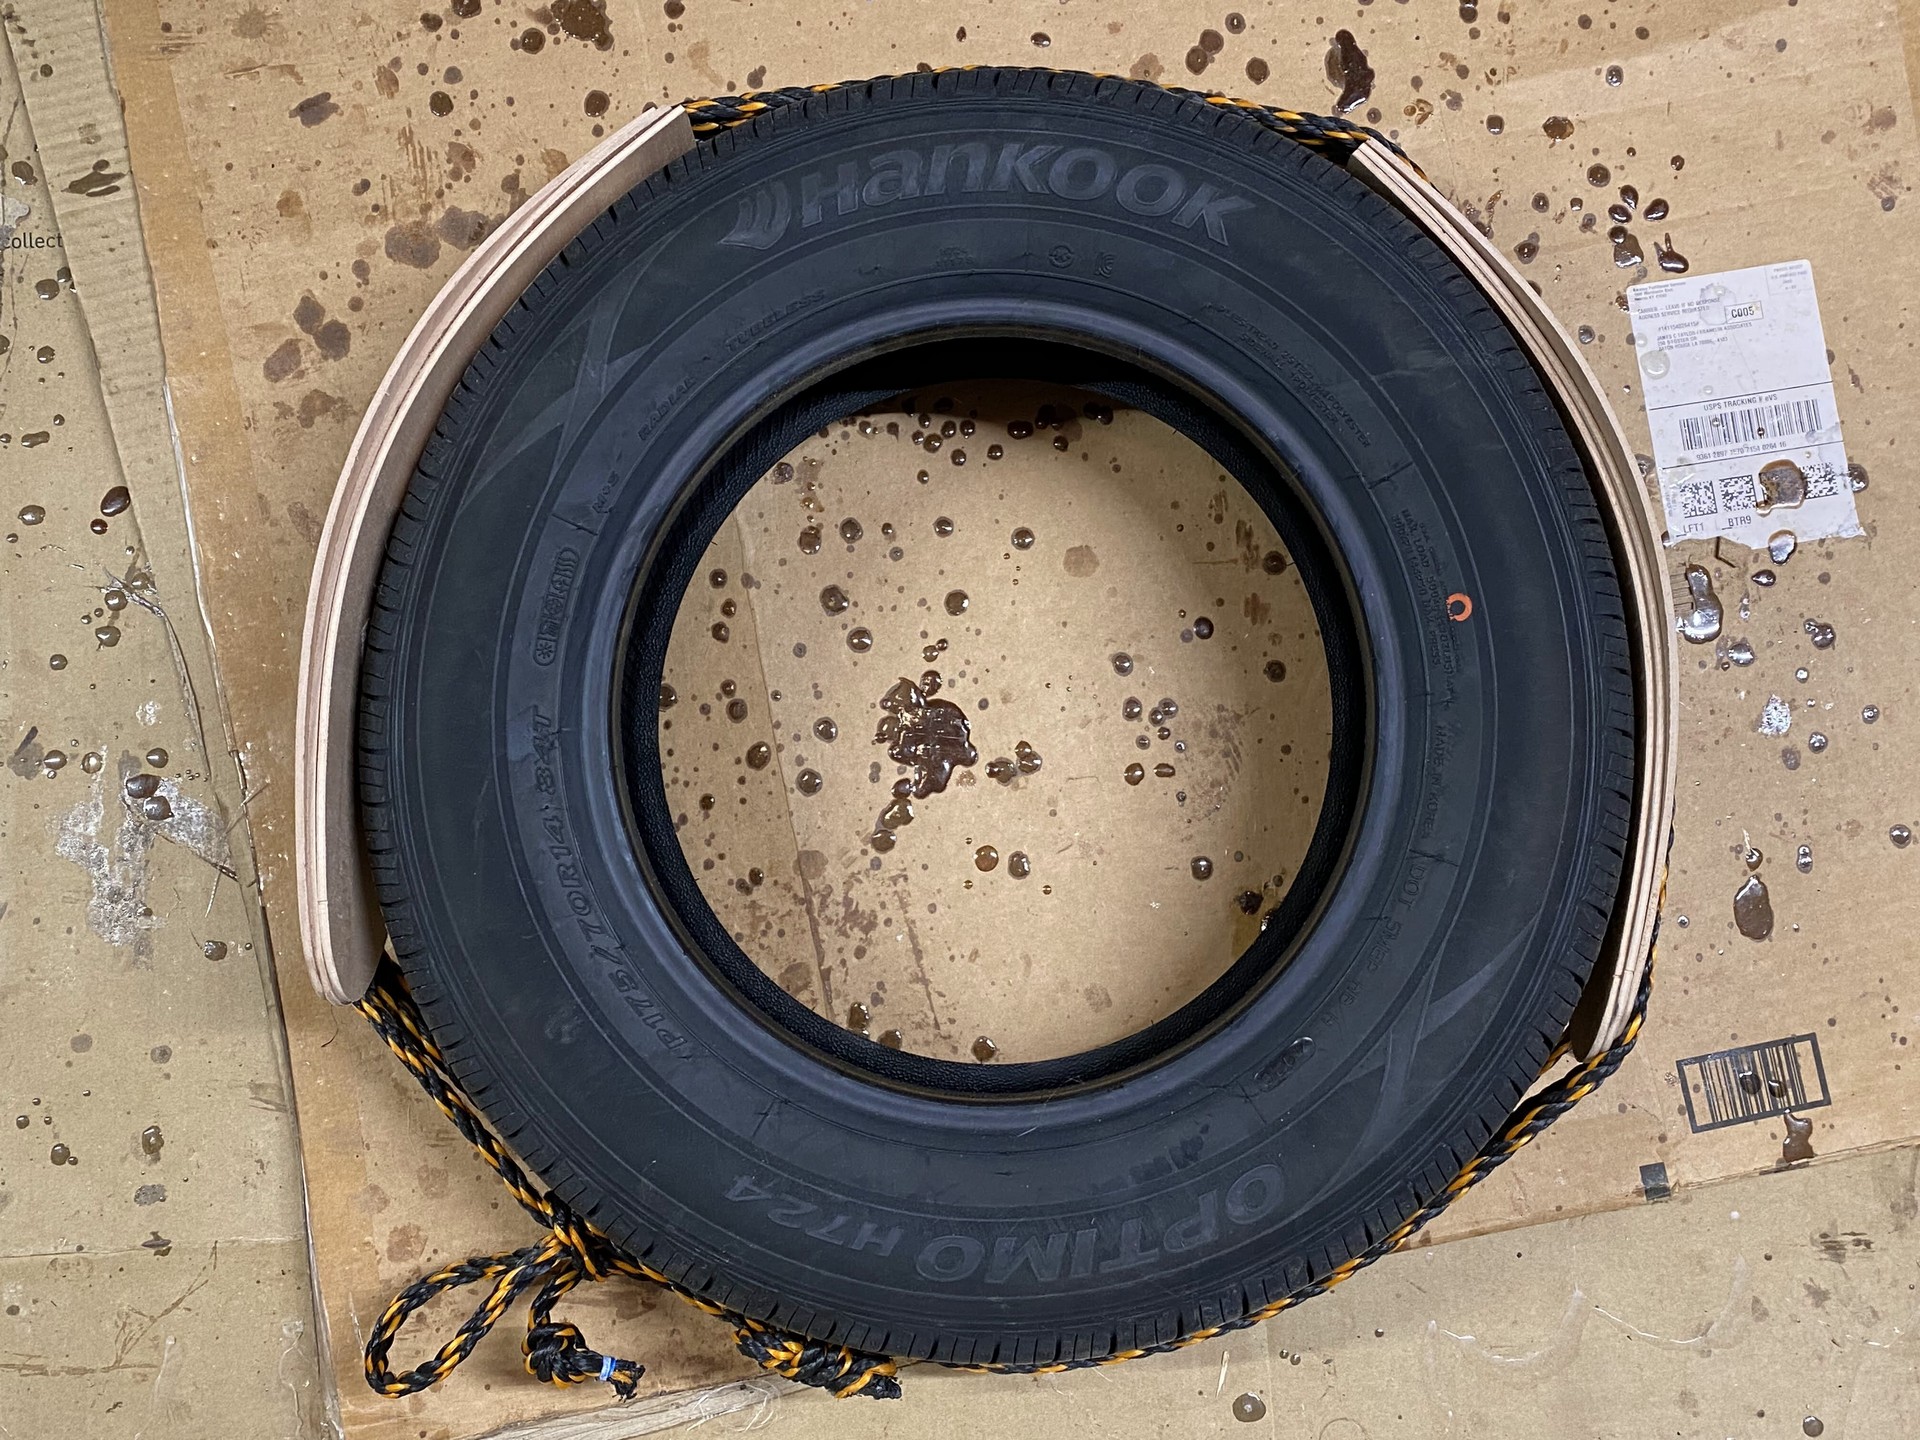
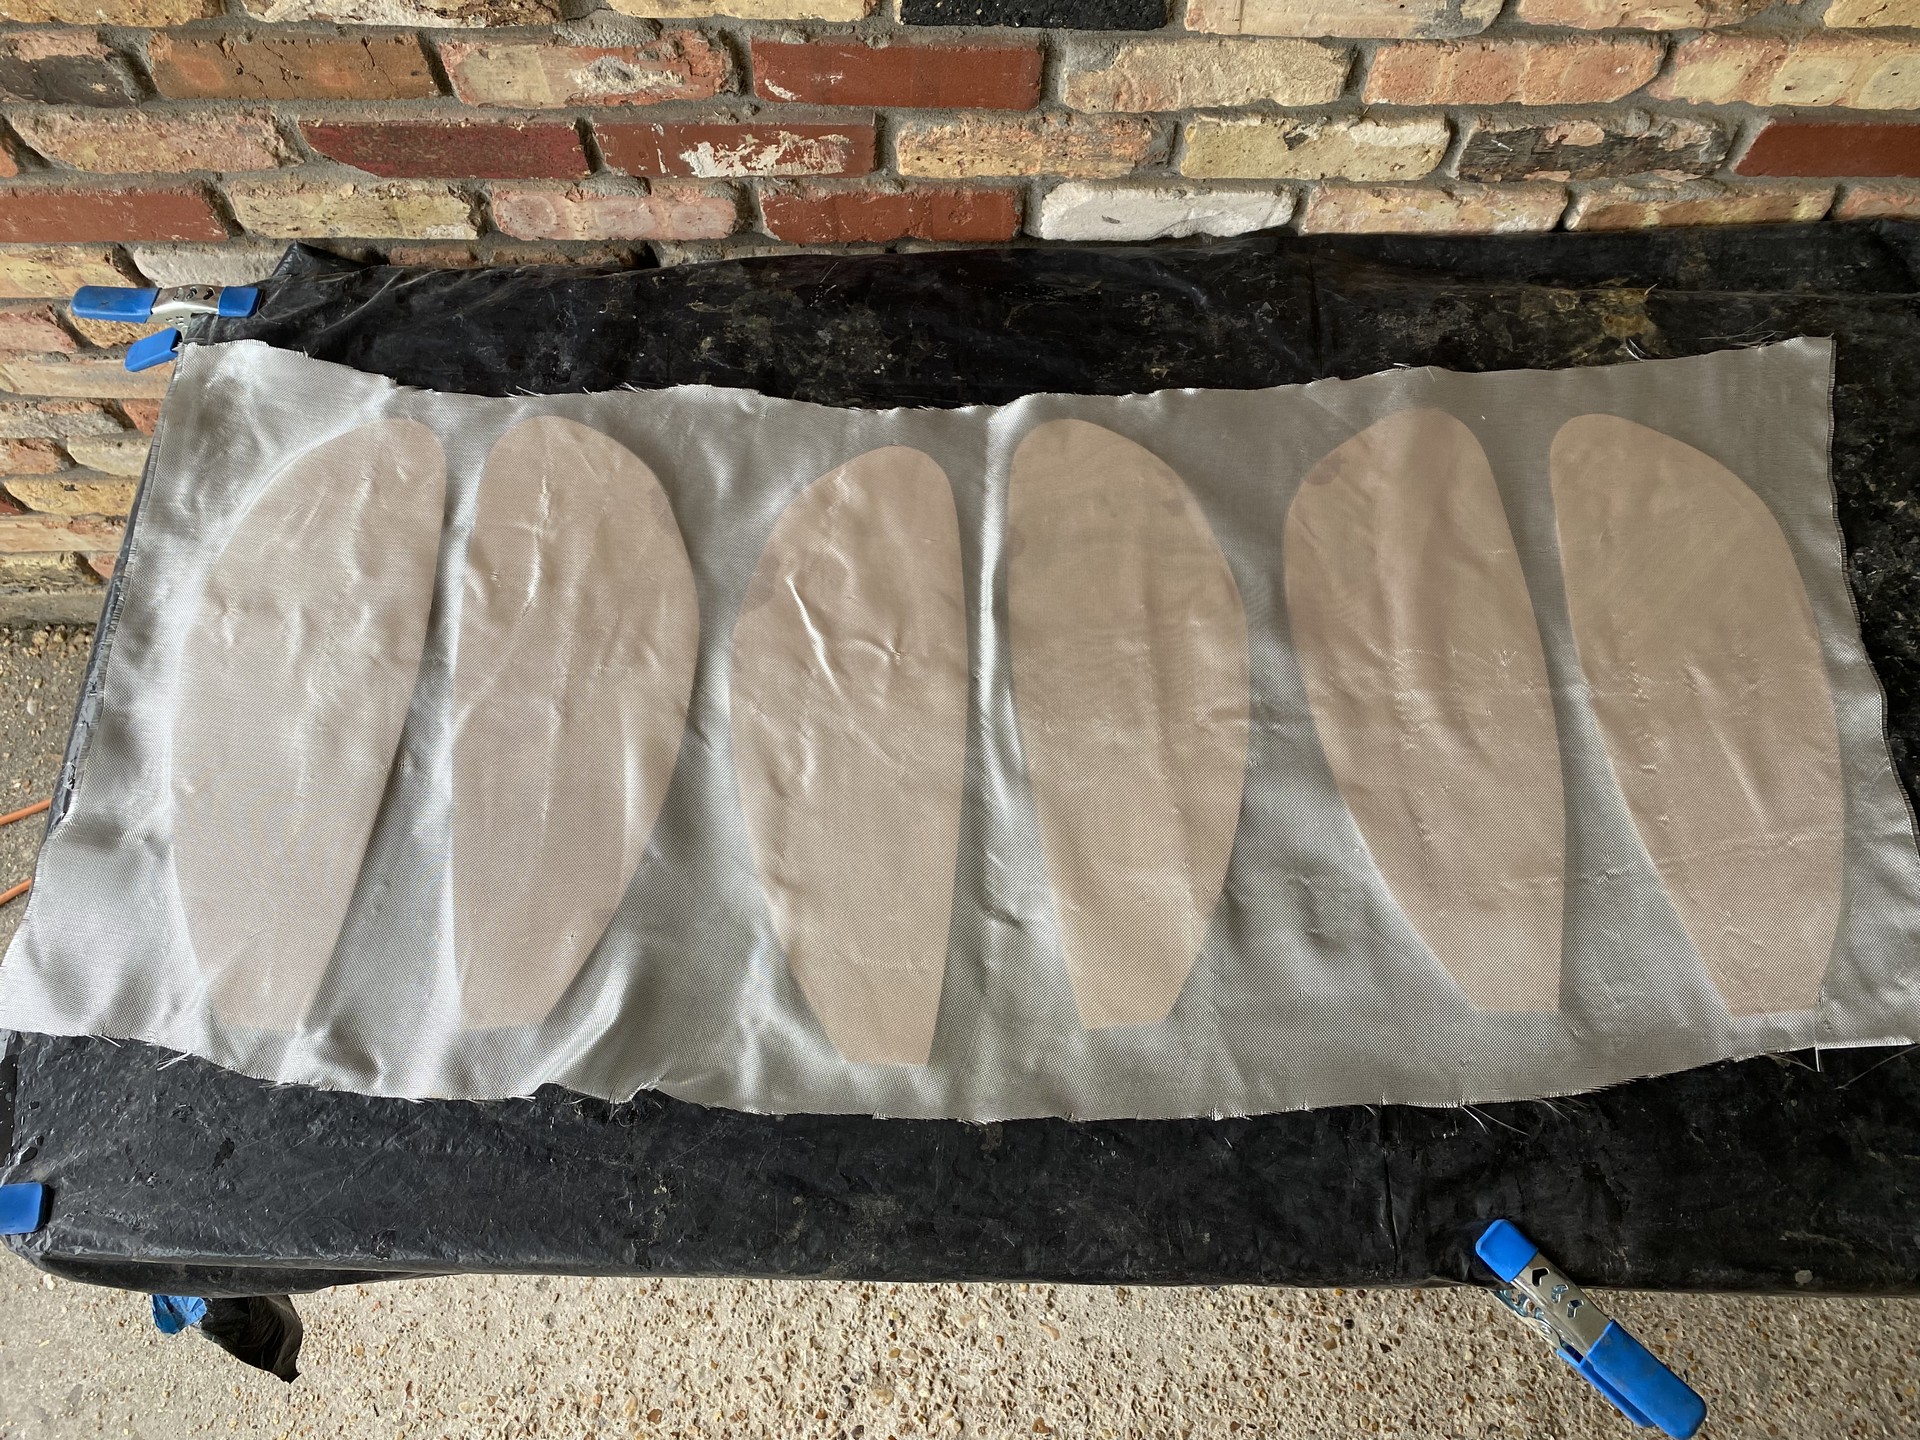
I’m generally following instructions described by Richard Hayes in his Paddling Light blog article. I ended up wrapping the blades around a car tire for a couple of weeks to put a curve in them. Unfortunately, I got lazy, didn’t apply hot steamed towels, and it didn’t work as well as the curved seat backs (below.) By the time I finished applying fiberglass to both faces, the blades were nearly flat again. Oh, well, moving on…
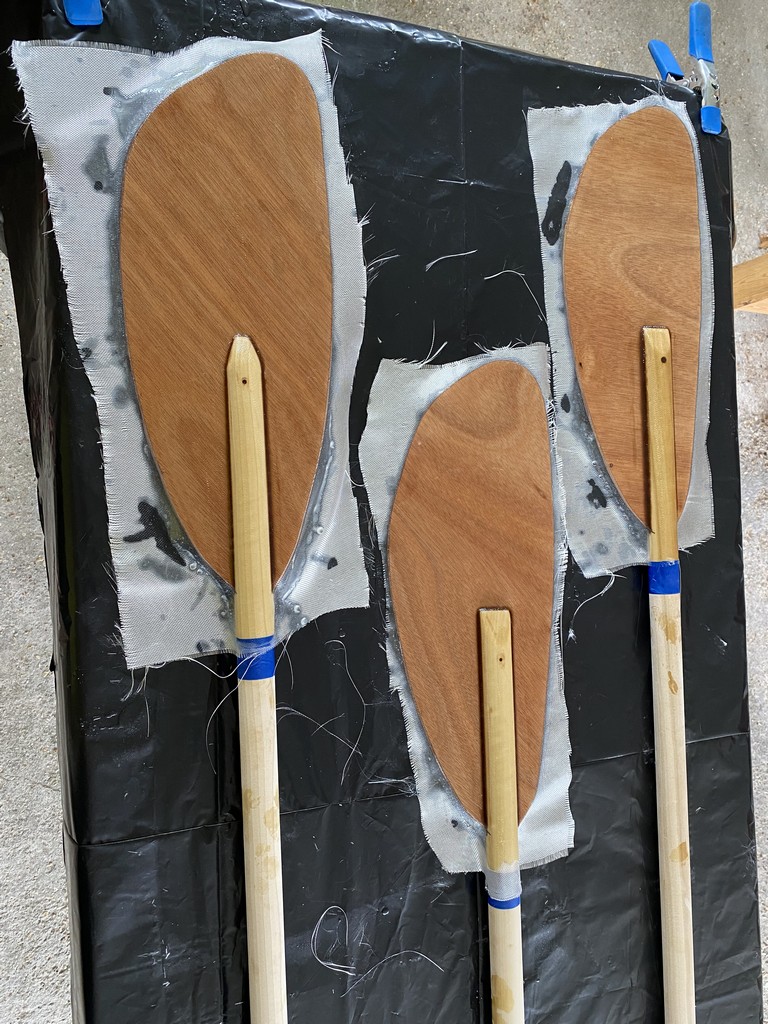
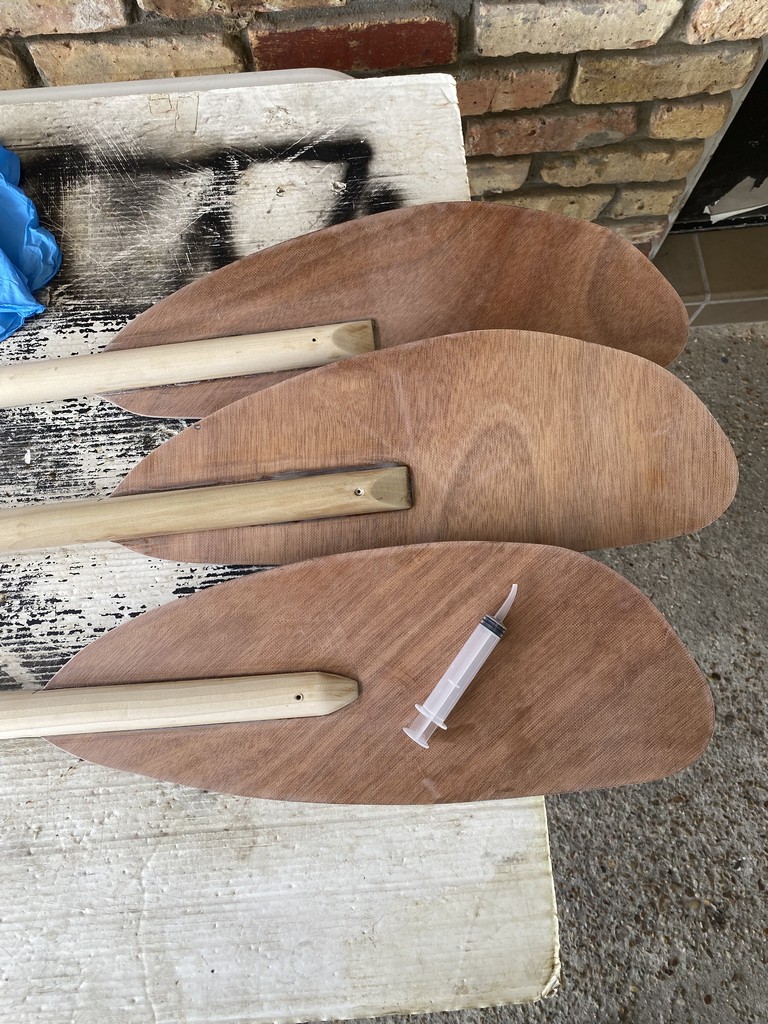
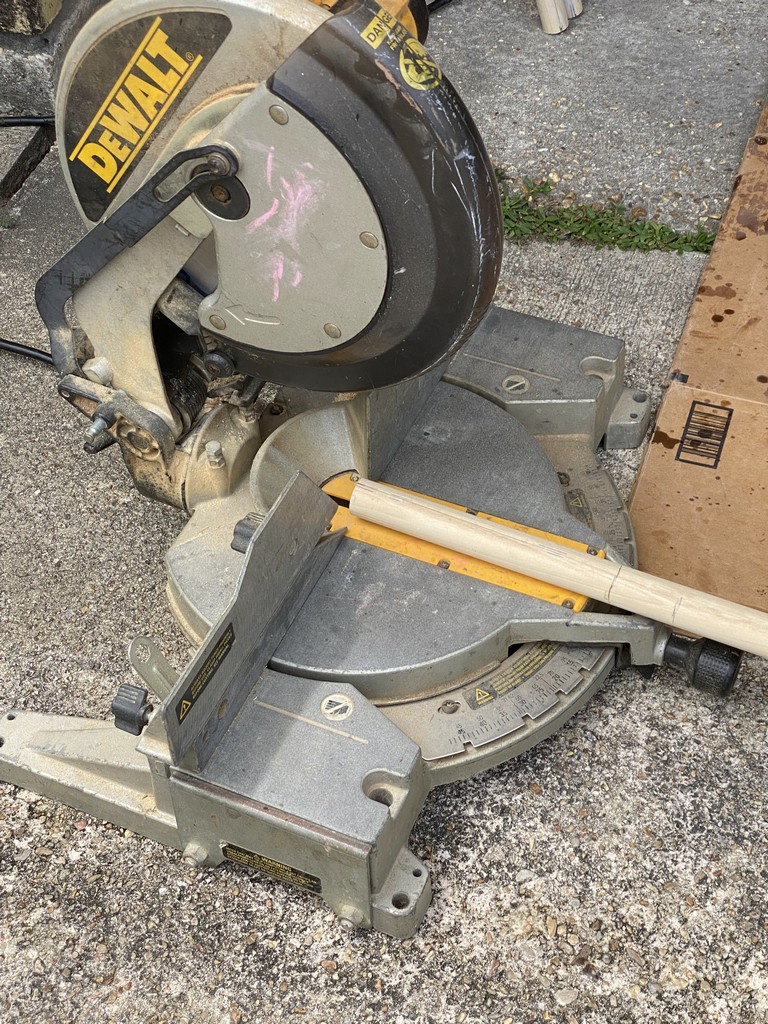
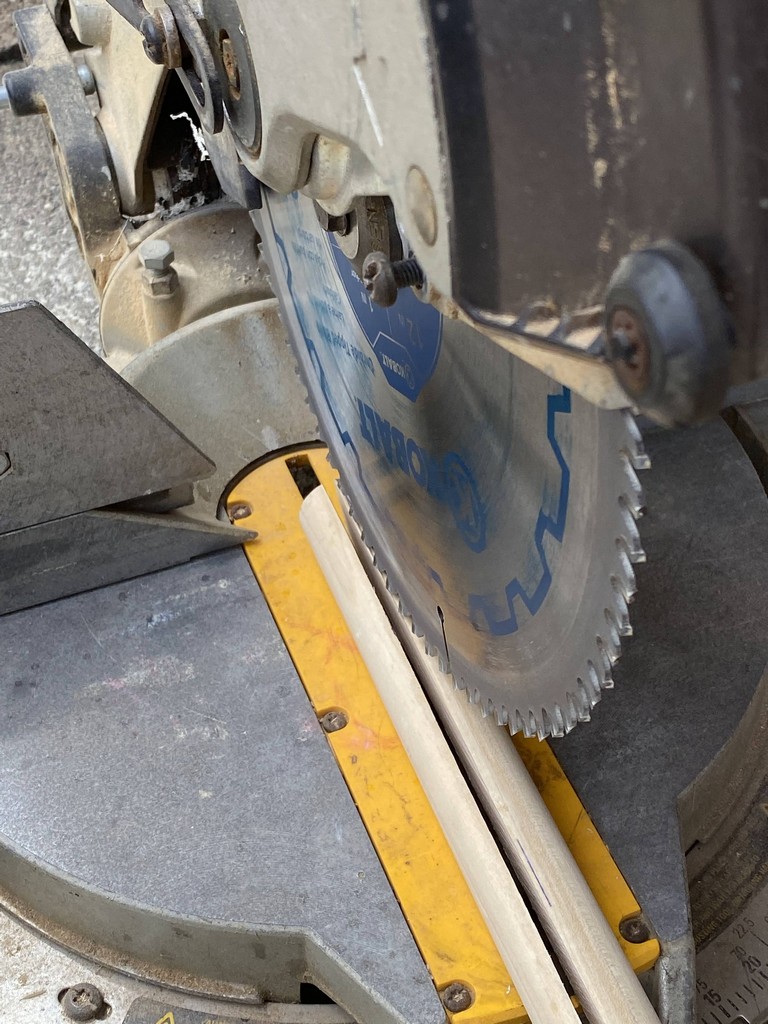
Several photos below depict how I used a cross-cut miter box saw to cut slots in both ends of the shafts, smeared wood-flour thickened epoxy inside, and inserted the blades, clamping them overnight. When epoxy was fully set up, I sanded them smooth and then used a syringe to apply a bead of thickened epoxy around the joints where the shafts meet the blades. This I smoothed into a fillet to smooth the meeting of shaft to blade which would allow a second layer of fiberglass to lie against them without gaping. Another work week passed allowing the epoxy to fully cure, and then I sanded everything smooth.
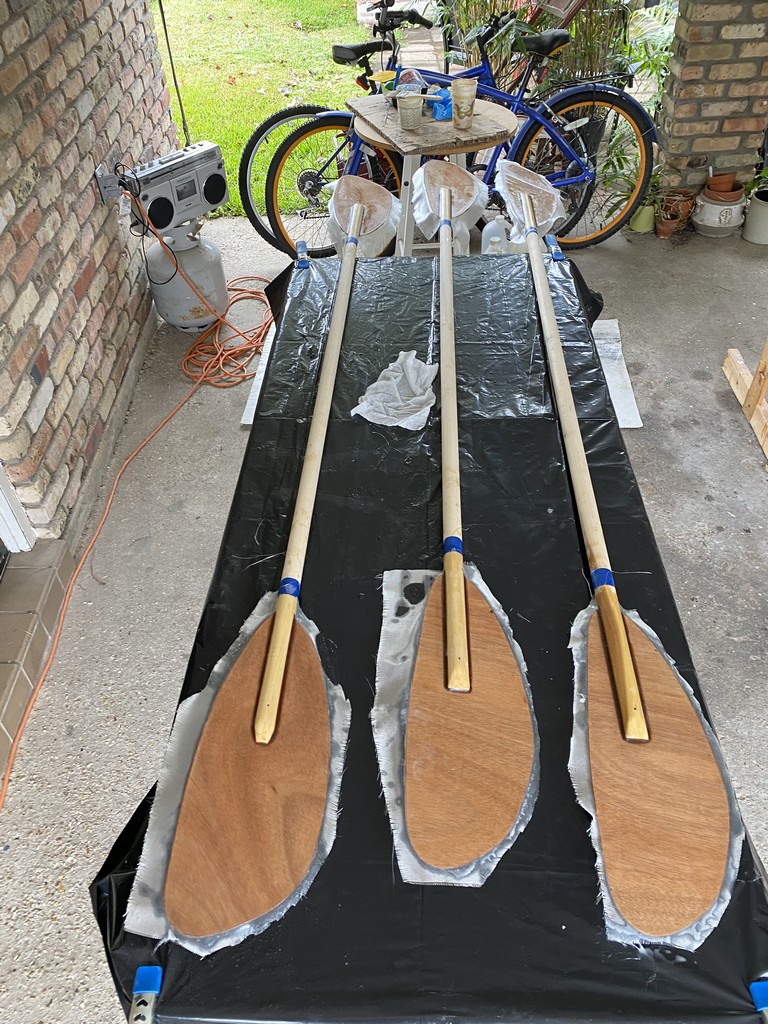
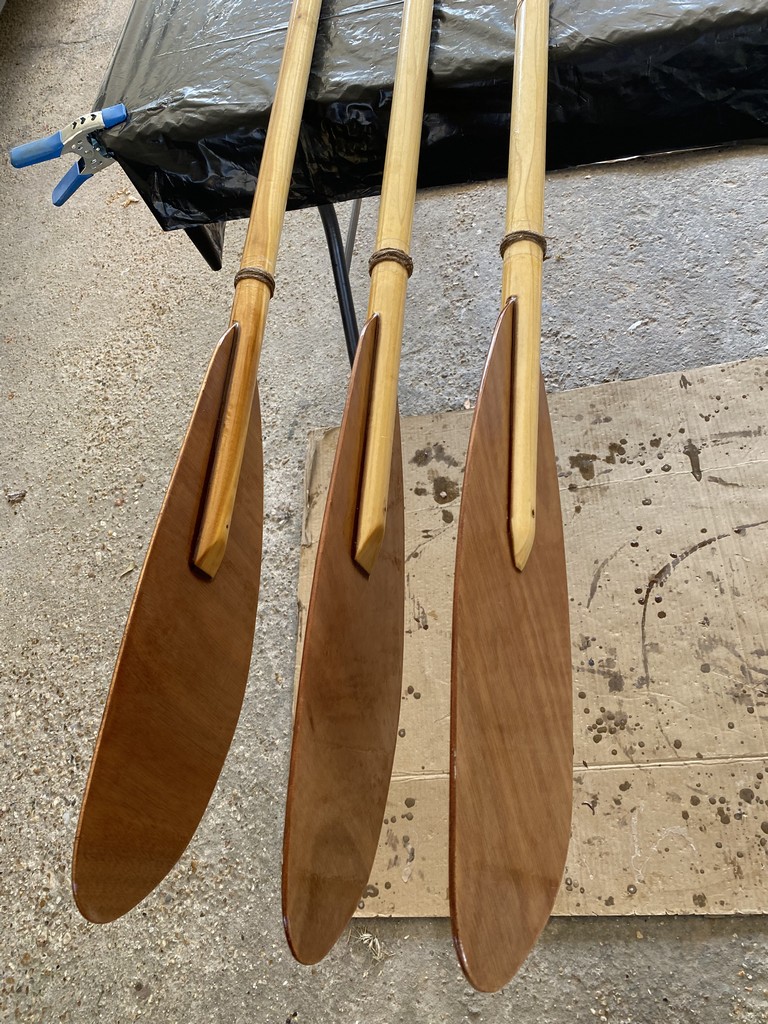
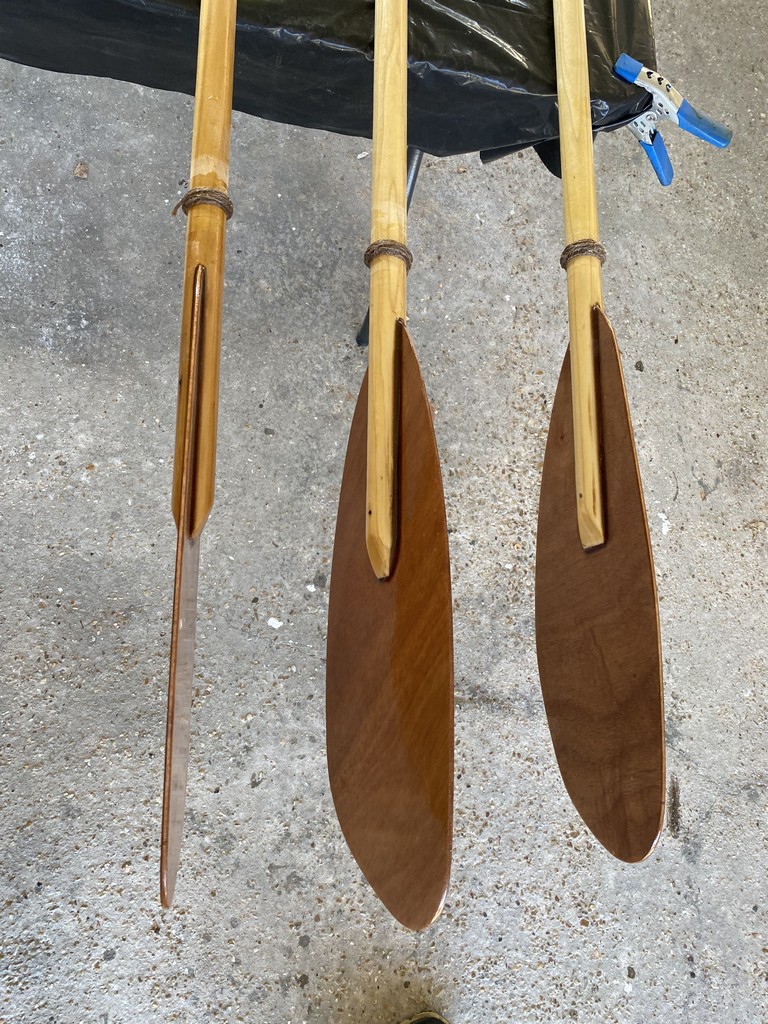
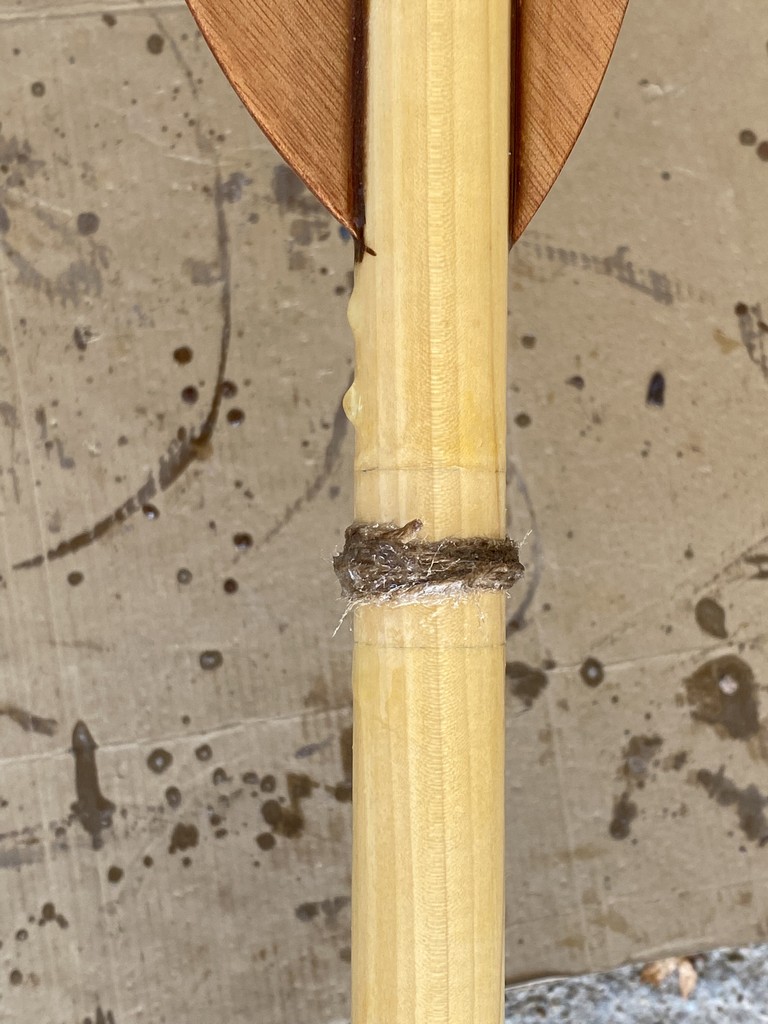
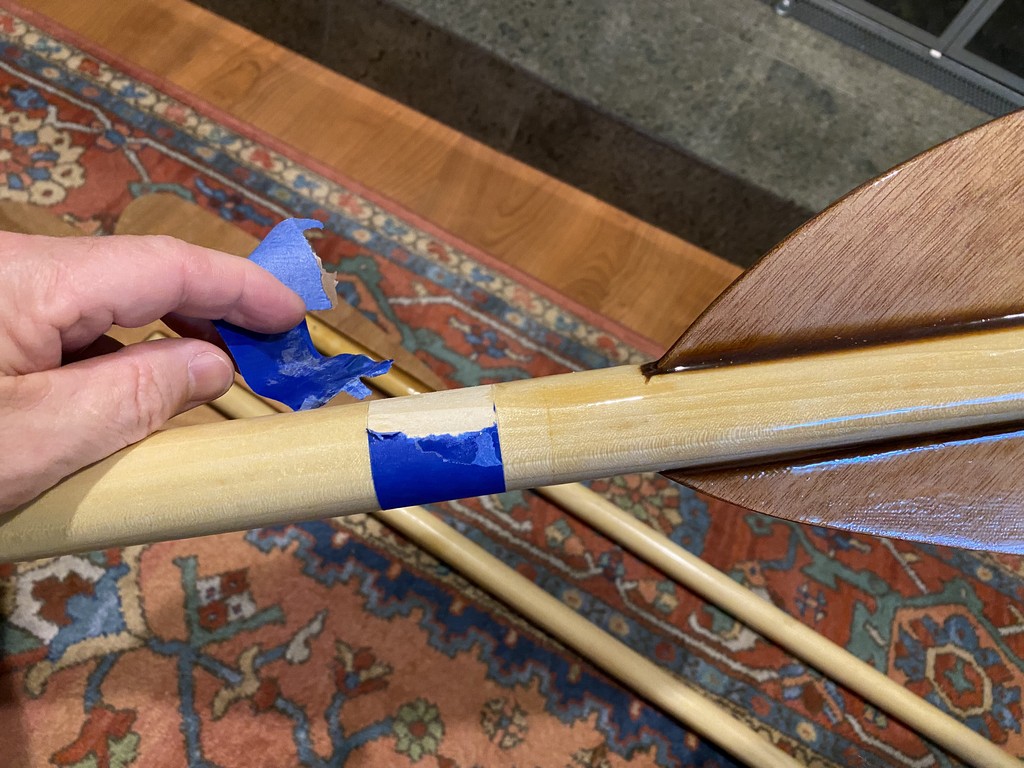
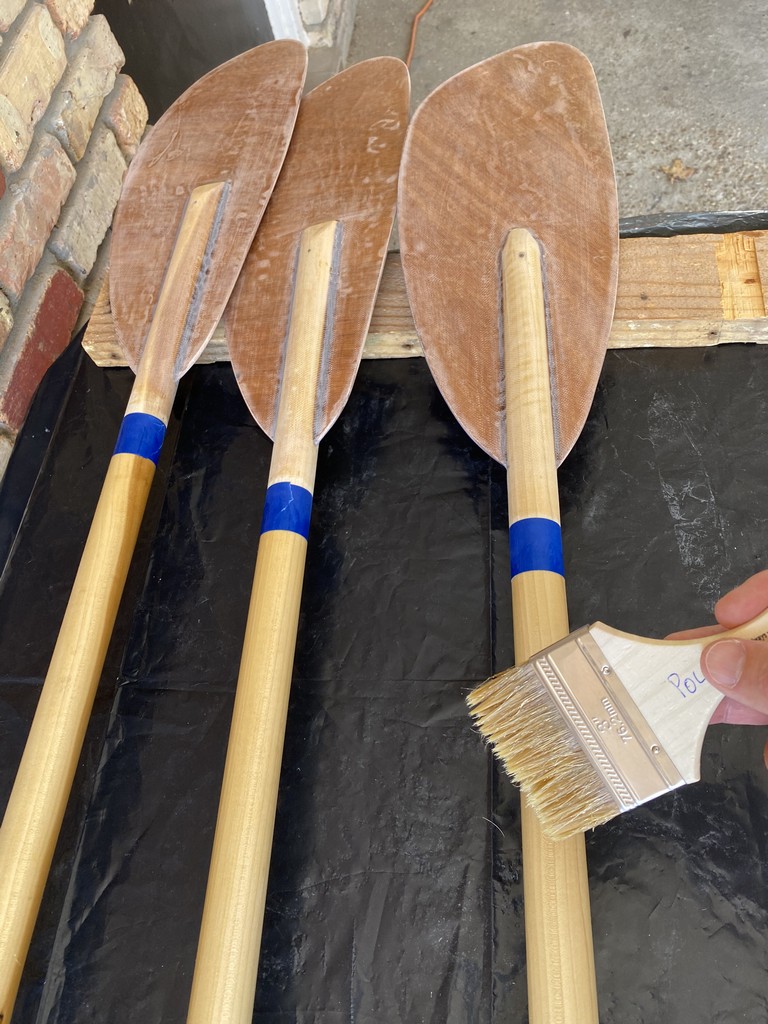
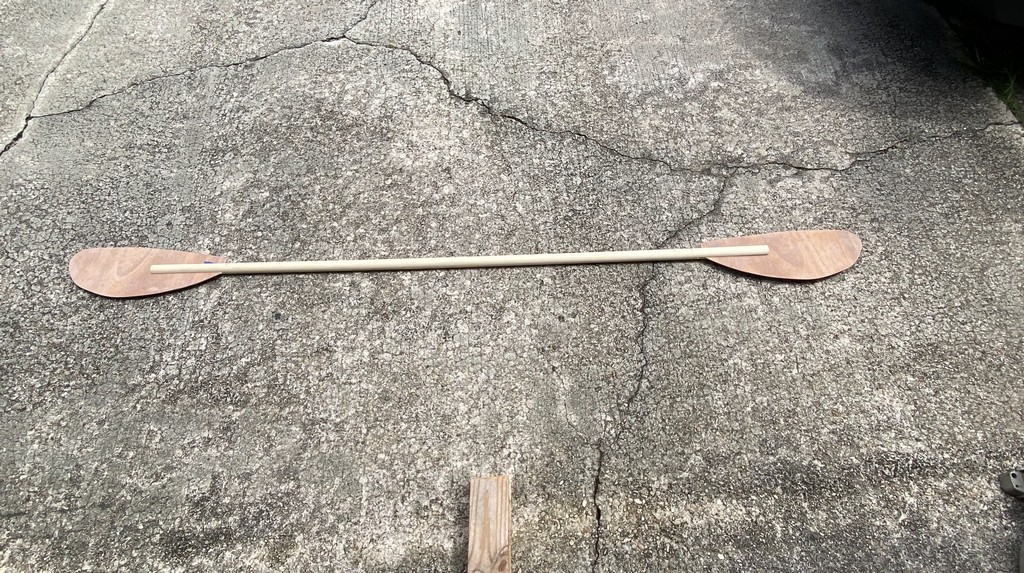
I applied that second layer of epoxy soaked fiberglass cloth across the blades (both sides) mounted in the shafts to further stiffen them. After curing overnight, a final application of clear epoxy was made to fill the weave of the fabric. Next I created drip rings around the shafts by soaking lengths of hemp twine in clear epoxy and wrapping it around the shafts a few inches above the blades. After the first winding set up, I sanded off any high spots and then repeated the process with a second length of epoxy-soaked twine, striving to build the rings up higher so that water would really drip off. It fully cured over the next work week and the following weekend I sanded everything, applied a first coat of varnish.
After a light sanding, I applied a second coat of varnish to the paddles as I also varnished the kayaks. Many builders would advise to keep going with more varnish but I’m ready to be done so, for now, two coats it is.
Seat & Backrests
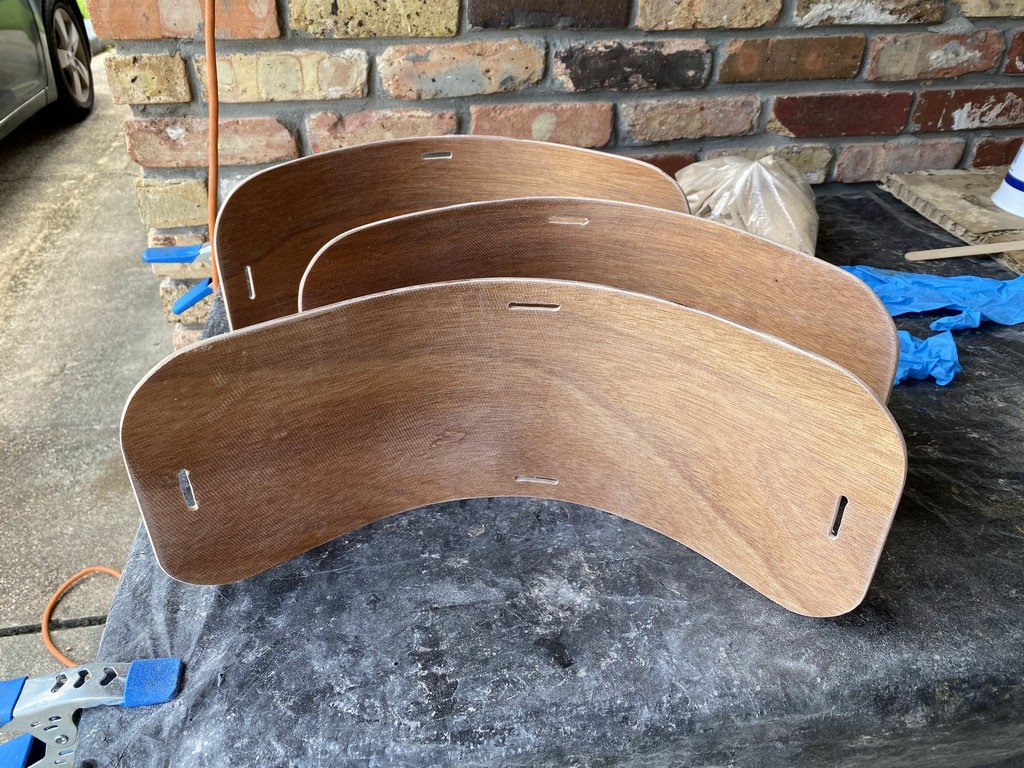
Years ago when considering the Stitch & Glue Cirrus by One Ocean Kayak I purchased Vaclav’s build manual and read about his process of fabricating a seat back from carbon cloth reinforced plywood and epoxy. Loosely, following his process, I eliminated the expensive carbon and proceeded with marine plywood lined with fiberglass and epoxy front and back. Work began on the seat backs in January by selecting three pieces of scrap 4mm Okoume ply and wrapping them around a propane cylinder to put some curve into them. In the end, I believe I put too much curve in them. I’ll fill out their midpoint with some minicel foam.
Next I cut 4 slots in each through which the nylon web straps will run. These straps will be affixed to the hip braces and to a block mounted below the rear cockpit combing with bronze screws to suspend the seat back in place.


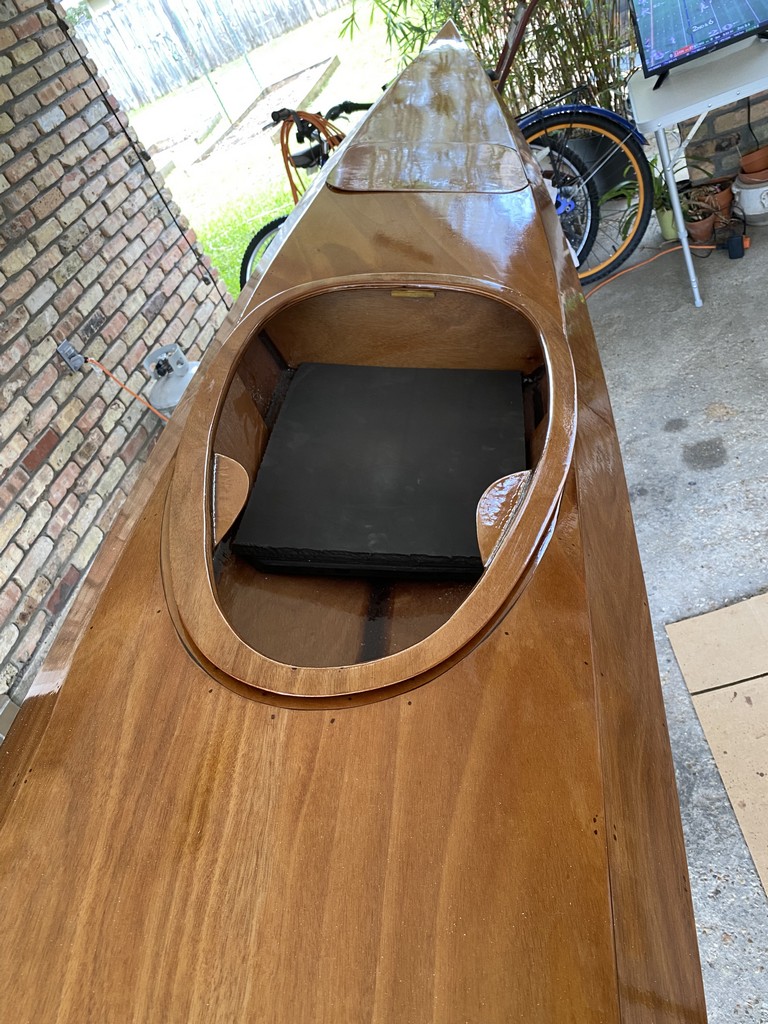
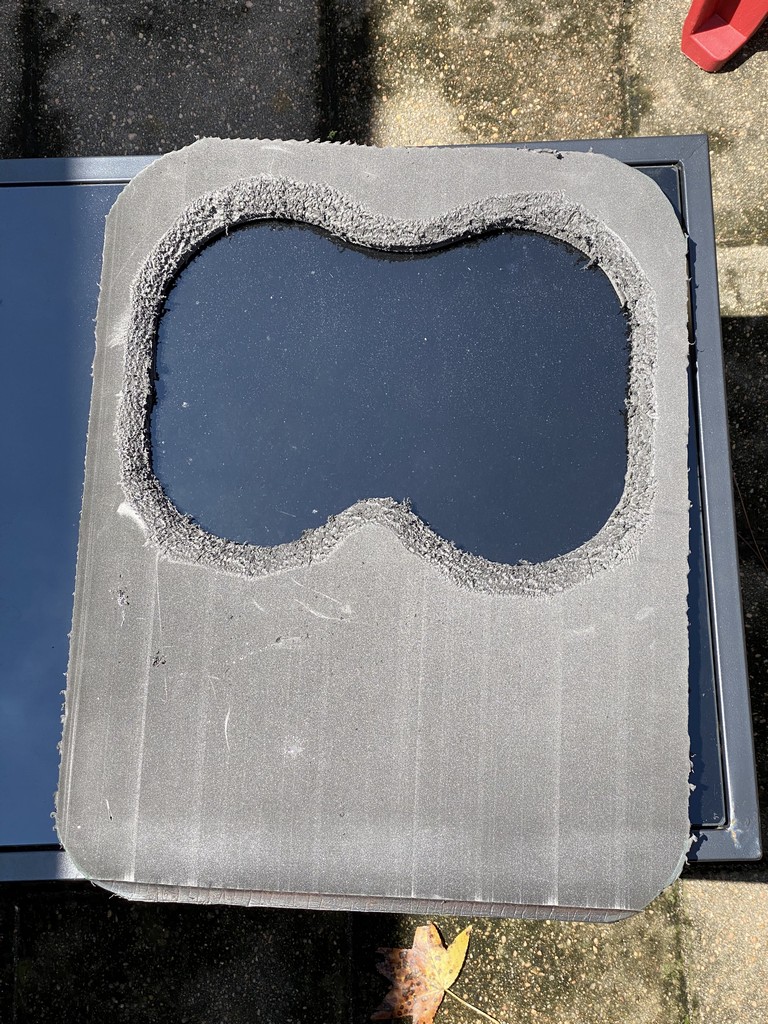
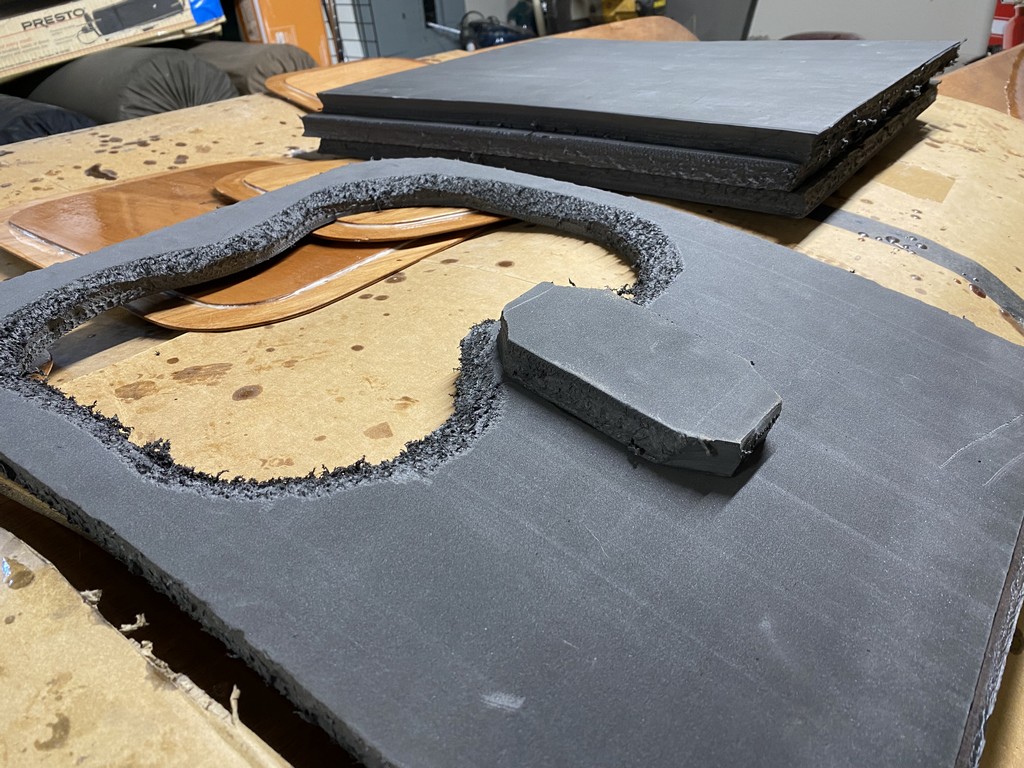
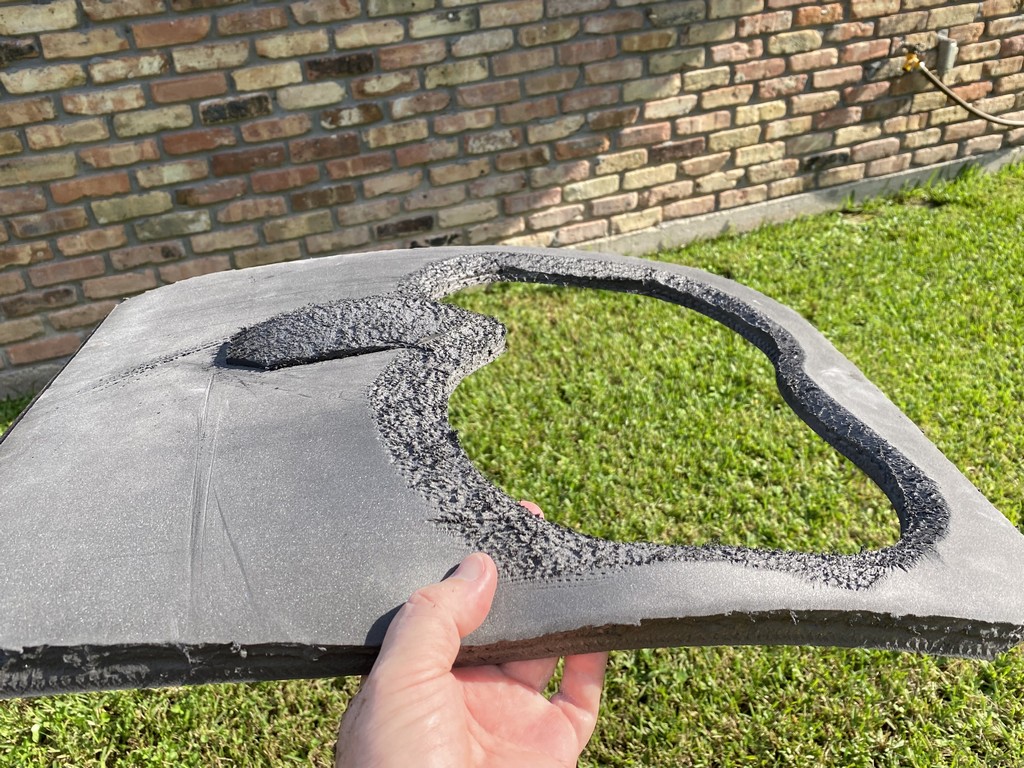
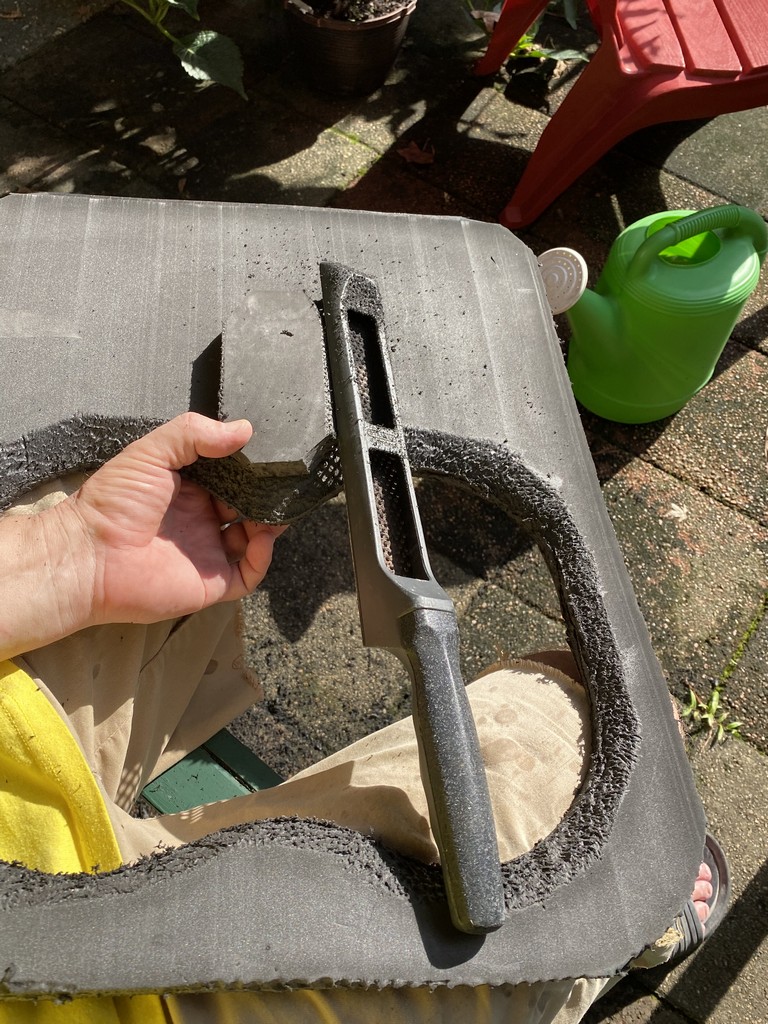
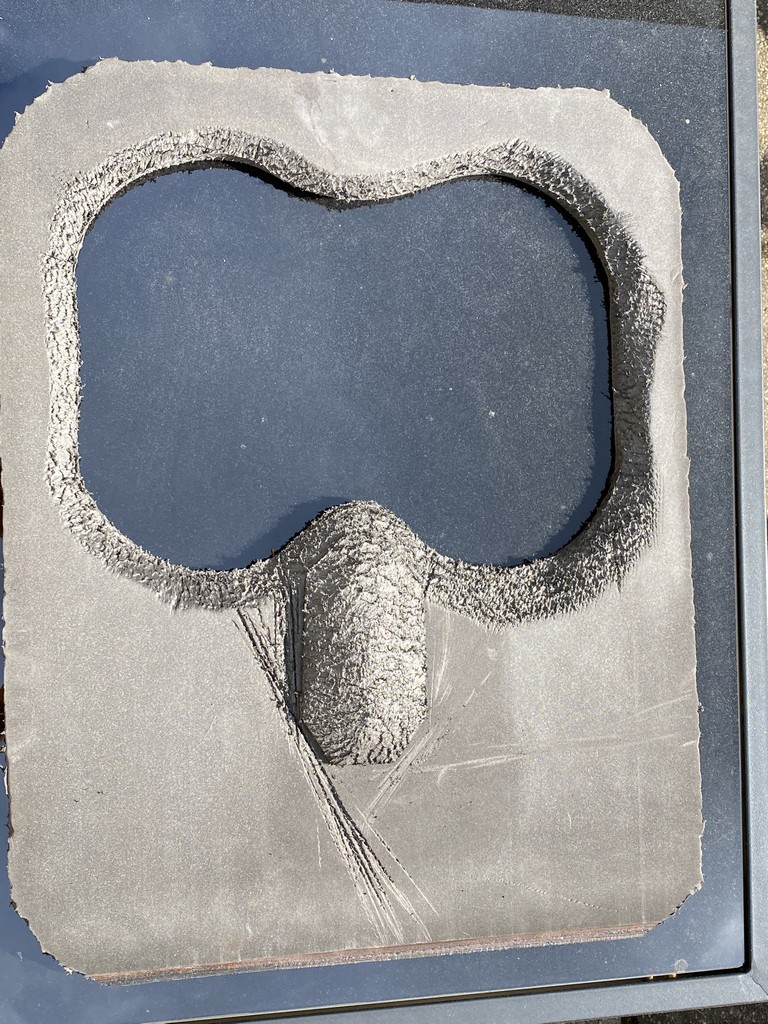
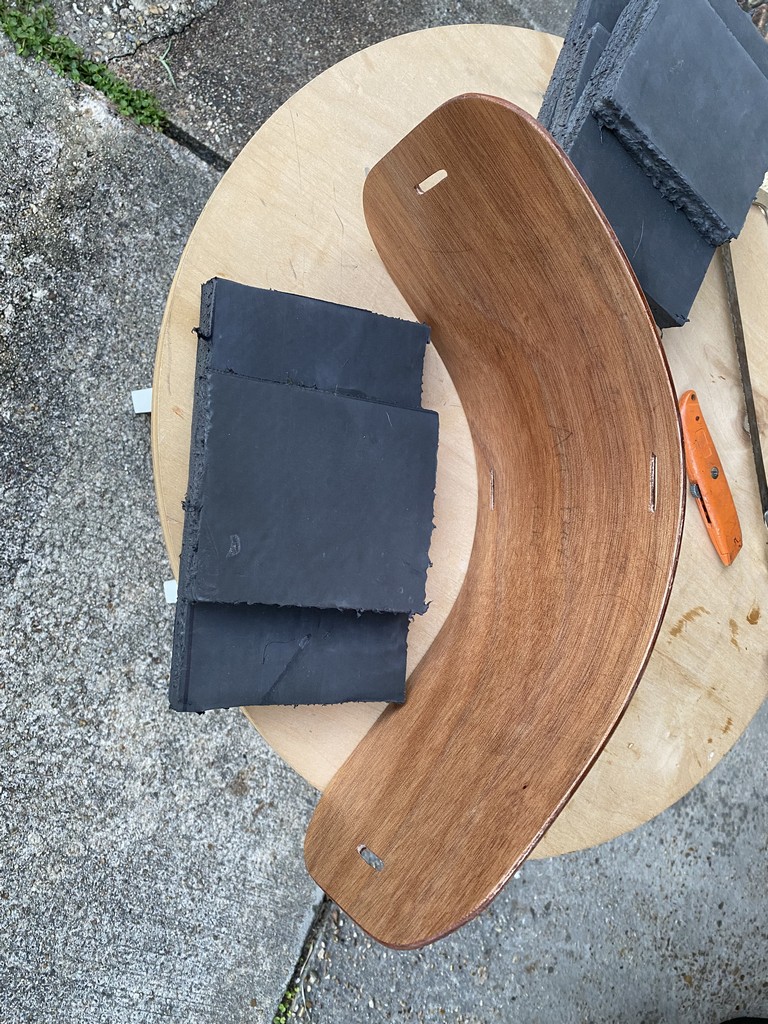
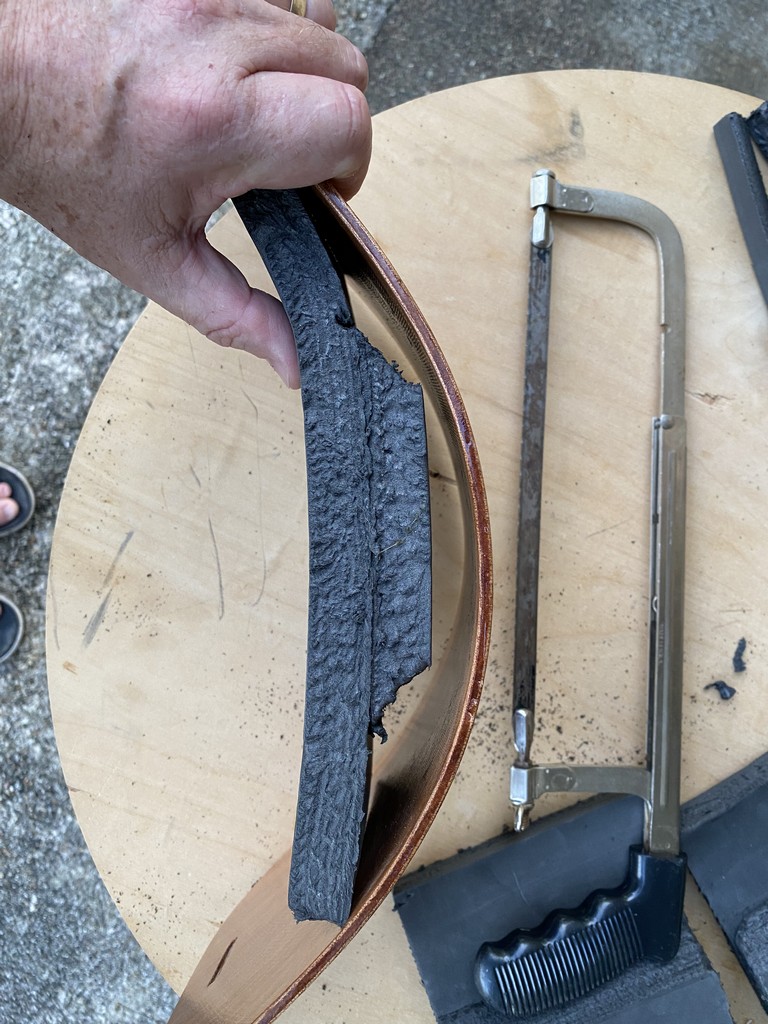
The set of photos below show my process of cutting and sculpting the 1" thick minicel foam to form seats and backrest pads. The seat bottoms are two layers of foam, basically following the instructions provided by CLC in the build manual. The lower layer has a void cut out for one’s tush, and I inserted piece as filler between the legs. Over this I glued another layer of foam. I saved the scraps from the cut-out for use under the cockpit knee braces. Following some advise on a builder’s blog I left the seat pads long (18") so that they extended almost to my knees and support my thighs. I figured I can always cut them shorter later if desired and I won’t glue them down in the boats until I’m satisfied.
The wooden seat backs really do have too tight of a curve because the propane cylinder is too small. I decided to mitigate that by gluing a foam spacer to fill the back of the main seat-back pad. All foam was glued using contact cement. I won’t really know how successful any of this is until I mount everything in the boats and try them out. Worst case is I remove it and try again.

*Additional photos and description of the backrest installation process will be added as I progress.*