17. First Splash!
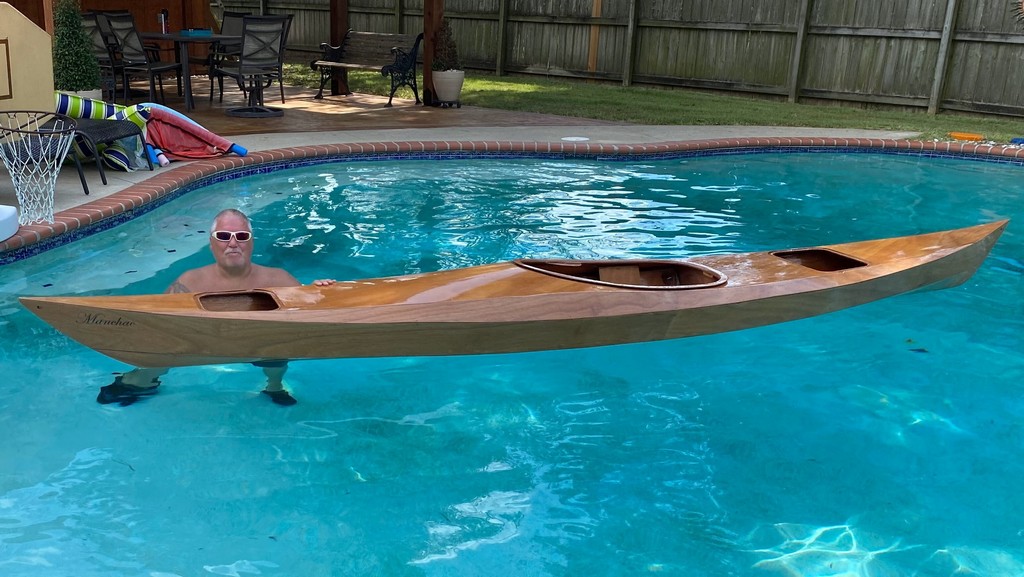
I test floated one of the kayaks in my neighbor’s pool. It felt so good to sit down in that boat…it seemed quite stable.
My neighbor and his buds were having a “pre-party” that Friday afternoon as they made preparations for a massive, end of summer blowout pool party the following day. Before cracking open a beer, (didn’t want to bump it against the brick pool rim,) I brought a kayak over for a test float.

My friends were impressed with my kayak, shiny from the final coat of epoxy resin. After a quick float I took it back home to keep it safe.
Crafting the Paddles
Since early August we’ve been getting rain almost daily. With back-to-back rainy weekends this put a damper on my aggressive kayak building schedule. Knowing I couldn’t sand and varnish the boats, I remained productive by working on the details of accessories and outfitting. I continued working on the paddles, sanding and applying a second layer of fiberglass/epoxy to both sides of the blades which provided some needed stiffness to them. I then applied several coats of simple polyurethane to the paddle shafts. I figured I didn’t need to coat these inexpensive poplar dowels with epoxy and expensive varnish since the polyurethane has worked fine for several years on my canoe paddles.
Shaping the Seats
Another side project was cutting out and shaping the minicel foam into seats. I ordered a large sheet of 3/4 inch thick minicel foam, intending to glue two layers together. I sourced it from thefoamfactory.com and was surprised that it shipped from nearby Macomb, Mississippi. The two layers were cut to fit between the hip braces, and then about 18 inches long from back to almost below the knees. Voids were cut out from the lower level for our bottoms, and a small block was cut, shaped and glued in front of the crotch to create a mound between the legs. I’ve based my technique on several do-it-yourself foam seat examples online. Some were shorter, others strongly recommended longer seat pads to support your thighs for comfort.
Final Sanding
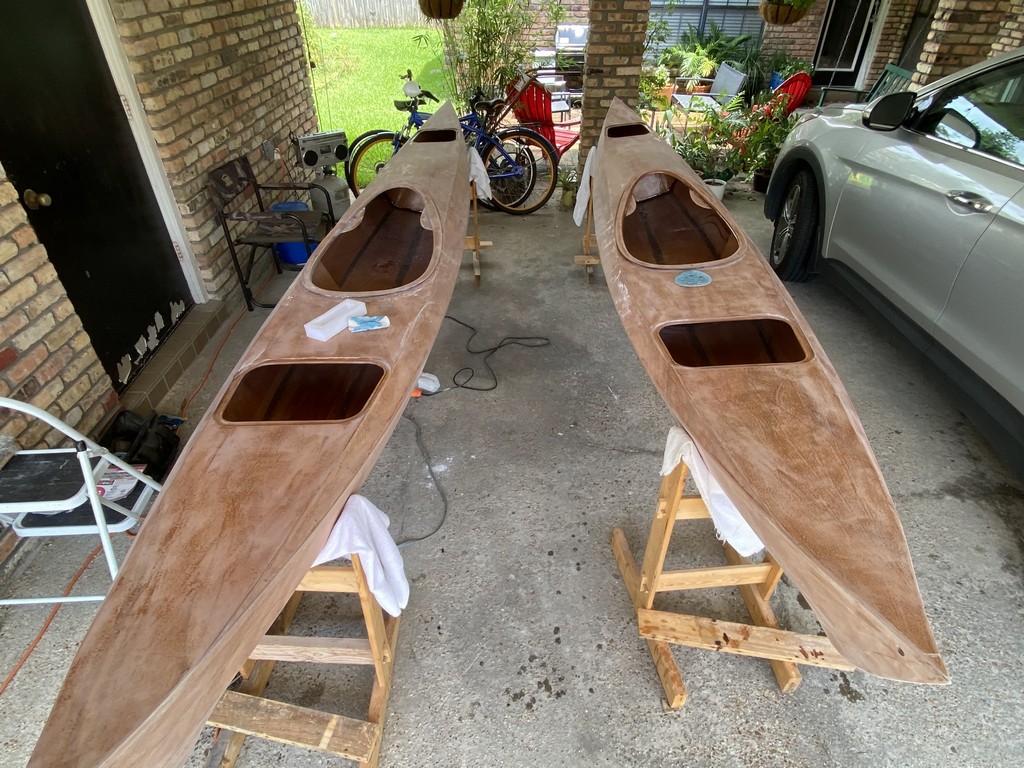
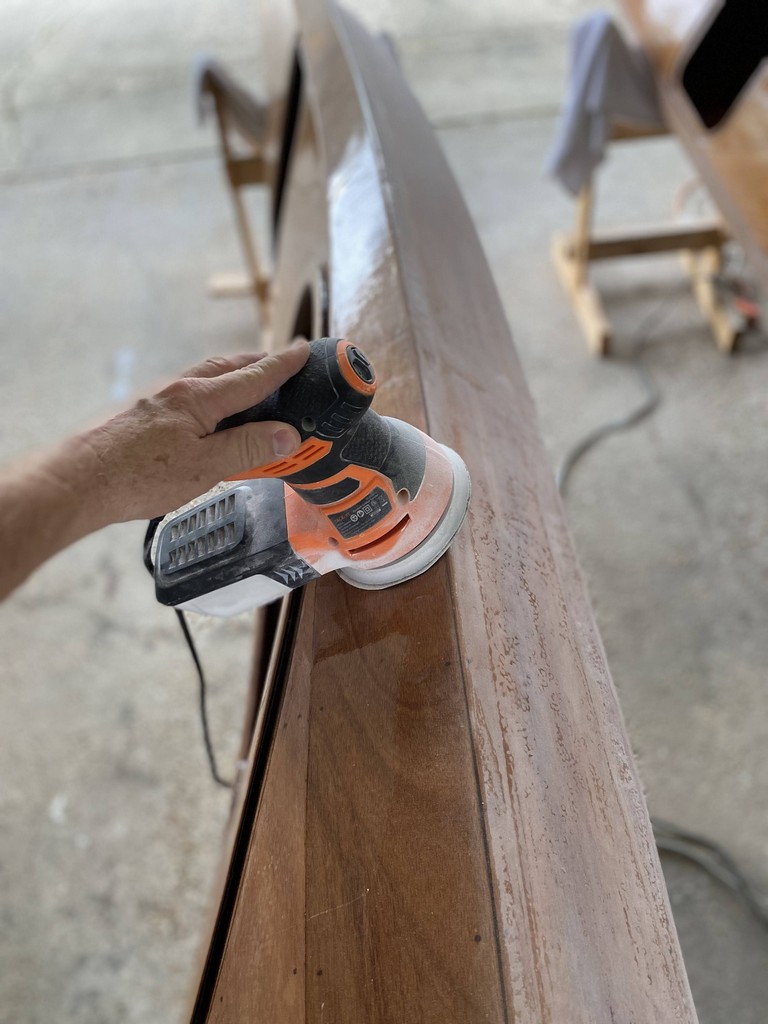
The weekend’s rain forecast largely bypassed us, allowing me to get out the fully epoxied boats. Between my wife and I, we got the exteriors of all three kayaks fully sanded with 220 grit paper. She used the random orbital sander on the large areas, and I followed behind with hand sanding of the angles, joints, curves, and crevices that the electric sander couldn’t reach.


As the weekend wrapped up, no injuries were reported at the neighbor’s pool bash, and we finished sanding and prepping all three kayaks for varnishing next weekend. Paddle shafts received 3 coats of polyurethane, and blades encased in 2 layers of fiberglass with an additional coat of clear epoxy to fill the weave. The last step before varnishing the blades is to create a drip edge around the shaft a few inches above the blades. Check this out on the paddles and seats page.
Dry Weather
Early September marked the end of the rainy period, as south Louisiana was about to enter an extended period of dry weather…turning towards a drought as we exceeded 30 days without any measurable precipitation. As autumn approached so did cool fronts, delivering cooler temperatures and far less humidity, but surprisingly none accompanied by rain during the month.