19. Outfitting
With four coats of varnish applied I’m moving on to outfitting the kayaks. It is time to install the hatches, seats and foot rests.
Many of these components have been prefabricated, and now I’ll get them installed so we can take these beautiful boats out for a paddle!
Hatches
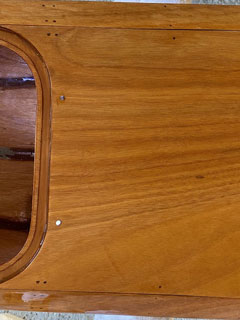
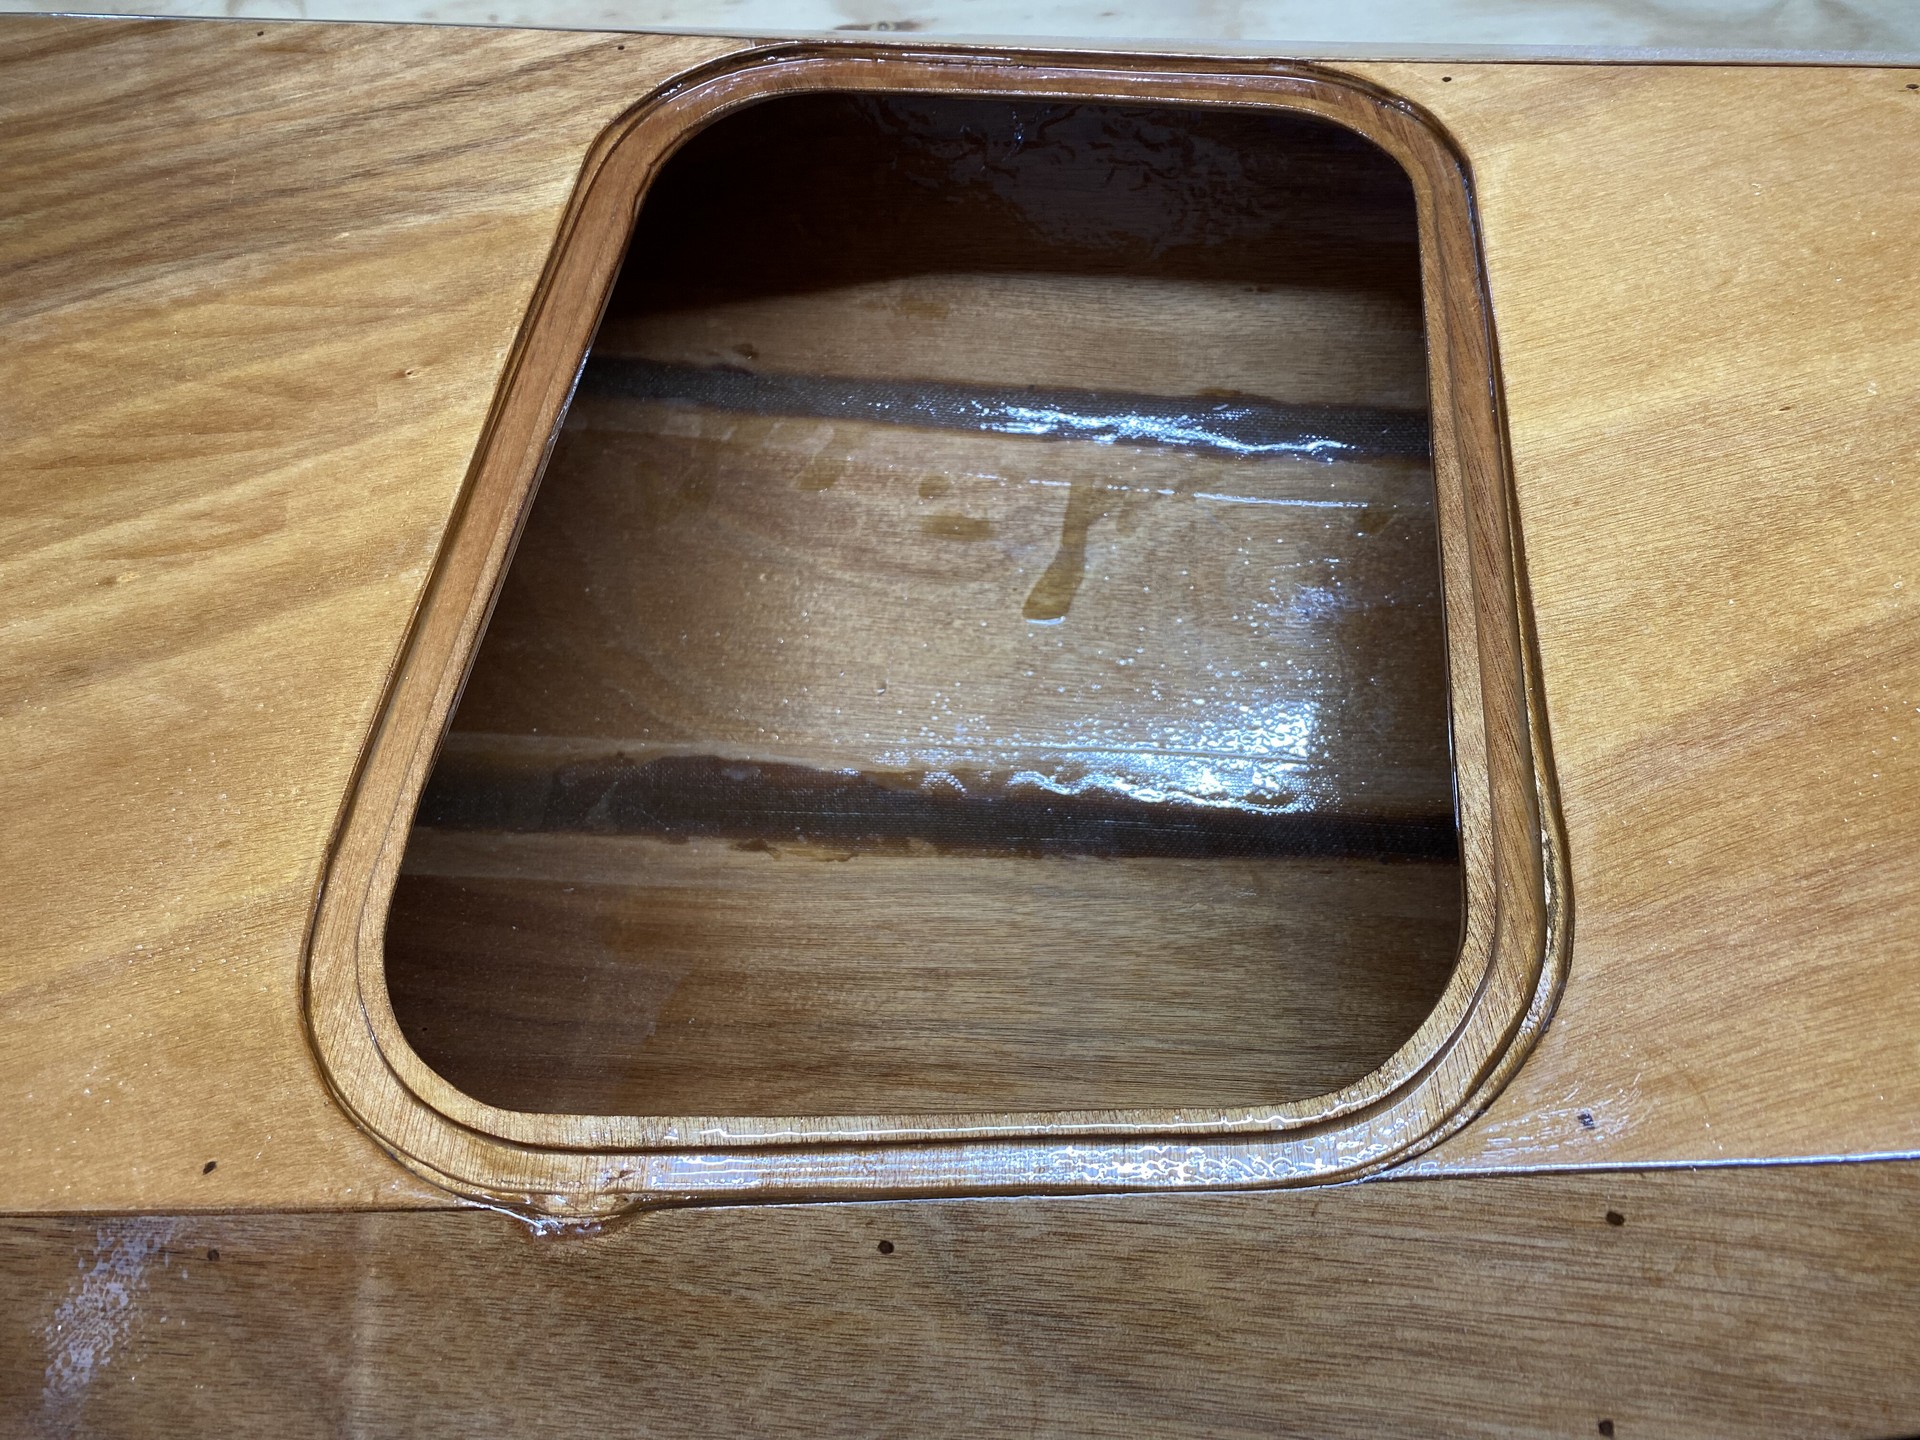
The easy part was to affix the weatherstripping around the edge of the hatch covers. After pressing them into place, I realized the 1/2" wide weatherstrip was too wide, so I used a razor knife to trim it’s width in half. Now, it fit into the groove of the hatch rim better.
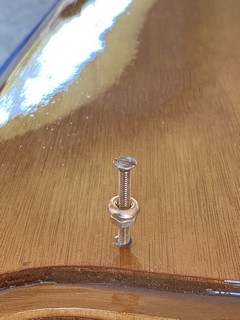
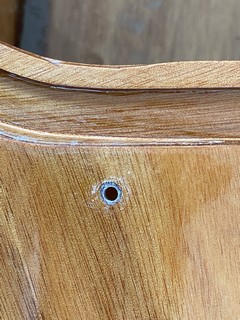
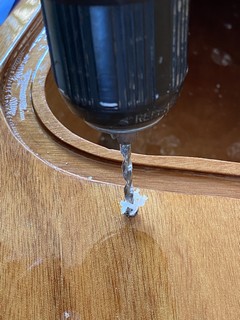
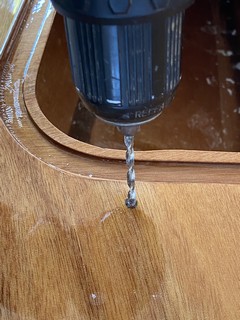
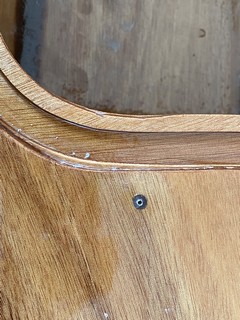
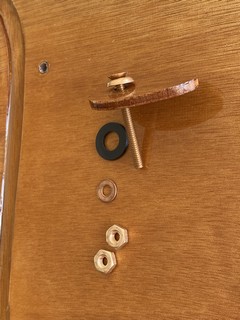
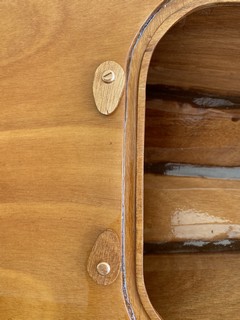
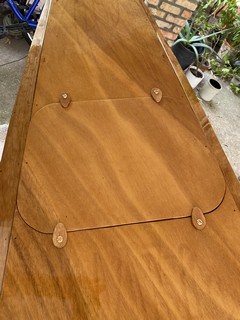
I’m using silicon bronze hardware purchased from Fairwind Fasteners to install the toggles, and as described in a previous post I used the “drill-fill-drill” method of providing through-deck holes fully encased in epoxy to seal the wood. I used 1-1/2" long #8 flat head machine screws which ended up being 1/2" too long. The picture below shows the series of washers. From top to bottom they are:
- Cup/finish washer
- Toggle (epoxy and varnish sealed okoume)
- Nylon washer
- Deck of the boat and hatch sill frame
- Flat washer
- Nuts (2)
![]()
I inserted the nylon washer between toggle and deck to alleviate friction and hopefully eliminate scratching of the kayak deck when rotating the toggle. On the inside I tightened two nuts against themselves on the bolt, allowing me to adjust the tightness with which the toggle is pressed against the deck. Eventually, I’ll have to come back and cut off the excess length of the bolts sticking down into the storage area because left as-is, they will get in the way of loading and unloading cargo. Cap nuts may be useful here to leave a smooth, rounded finish and I’ll likely apply threadlock to the bolt threads and re-tighten the nuts.
Grab Handles
For grab handles I simply used short lengths of thin nylon rope tied in a loop. In the future I may do something more fancy, but for now they are functional.
Fitting out the Cockpit
The CLC website provides good information about perfecting the cockpit of your kayak in their shop tips section. Fitting Out the Perfect Cockpit
Foot Rests
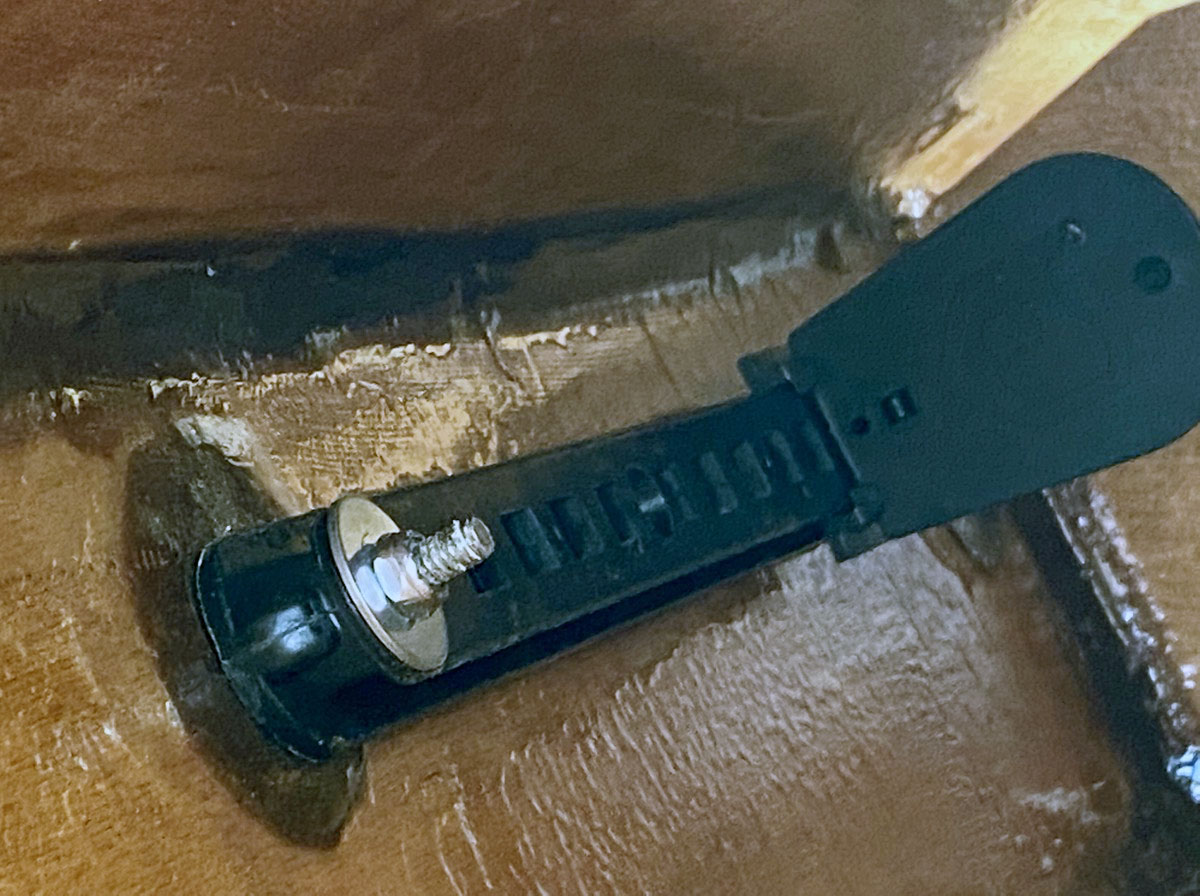
I did the easy step first, installing the adjustable plastic foot rests onto the bolt studs I bonded to the inside of the hull earlier in the build process. The fit was tight, but with a little drilling out of the holes in the plastic braces I got them on. They were secured with a fender washer and nylon lock nut on each bolt stud.
Seats
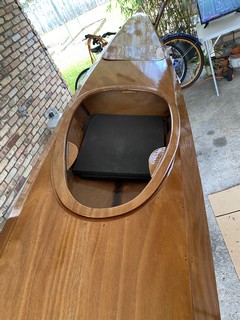
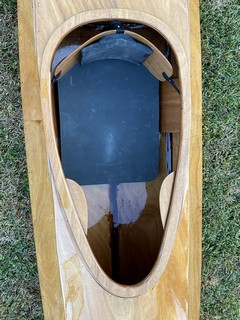
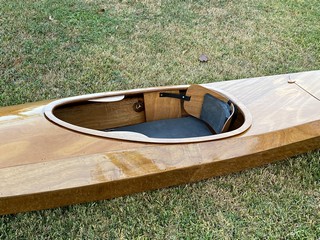
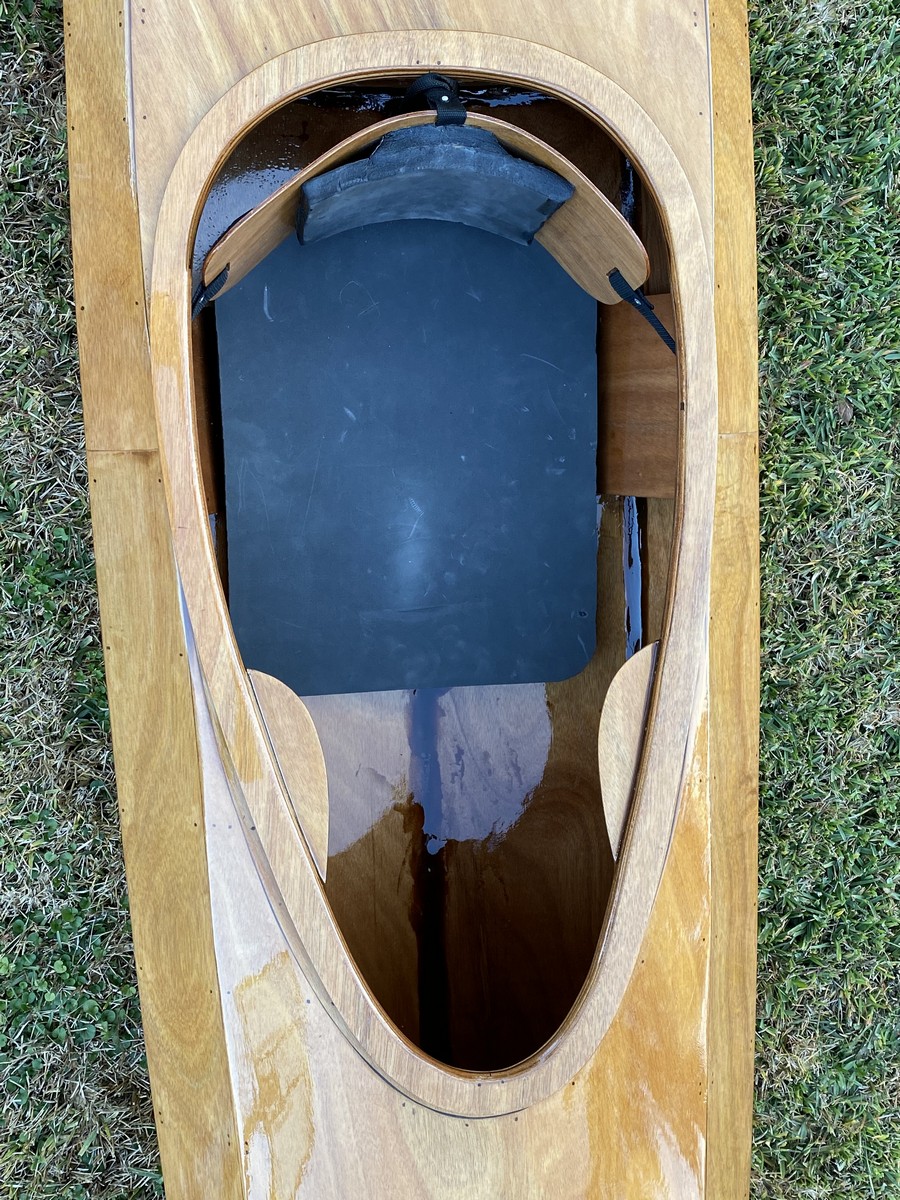
The seats are composed of four parts: the bottom pad, the seat back, hip braces on each side, and the knee braces in front beneath the combing.
Foam Seat Bottoms
Cutting, shaping and bonding together the two layers of 1" thick minicel foam to form the seat pads was described in a blog #16 (2022-08) but the result was literally a bit rough around the edges. Today, I used a table saw to trim the edges, leaving a smooth and relatively straight edge. I also used the table saw to smooth the rounded corners. Eventually, these seat bottoms will be glued or taped to the bottom of the kayak once we’ve paddled a bit and are confident of their placement. Maybe velcro?
Suspended Seat Backs
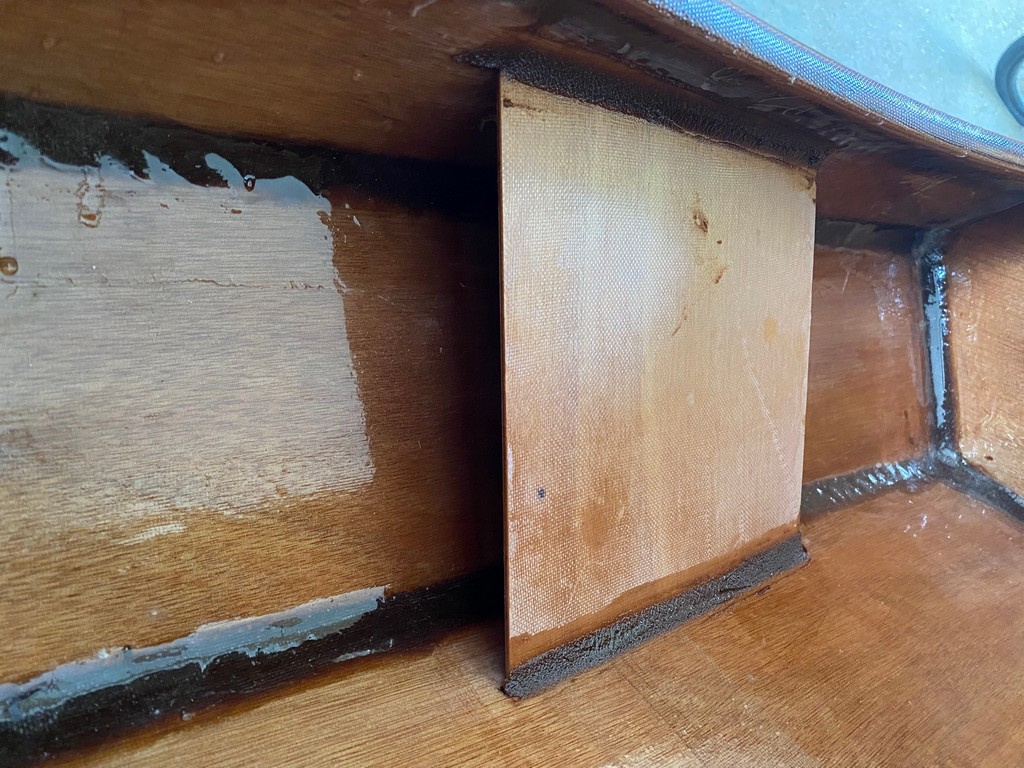
The curved okoume seat backs already had foam glued to their front faces and I’d cut four slotted holes in the plywood of each. I cut short lengths of nylon webbing, fed it through a slotted hole, and then used my rivet tool to secure the webbing to itself forming a loop. Silicon bronze wood screws (#6 1" long) with cup washers were used to secure the loose end of each side strap to the top of the hip braces on either side. Recall in July (blog post #15) that a small wooden block was epoxied to the back of each hip brace at a previous step just to receive this screw.
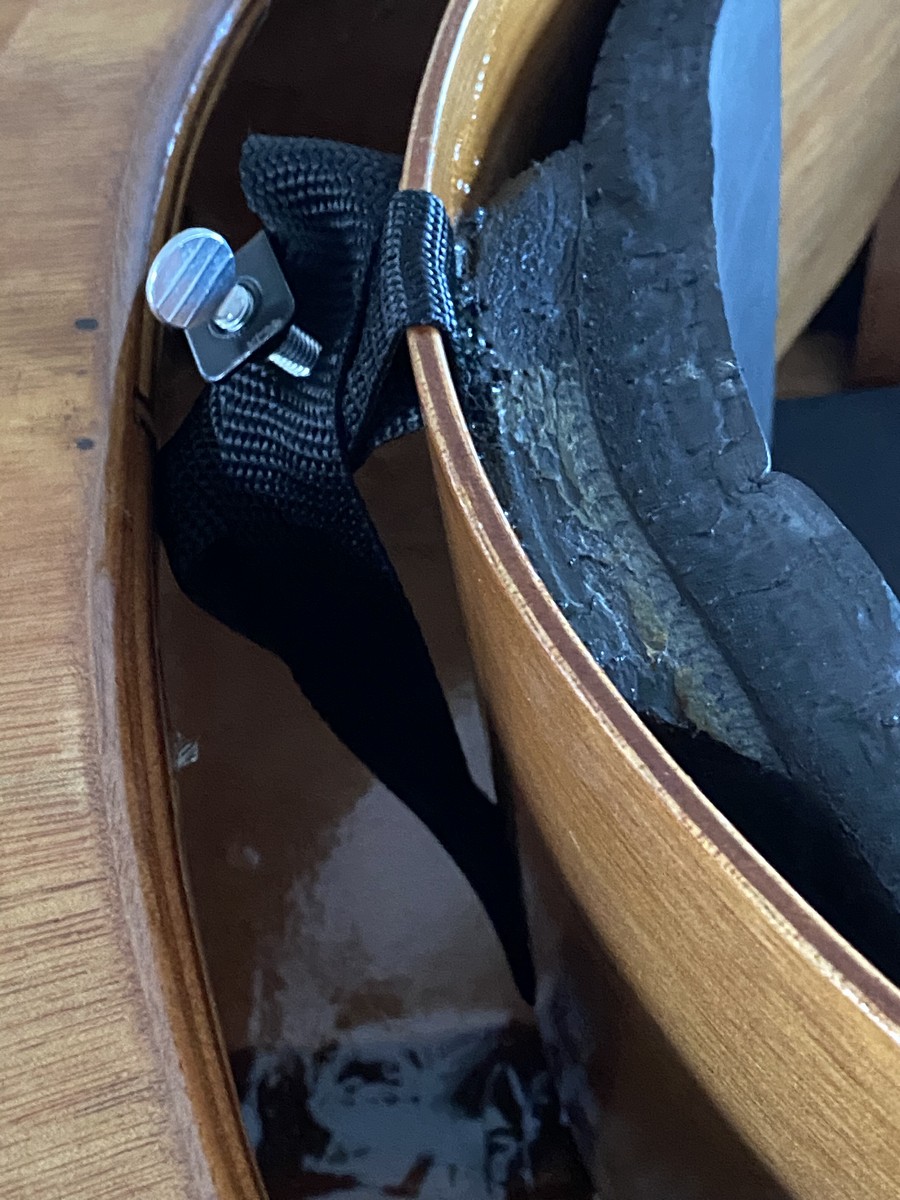
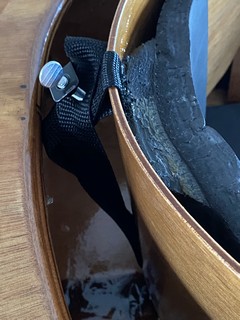
At the rear of the seat back I looped nylon webbing through the slot at the top of the back and riveted it to itself. Then, I looped the other end of the ~18" long strap through the slot at the bottom of the seat back. A third wood screw and cup washer secured the strap to a block previously epoxied beneath the rear of the cockpit rim. By pulling up on the slack from the bottom slot, the seat back is elevated. I’ve purchased a small screw clamp to secure tension of the rear nylon strap. In this way the height can be adjusted, but not the front-to-back distance. The seat back ended up suspended about an inch away from the cockpit rim and that seems similar to what I’ve seen in photos of others’ builds.
Hip Braces
Gluing a layer of minicel foam to each hip brace will be a future step after we’ve done a bit of test paddling. If necessary, two layers of minicel foam could be used to tighten the seat area.
Knee Braces
Same with knee brace pads - I’ll glue them to the tabs at the top front of the cockpit after we’ve done a bit of paddling to get a better feel of the boats. The CLC website provides some guidance on the shape of these knee brace pads. Fitting Out Knee Braces
Outfitting images
Click an image to enlarge…
So, the next steps are 1) a celebratory public launch party and, 2) a real day-trip kayak adventure to truly test them out and determine how the fit needs to be adjusted in the cockpits.
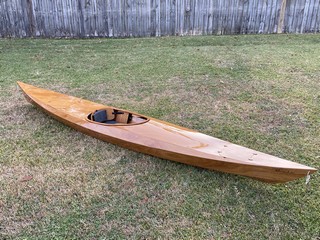
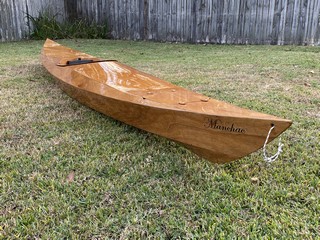
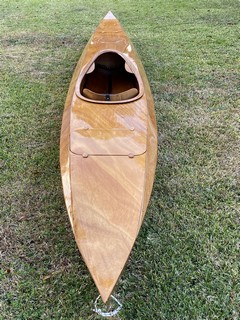
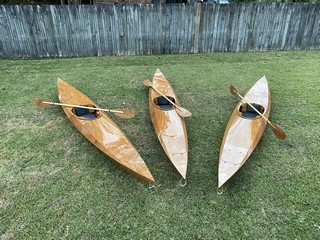
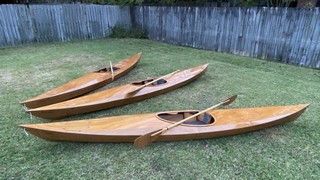
Eventually, I’ll get the deck rigging - bungee cords to hold down paddles, etc. but that isn’t necessary to get some enjoyment out of these boats first. Here are the finished products!
Completed Kayaks
Click an image to enlarge…
